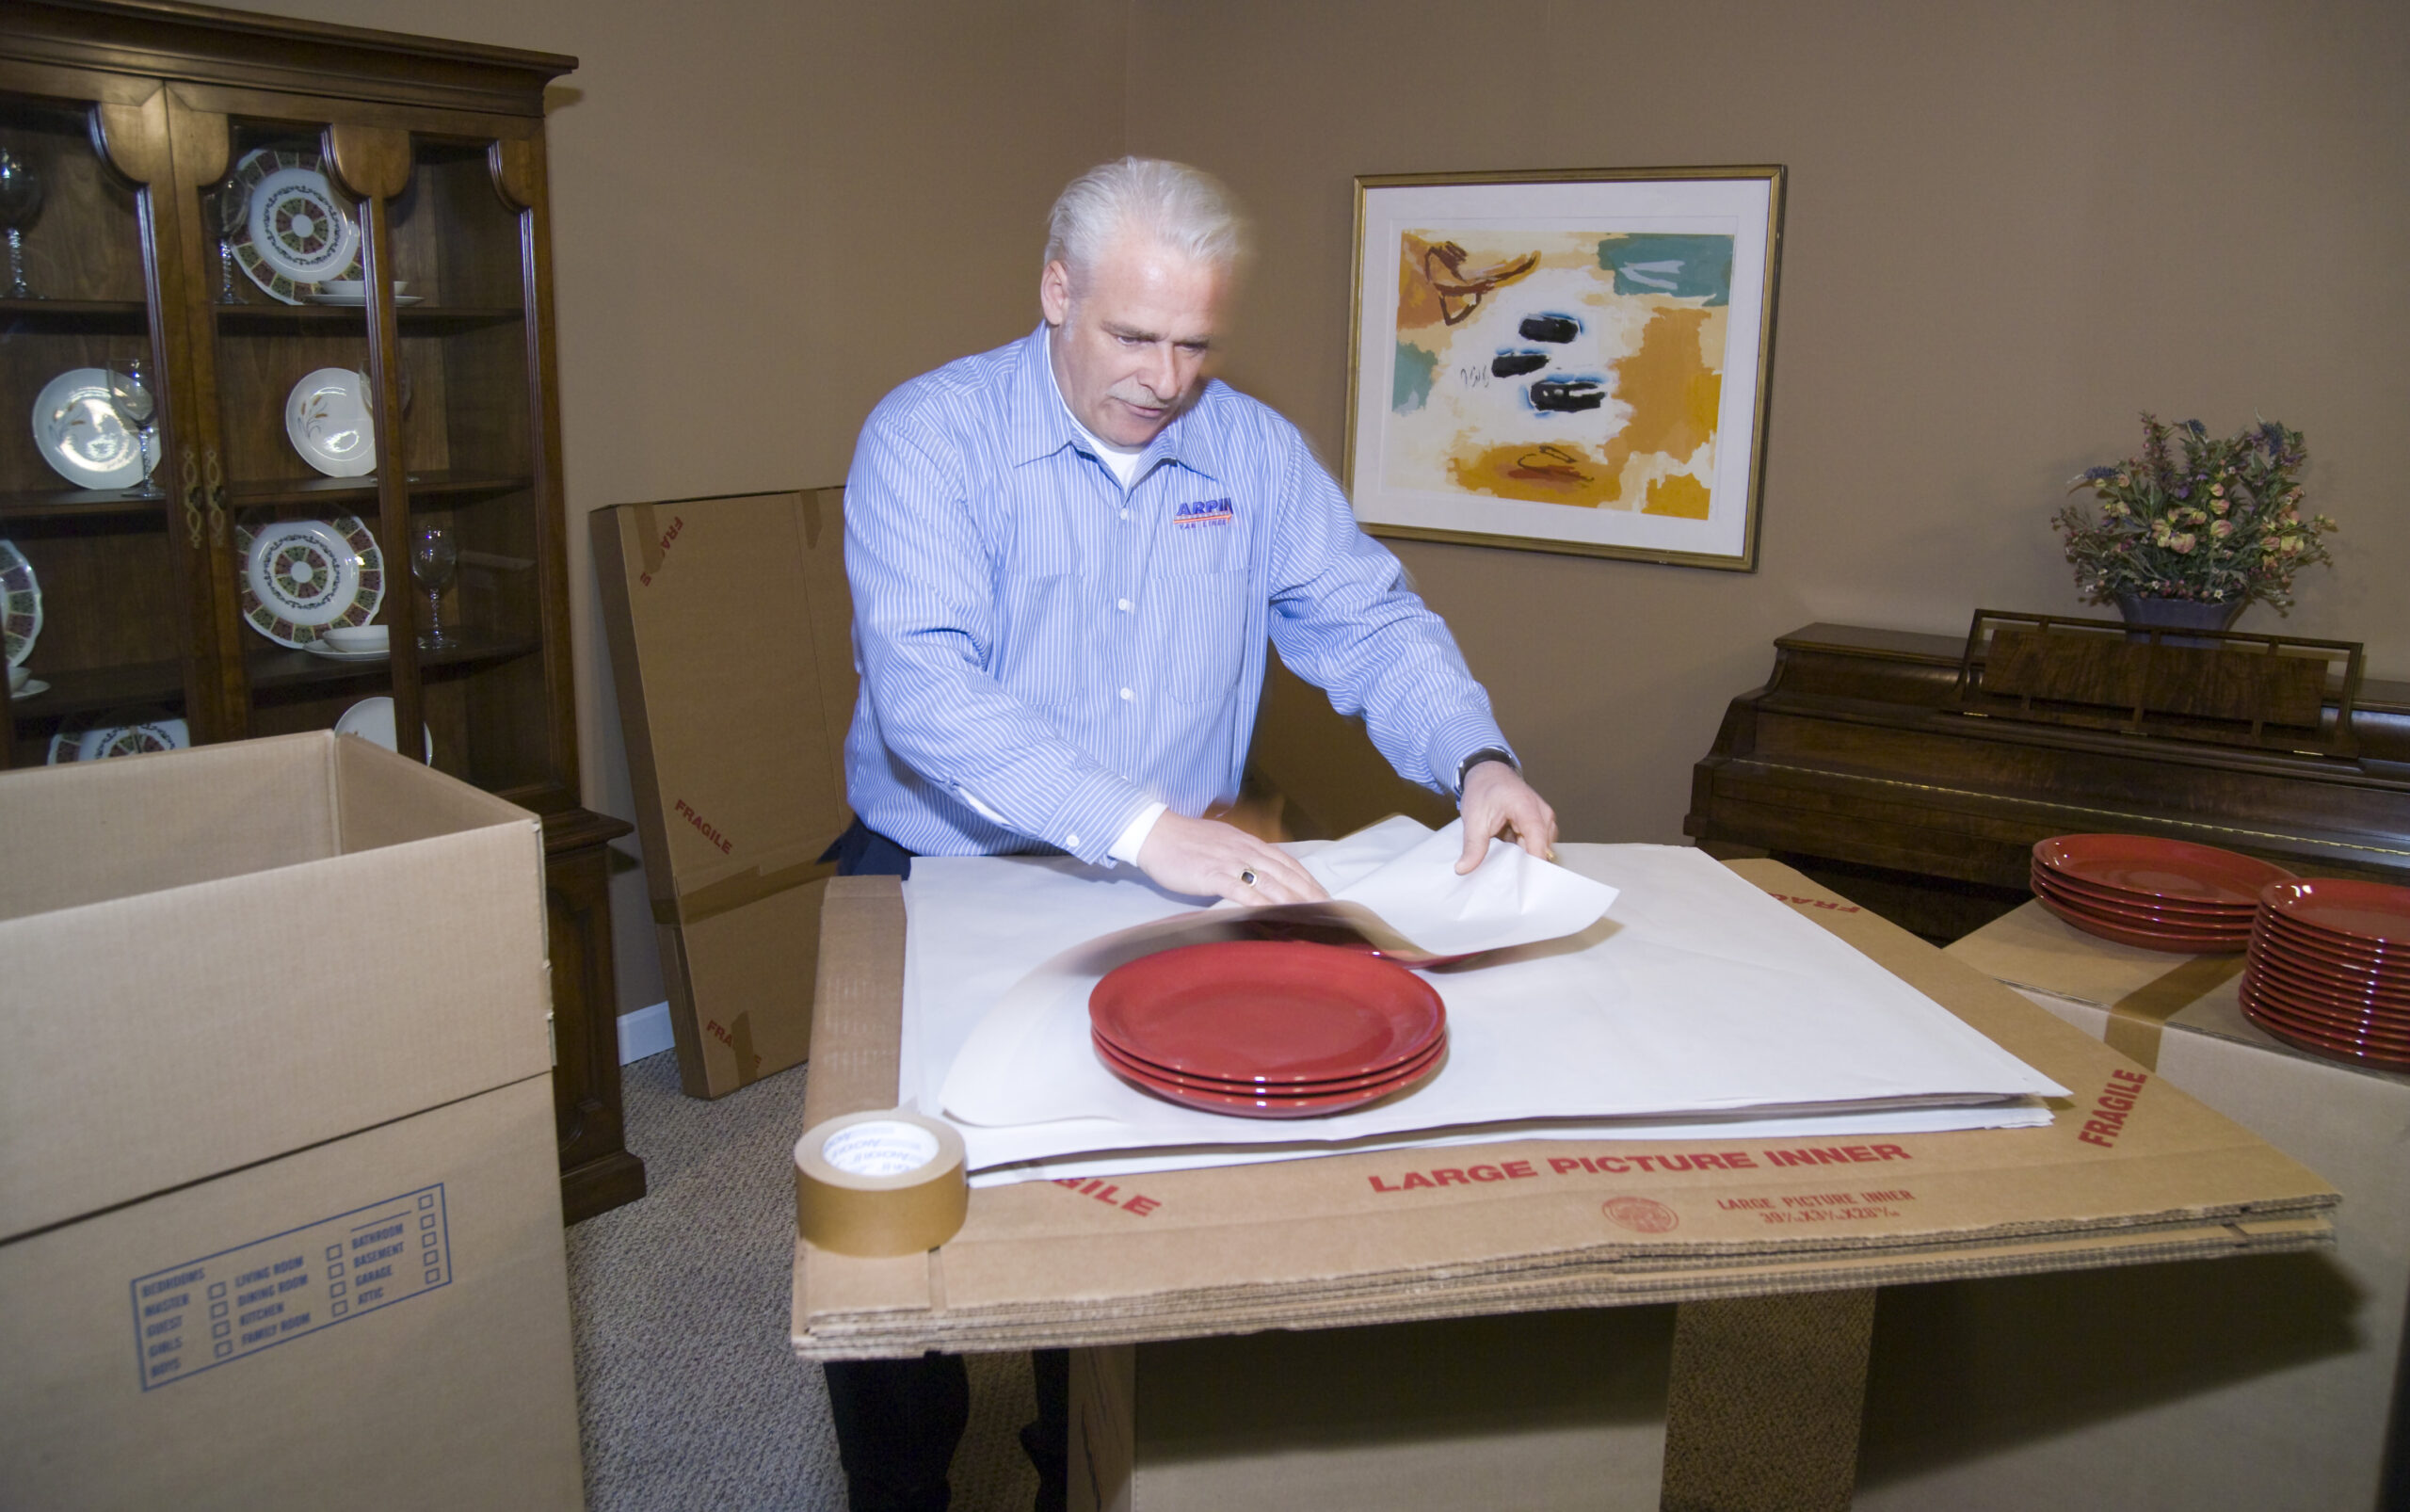
How To Pack A Dining Room
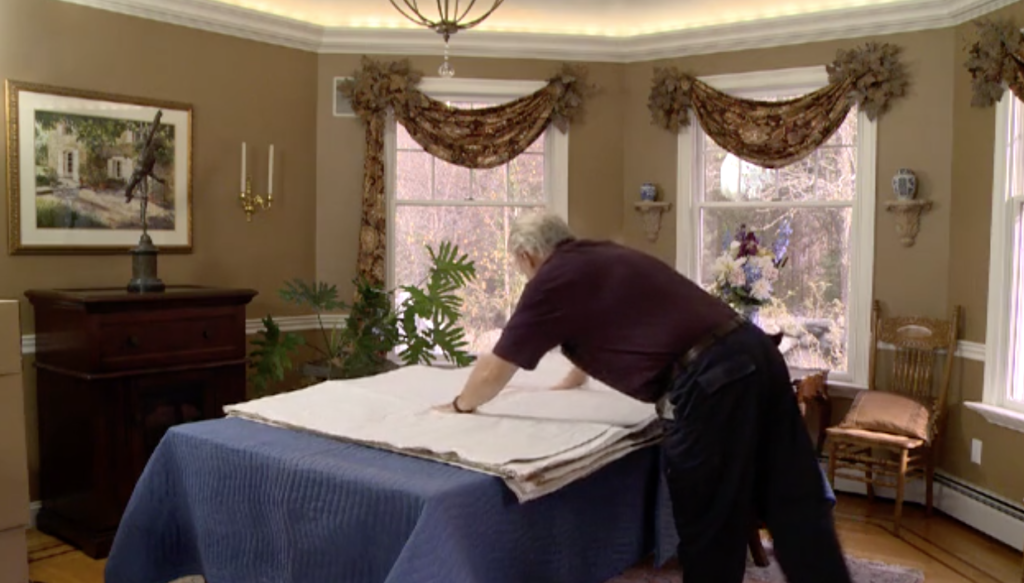
The dining room usually has some of the most valuable items in a home and virtually all of these items can be described as “breakable”. Before we can start packing, we need to set up a portable wrapping station for the white news and another for the export wrap just like the best movers in RI, Arpin of RI.
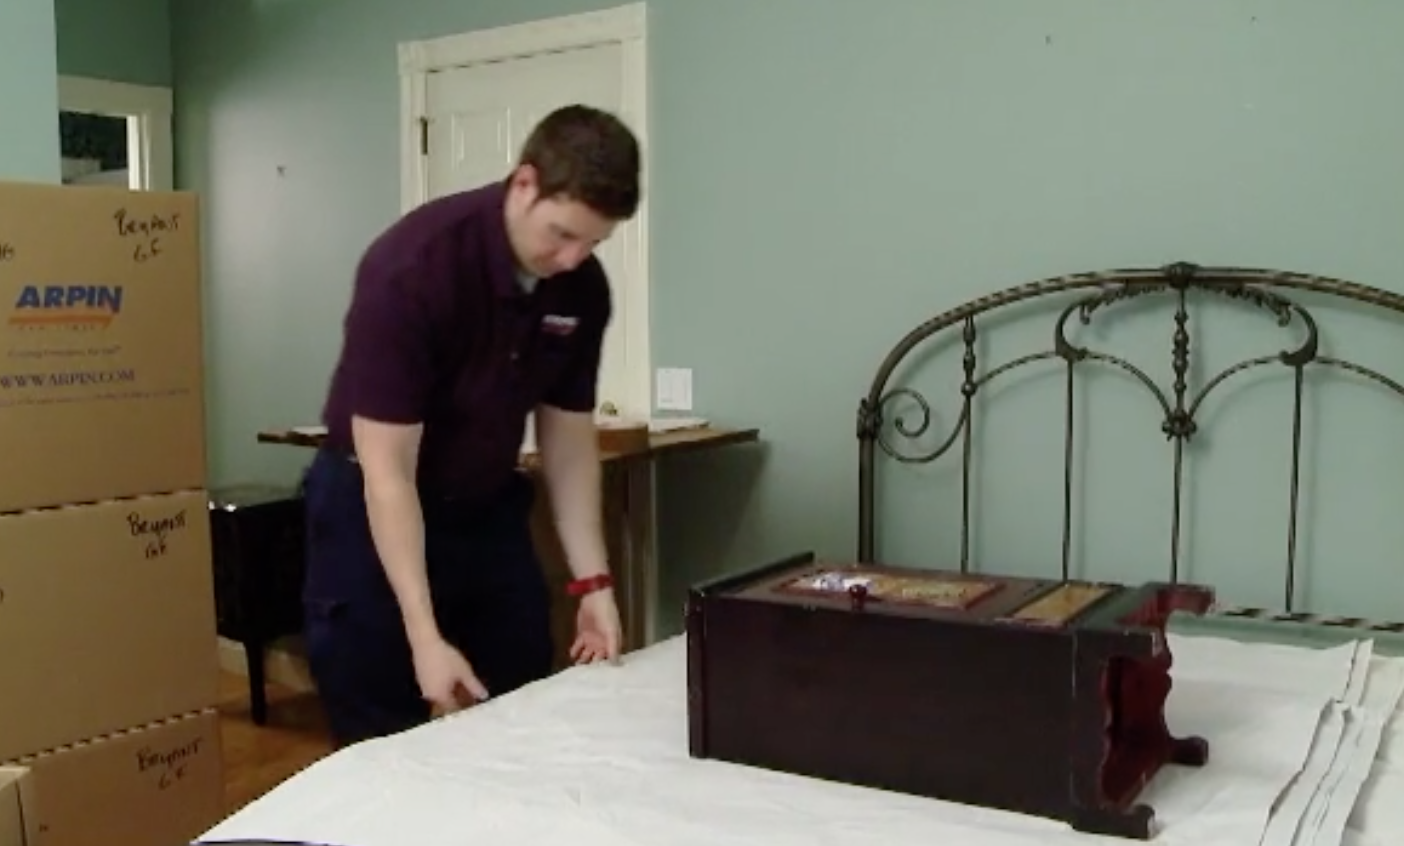
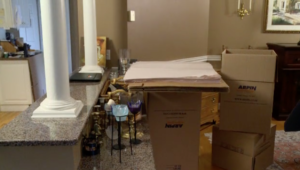 To set up the wrapping station, tape up a sturdy carton and place it near the items to be packed first. Next, place some mirror cartons on top of the dish and place a bundle of the white newsprint on top, and spread it out.
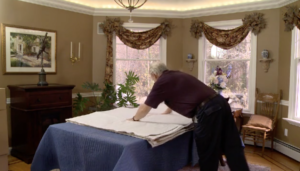 In addition to the wrapping station for white news, you’ll need to set up a wrapping station with large wrapping paper for the larger items. A properly padded and protected dining room table top is acceptable.
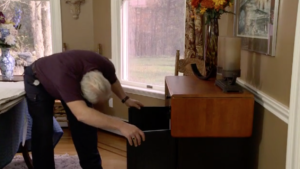 Because most of the items to be packed in a dining room are inside furniture around the outside of the room, the best approach is to work your way around the room in a circular fashion. If you’re left-handed, it’s preferable to pack counter-clockwise around the room, and if you’re right-handed; reverse the direction.
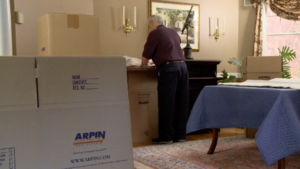 Keep the new packing materials behind you. That way you’ll never endanger any unpacked items as you make up your next carton.
How to pack a stemware glass
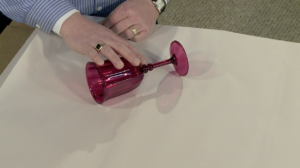 To demonstrate the trapped air with the paper principle, we’ll wrap this fragile stemware glass three times.
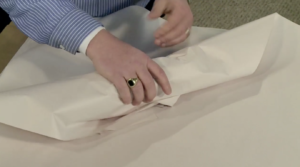 The objective of the first sheet is to fill the gap between the base of the glass and the bottom of the cup to give more support to the connection. To begin, lay the glass at a 45-degree angle on the wrapping paper about a foot from the corner with the top of the glass to your right.
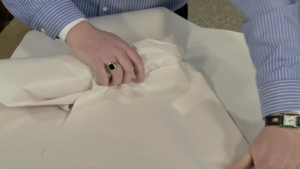
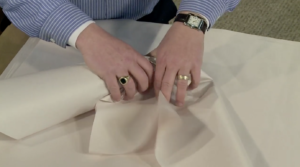 Bring the corner of a single piece of paper up and over the glass. Loosely fold over the left side of the paper and roll the glass a half revolution. As you roll, gently fill the gap along the stem. Repeat the same process by folding on the right side, and completely roll the glass. Remember, you don’t want the paper tight against the glass like a spandex shirt; you want it to be fitted, yet loose, like an overcoat.
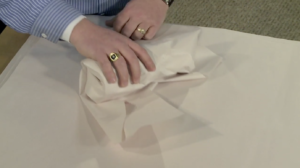 The second and third layers of paper are the real protective layers. As in step one, place the glass in the corner and repeat the same process; bring the corner up and over the glass and roll it away from you a few revolutions.
Wrap a second time. Draw the wrapped glass back to you as you simultaneously fold on the left side of the paper. Roll once more away from you and then gently fold in the right side and roll. Don’t worry if the paper is uneven or crinkled as you roll; uneven, crinkled paper traps more air.
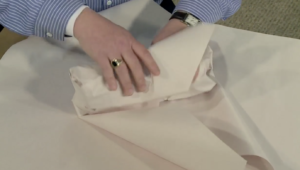 Wrap a third time. Don’t completely roll up the glass, leave about a foot of unrolled paper on the second sheet. Finish wrapping a third time with the same technique; draw it back to the corner….roll away from you… fold in the left side… fold in the right side… and roll.
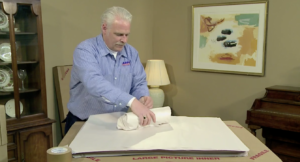 When you’re done with three layers, you’ll have a secure bundle of sealed air protecting the glass. This stemware glass can now survive any of the bumps and bruises expected during a move. This wrapping technique will be repeated hundreds if not thousands of times for a move. The only difference will be how many times each article needs to be wrapped to ensure its safety.
How to pack cylindrical brittle items
 Cylindrical objects such as vases, pitchers, glasses, or bowls are all packed using the same principles. These types of articles are much stronger when they are packed upright instead of lying down. Think of the cylindrical concrete piers that support most freeway overpasses.
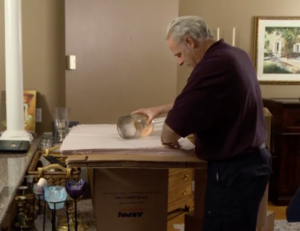 We’ll wrap this glass vase first. The best approach is to lay the item on its side diagonally on the paper as if it were a very large glass.
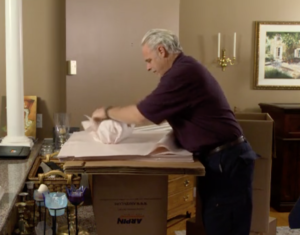 Use the same wrapping process; fold over the center to start….fold in the left side…fold on the right side…and roll.
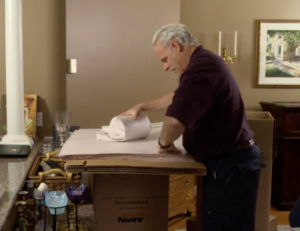 Repeat this same wrapping process several times over so you have 4-5 layers of paper.
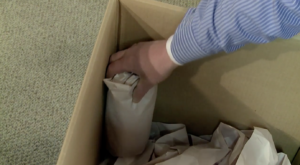 Place the vase in the corner of the carton in a vertical position. Ensure that any items placed against it are well padded themselves. For very delicate vases and lamps, consider using towels or blankets in addition to paper for extra padding and protection.
Packing statues and figurines
 Most figurines are very asymmetrical in their shape and design. Many have tiny protrusions like arms, limbs, or flowers. Because of these two reasons, figurines and statues are particularly difficult to wrap using the standard rolling process. This LLardro is a perfect example of the difficulties involved in trying to wrap a delicate figurine. She has thin arms and the tiniest of fingers. We offer three possible packing solutions.
 The first method is to use the factory carton if it is available. Typically, these boxes are custom designed to compensate for the most delicate features of the sculpture. It is time-consuming to repack them into the factory boxes, but it is the best solution overall
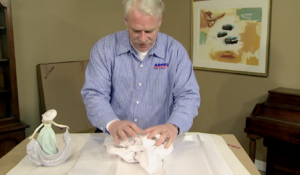 The next option is to create a nest of several sheets of ultra-soft paper such as Kleenex tissues, paper towels, or store-bought tissue paper.
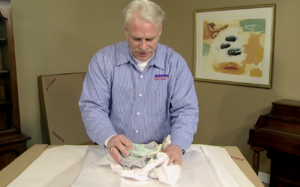 Lay the figurine on the nest of paper.
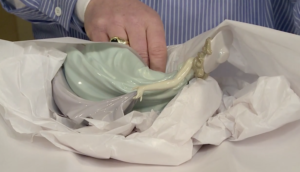 Carefully bring up the paper around the item. Softly fold the tissue paper over the shape while filling in any voids on the front and under the arm.
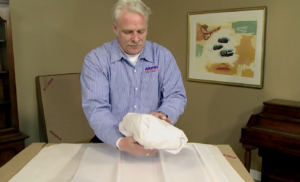 Repeat this several times. When the front has been wrapped enough that all of the voids are filled in, gently flip over the statue and repeat the process on the rear
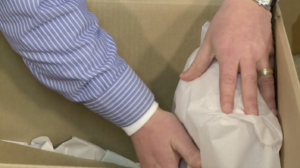 The wrapped figurine should be placed upright near the top of a carton on a layer of cushioning paper. Only other figurines or very lightweight ceramic items such as teacups would be appropriate to pack near or around the figurines. Never place the crumpled paper on top of fragile items like these when sealing the carton. The very process of trying to protect them with the paper could actually break them.
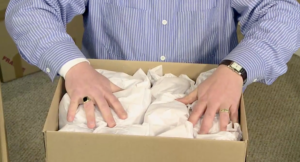 The last method for packing delicate items would be a “box in a box”. This technique calls for hyper-fragile items or very small items to be wrapped as previously described, but instead of being placed into a large carton, they are packed into a smaller carton.
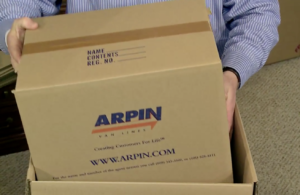 When full, this smaller carton is then packed inside a larger carton for eventual transport. This technique uses an extra carton but is far safer than a single carton alone. This is especially true for very small items that could easily get overlooked when unpacking.
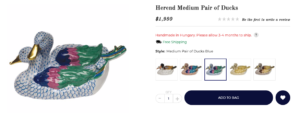 Considering that you can easily fit thousands of dollars’ worth of tiny figurines in a 1.5 carton, spending a few dollars spent on an extra carton to ensure their safety would be one of the best investments you could make.
