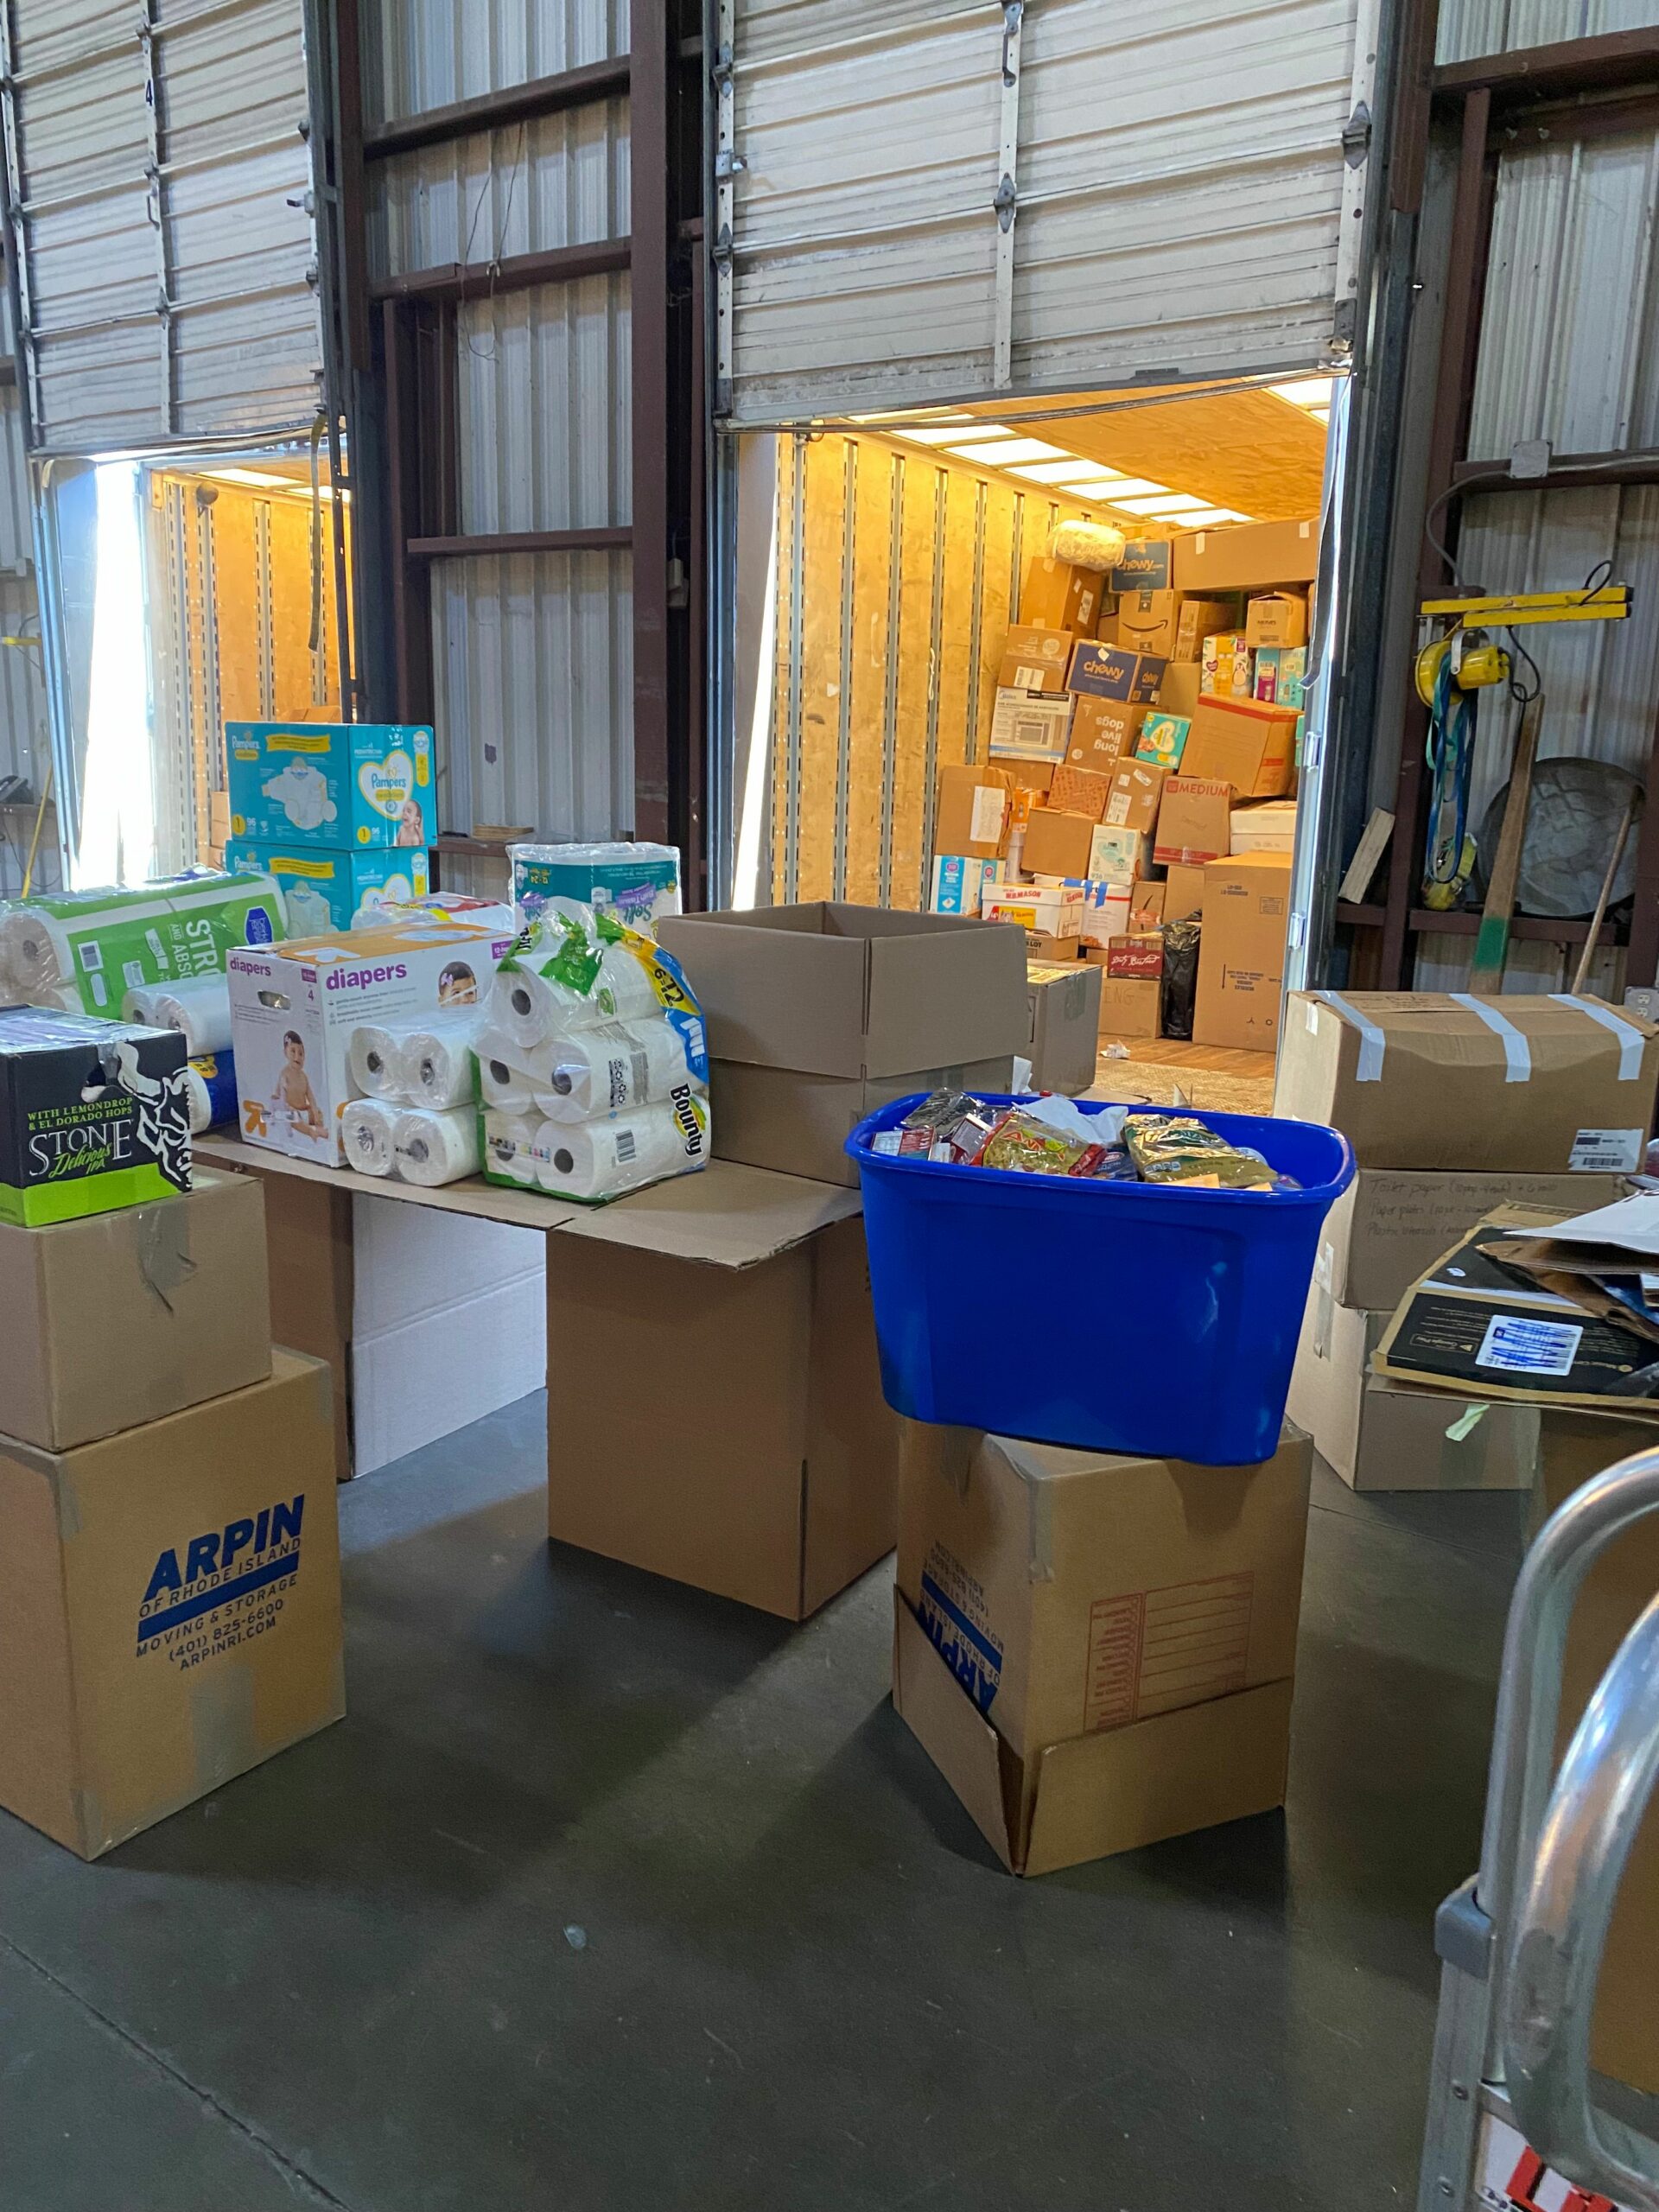
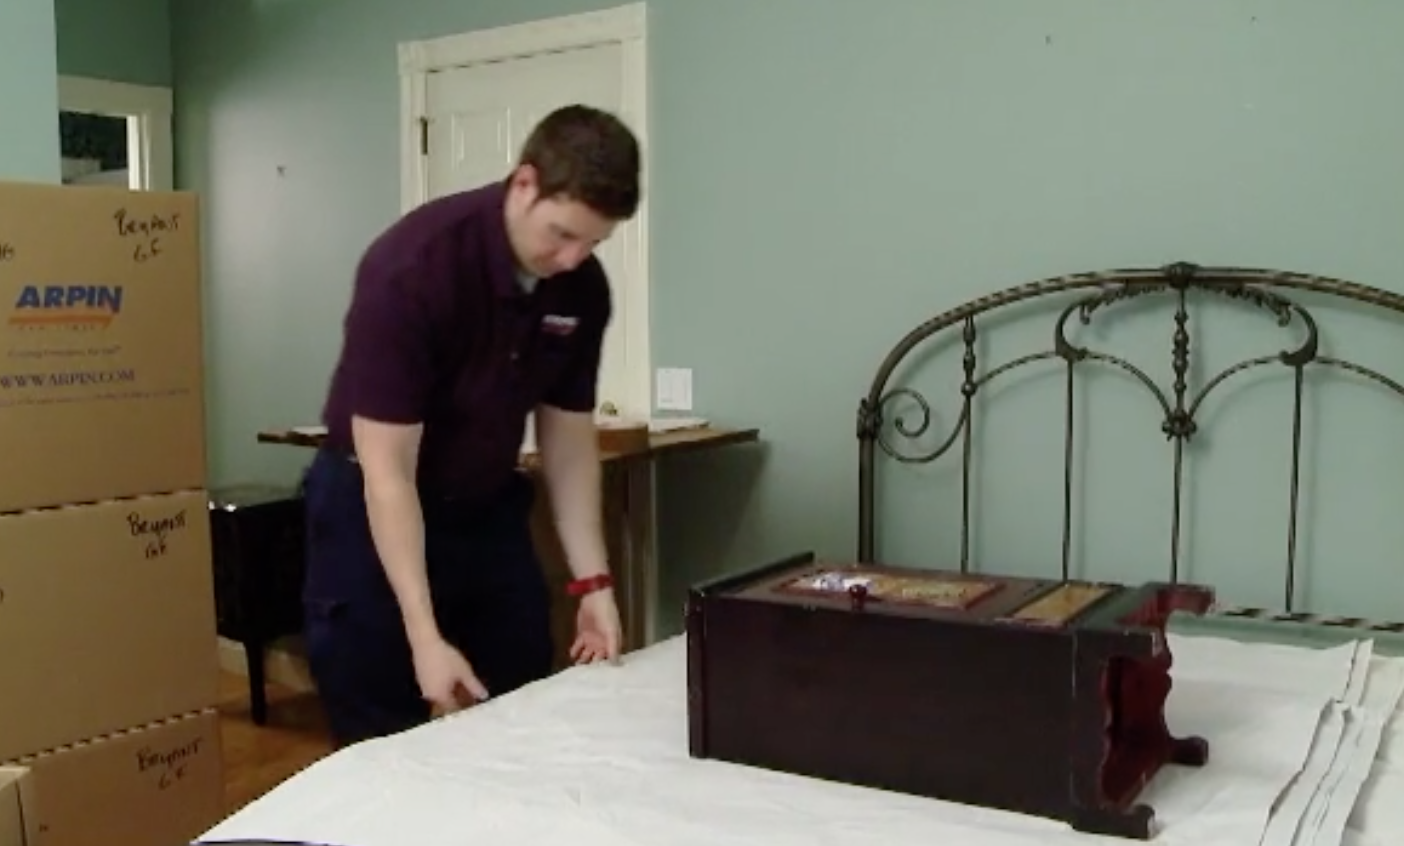
How To Pack Everything In A Kitchen
How to pack a kitchen
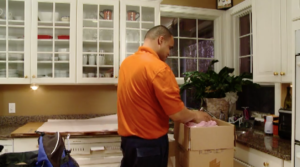
Let’s take a look at the individual areas of the home and the strategies the best movers in RI use to pack them. We’ll start in the kitchen.
 All of the Items from the countertop should be packed first. This not only clears an area for you to work but when you’re unpacking these items at the destination, they can be unpacked first so that they are in place before any other items being placed on the counter.
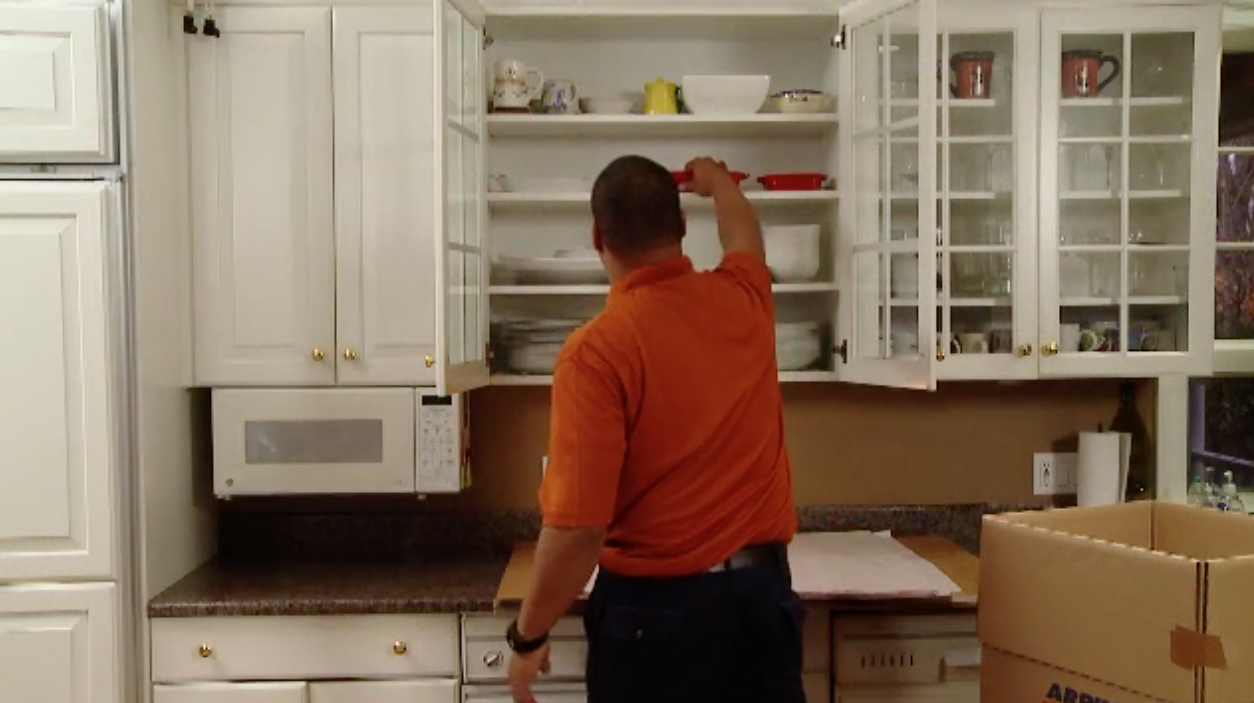 Try to treat each cabinet as its own unique space. Many people organize their kitchen items into special cabinets. Choose a carton that will best accommodate 100% of each cabinet and no more. This will make the unpacking process much more rational.
The contents of drawers should be packed in separate cartons or as separated in a carton by a layer of paper.
Items that are universally needed first at the destination like flatware should always be packed at the very top of the carton, not at the bottom.
 When packing an item that is dependent on other essential items to be effective such as a coffee maker, you should pack these essential items in the same carton. For example, a coffee maker…its essential items include filters, cups, sugar, spoons, and of course the coffee itself.
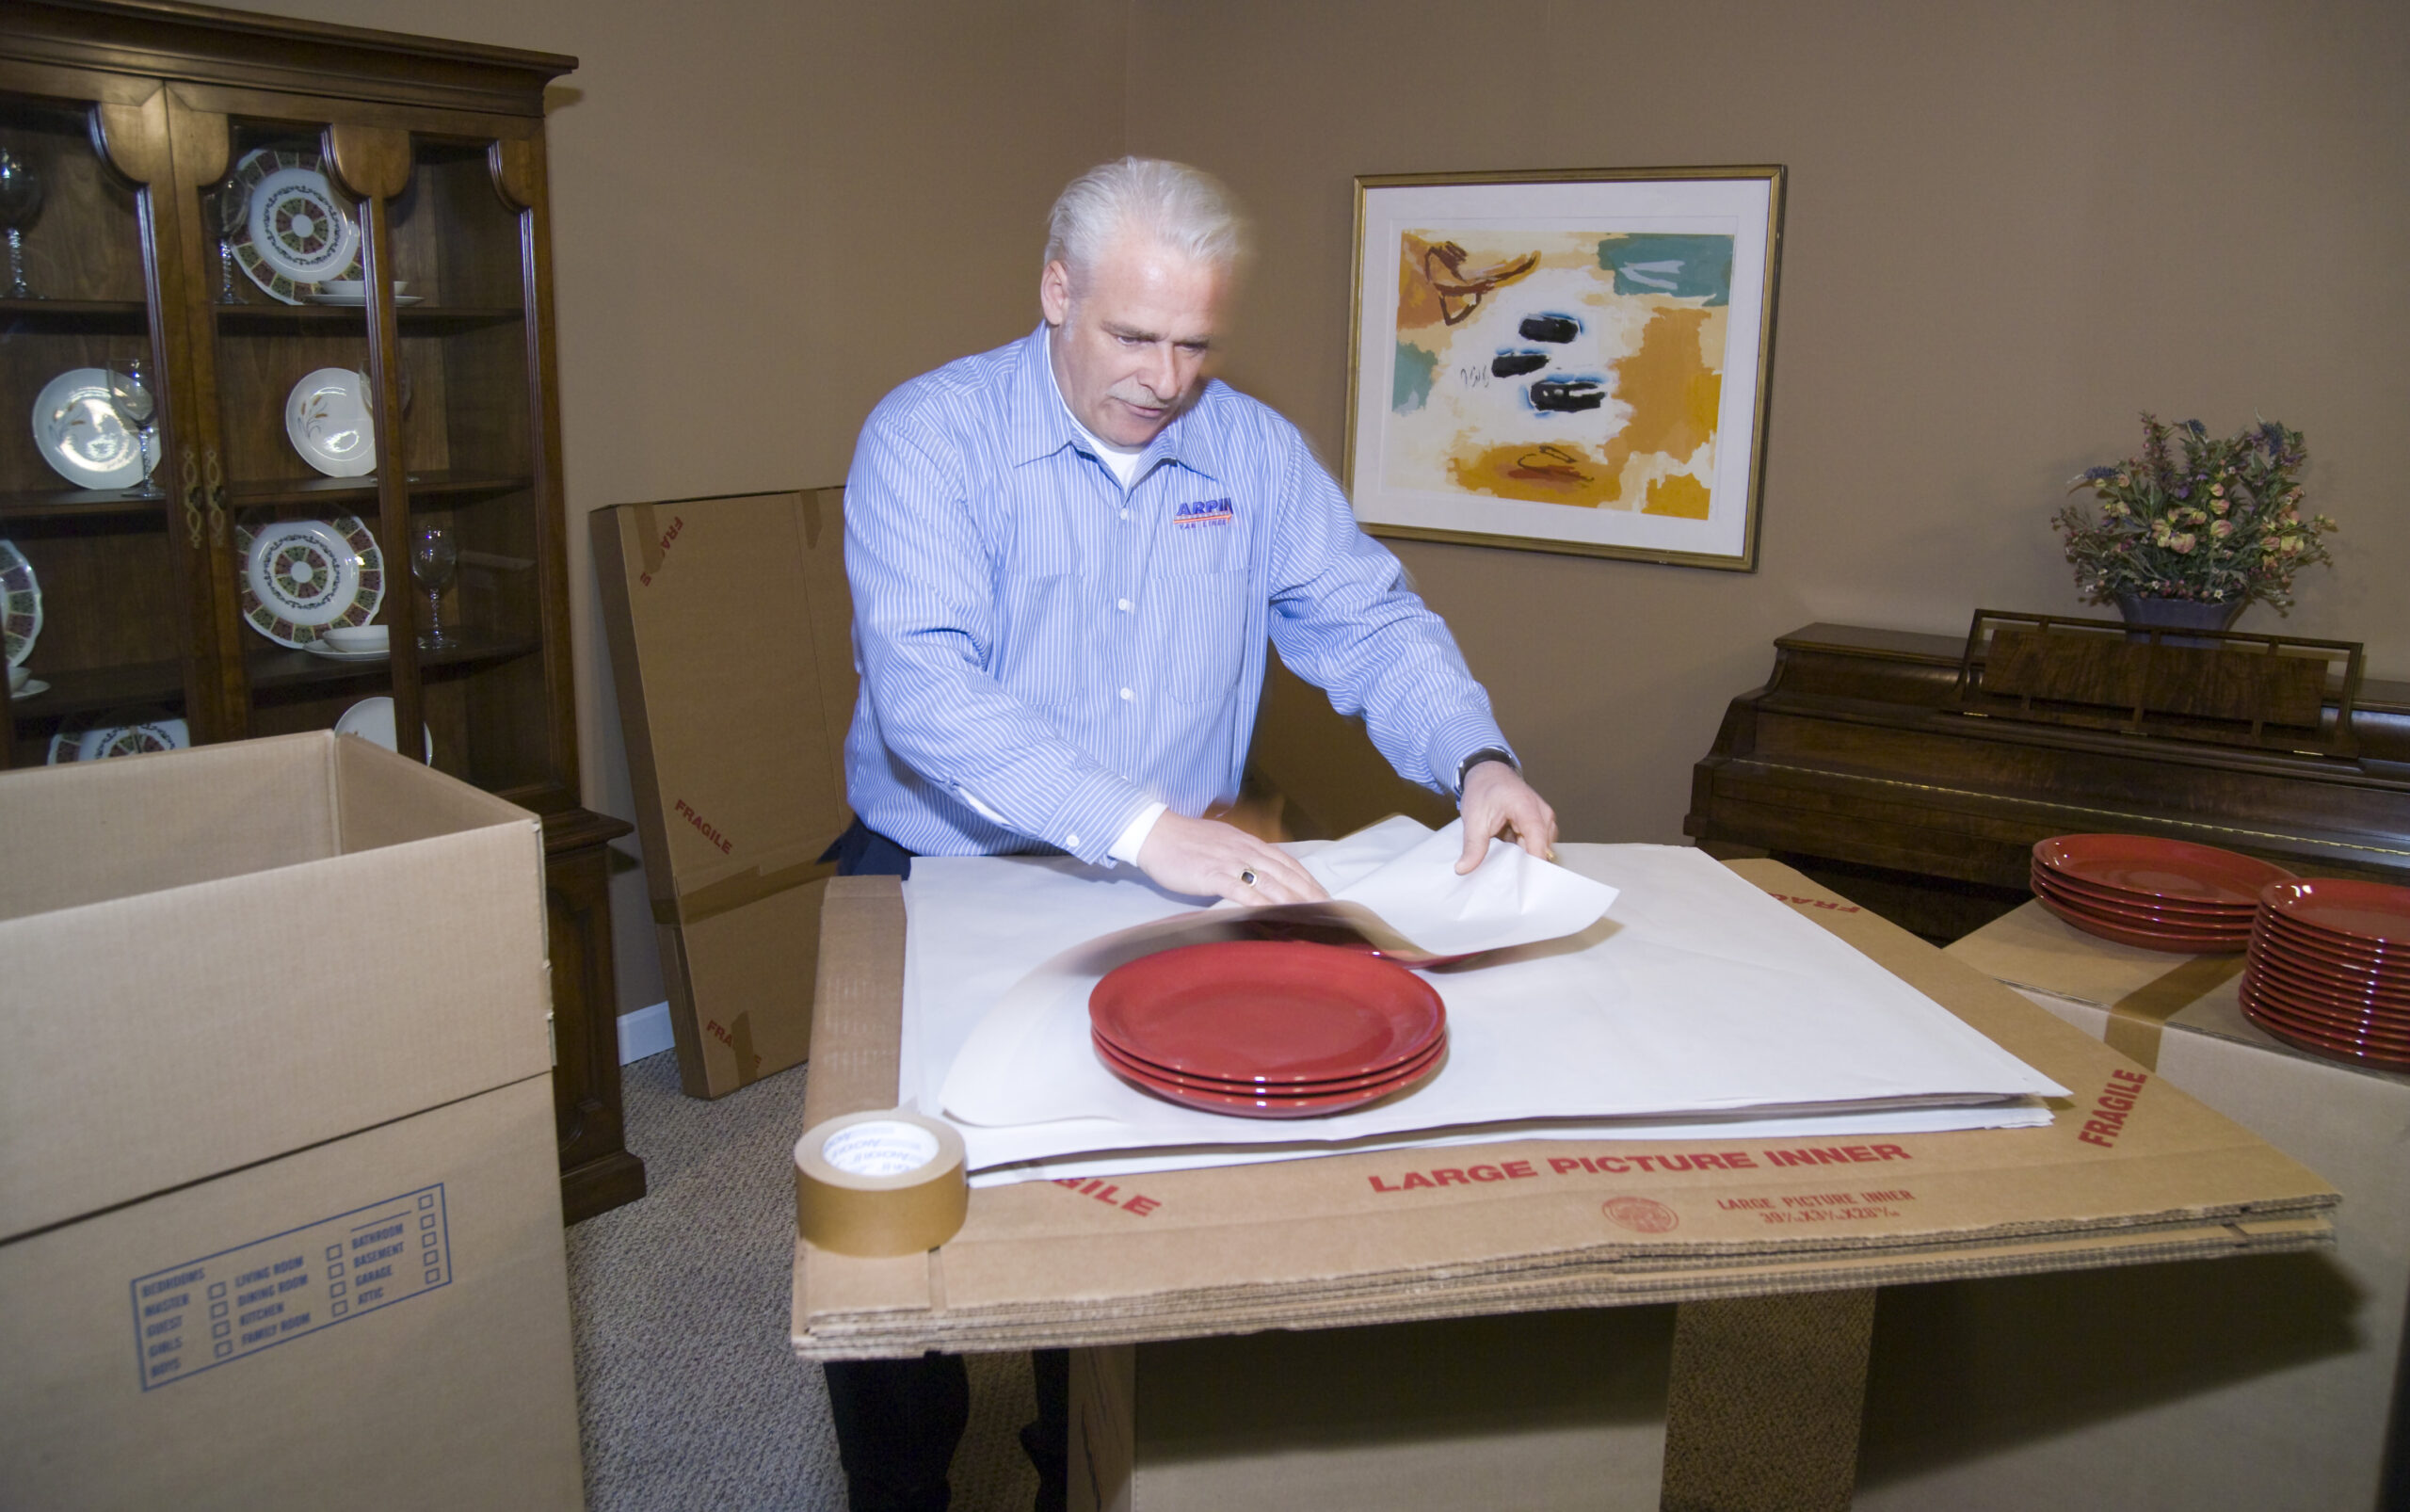
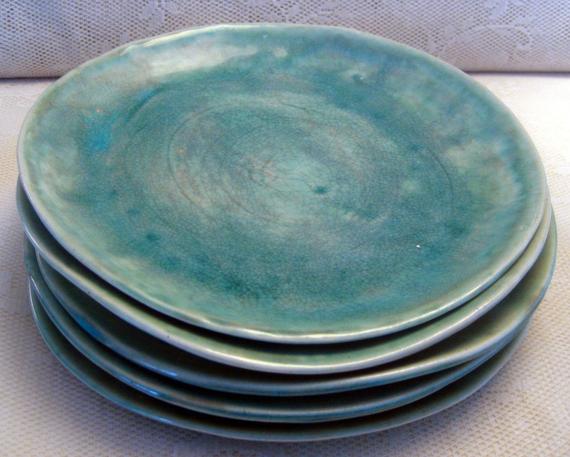
How to pack dishes, plates, or china
 Plates are made from a single brittle material, usually porcelain, ceramic, or terracotta. They are extremely susceptible to impacts, pressure, or chips. All items made of these materials should be packed in a thicker carton; preferably a dish barrel.
 While ceramics are very fragile, they are also quite heavy. Items like these should be placed in the lower level of the dish barrel with a generous amount of cushioning. (We are using a cutaway dish barrel to illustrate)
 Very large plates or platters should be wrapped alone using a single or half sheet of large export wrapping paper.
 Plates should be wrapped in white newspaper in groups of 3, 4, or 5 to give them maximum protection.
 Brittle items that have a large surface area but are very thin like dinner plates, china, and platters should always be placed on their edge for transport. Plates are very thick in one direction yet very thin in another.
As an analog for the thinner items like plates and platters, consider the floor joists in a house; a standard 2 by 10 (really 1 ½ “ by 9 ½ “). If the 2 by 10 is placed horizontally and a man stands on top of it, it will sag because it is behaving like a material that is only 1 1/2 inches thick. However, if you position the joist on its edge, it is 6 times stronger because it is behaving like a material that is 9 ½ “thick.


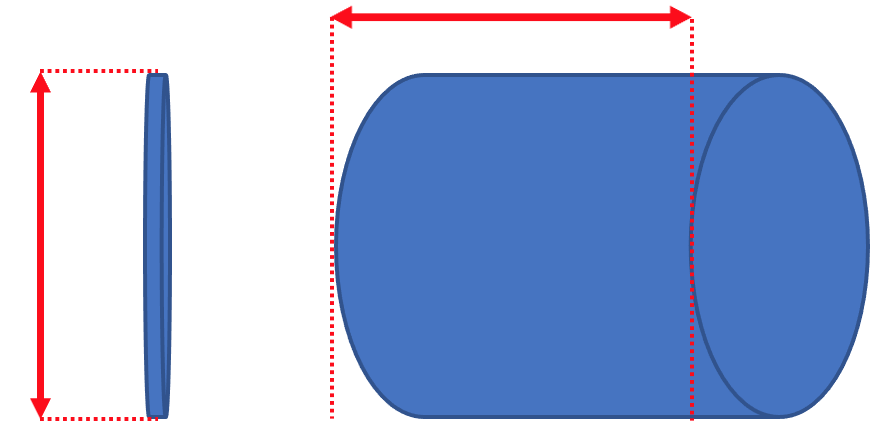 Placing a wrapped plate or platter on its edge gives it the same strength of an item as thick as the plate is wide. This same principle is true for all fragile thin items like china plates, saucers, platters, framed pictures, glass cooking lids, etc. All of these wide, yet thin items are significantly stronger when packed vertically rather than horizontally.
Packing dinner plates with the horizontal layering technique
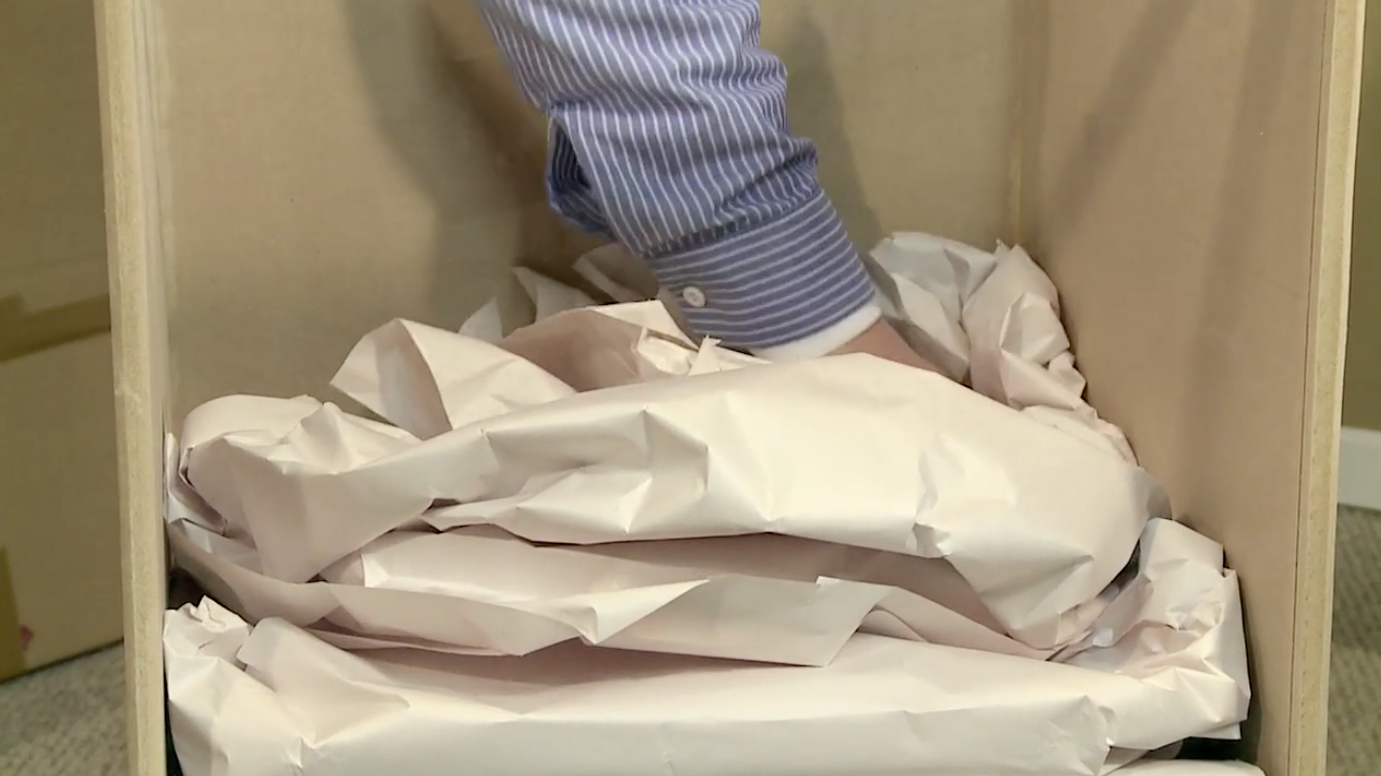
 The horizontal layering technique is used by Arpin RI packers and it is perfectly suited to pack dishes and china. To illustrate this, we will use this specially constructed cut-away carton to demonstrate. The first procedure is to add a significant layer of crushed paper as cushioning.
 Every carton containing fragile or breakable items must have a layer of bottom cushioning consisting of 16 sheets of crumpled paper. This may seem like a lot, but after 100 pounds of china has been placed on top of this layer, it will compress to less than half an inch. It is best to add the sheets 4 at a time in each corner.
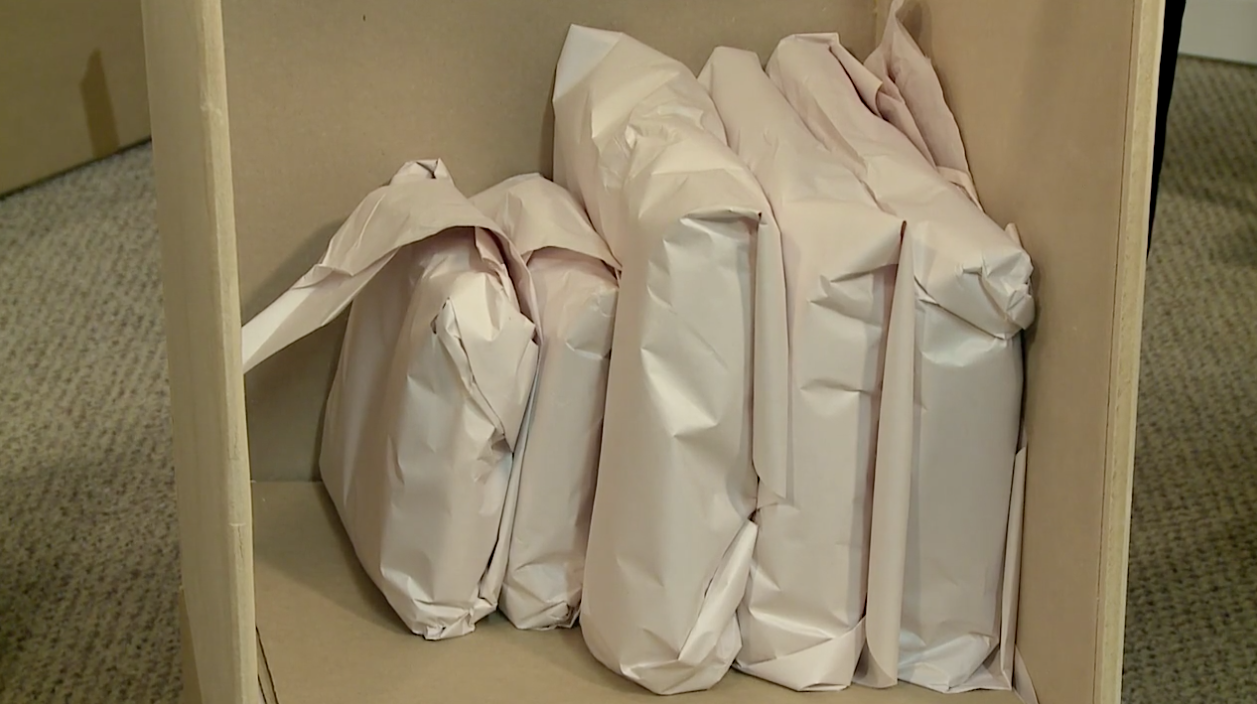
 It is always best to wrap thin mass-produced items like plates together in bundles of 3 or 4 to give them more support. The only exception to this rule is when the plates are handmade and irregularly shaped. These should be individually wrapped twice and then re-wrap bundled together in 3’s or 4’s.
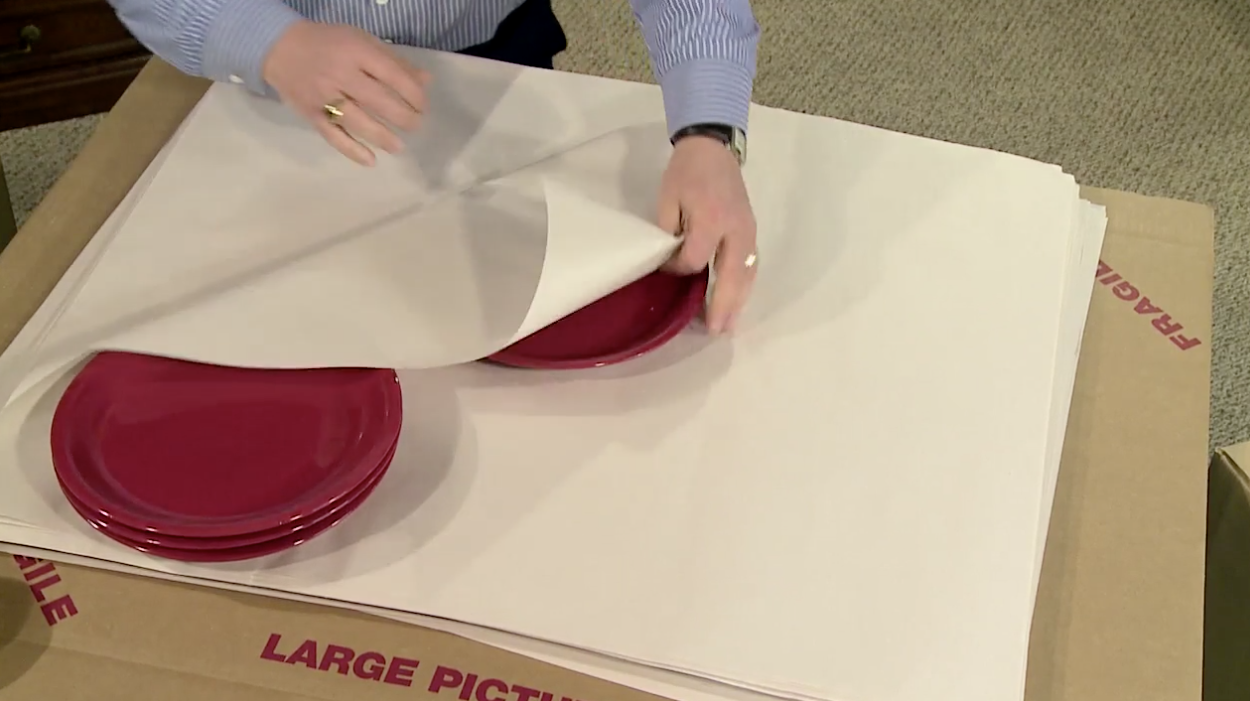 Once the bottom cushioning is set, we select the largest available item first: the dinner plates. Take a plate from the stack and place it centered on the paper about a foot in from the corner of white news. Flip the corner of one sheet of paper over the first plate until it’s completely covered.
 Take one of the remaining plates and place it on top of the first and flip over the second piece of paper. Continue until all 4 plates have been covered.
 Next, neatly fold the left side of the paper over the plates. Fold back any excess that extends beyond the plates themselves. There should be a 90 angle formed by the left fold and the rear folded edge
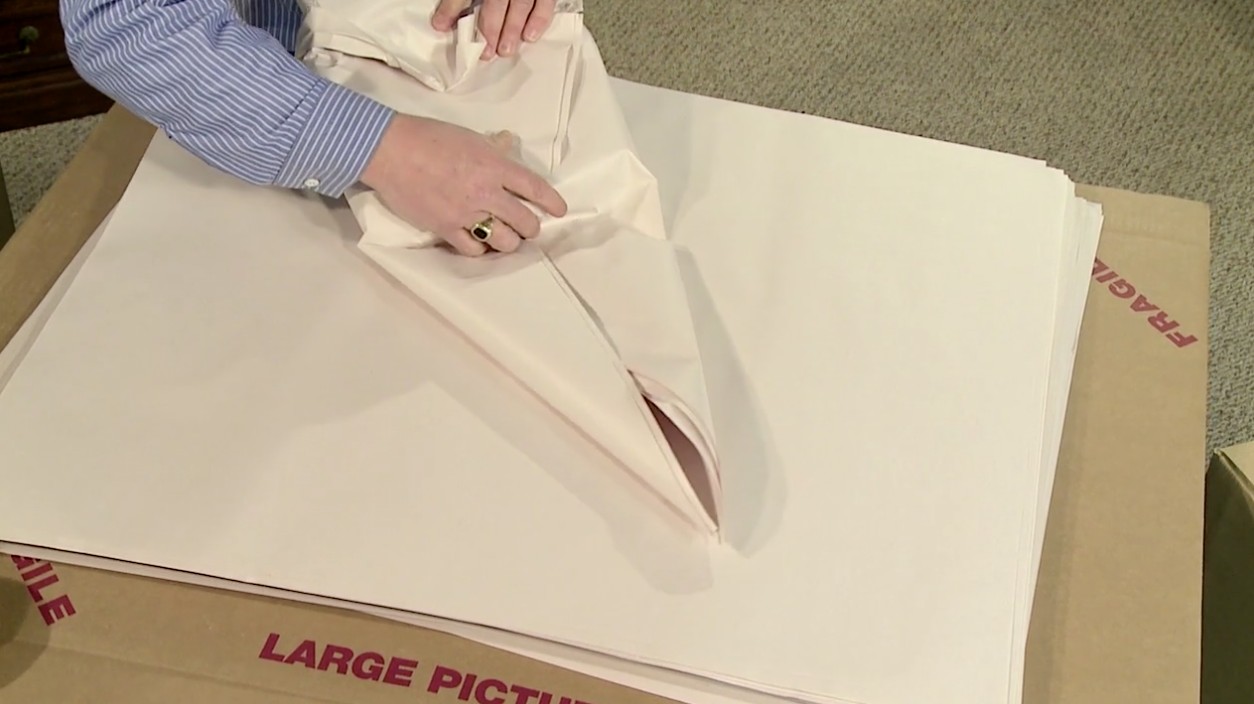 Then repeat the process with the right side. Fold back any excess paper that extends past the plates. Draw the bundle towards your body and using the edge of your hand as a template, carefully fold this whole bundle of plates over away from you so the plates are upside down.
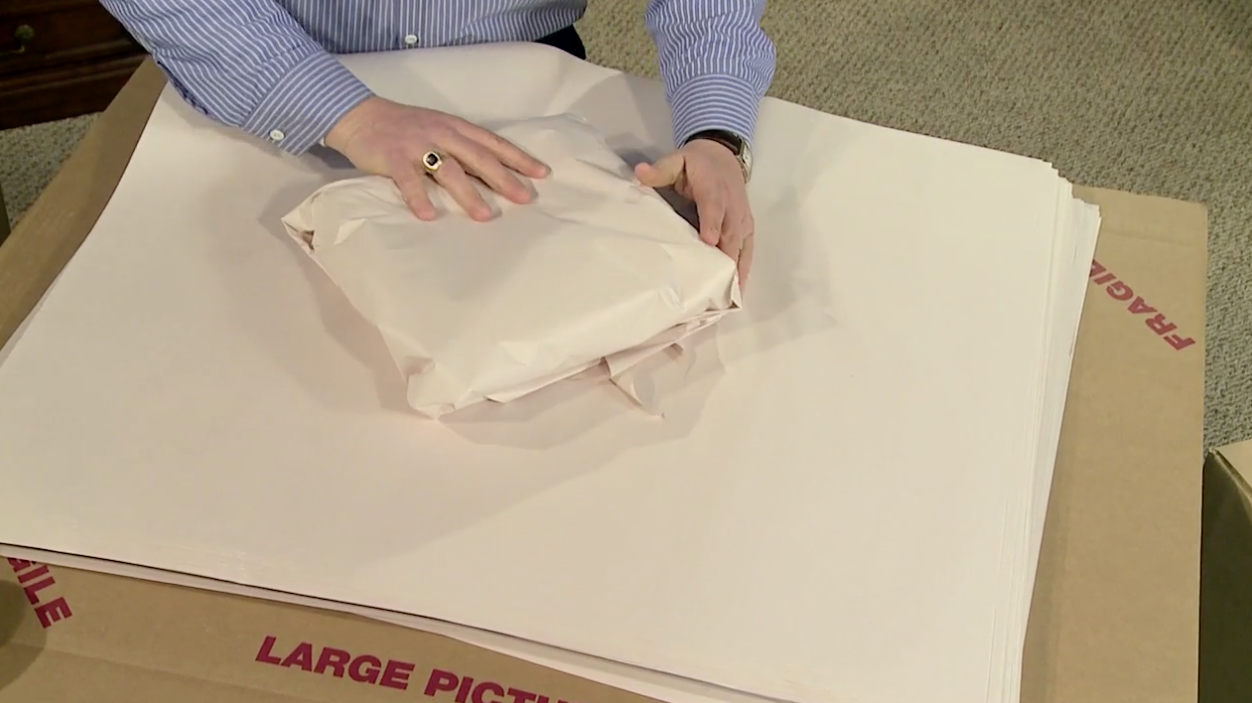 Flip it a second time and the plates are back in their original upright position wrapped with 4 sheets of paper.
 Now we have to add some trapped air to protect the bundle. Draw the whole bundle
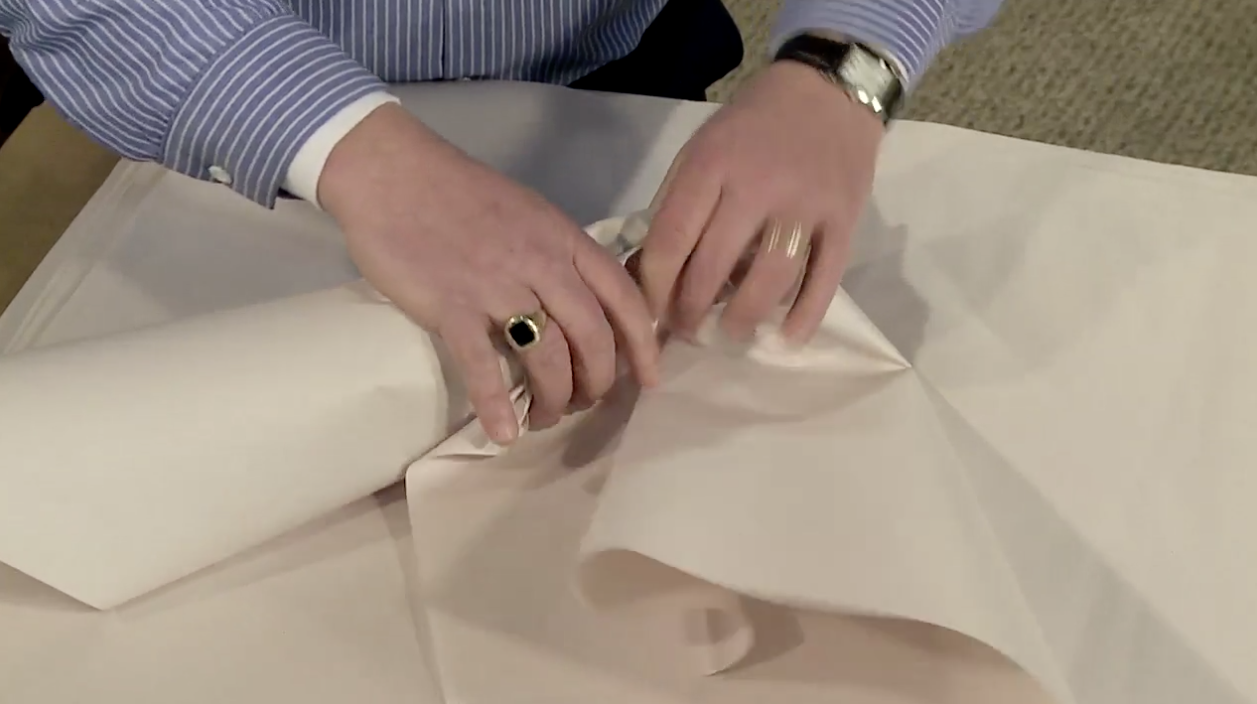
back to the original starting place and flip 2 more sheets of paper over the bundle and wrap it as it were one single item. Fold in the left side, fold in the right, and flip the entire bundle away from you several times. Depending on the fragility and value of the china, you may repeat this additional wrapping several more times to ensure that the plates are thoroughly protected.
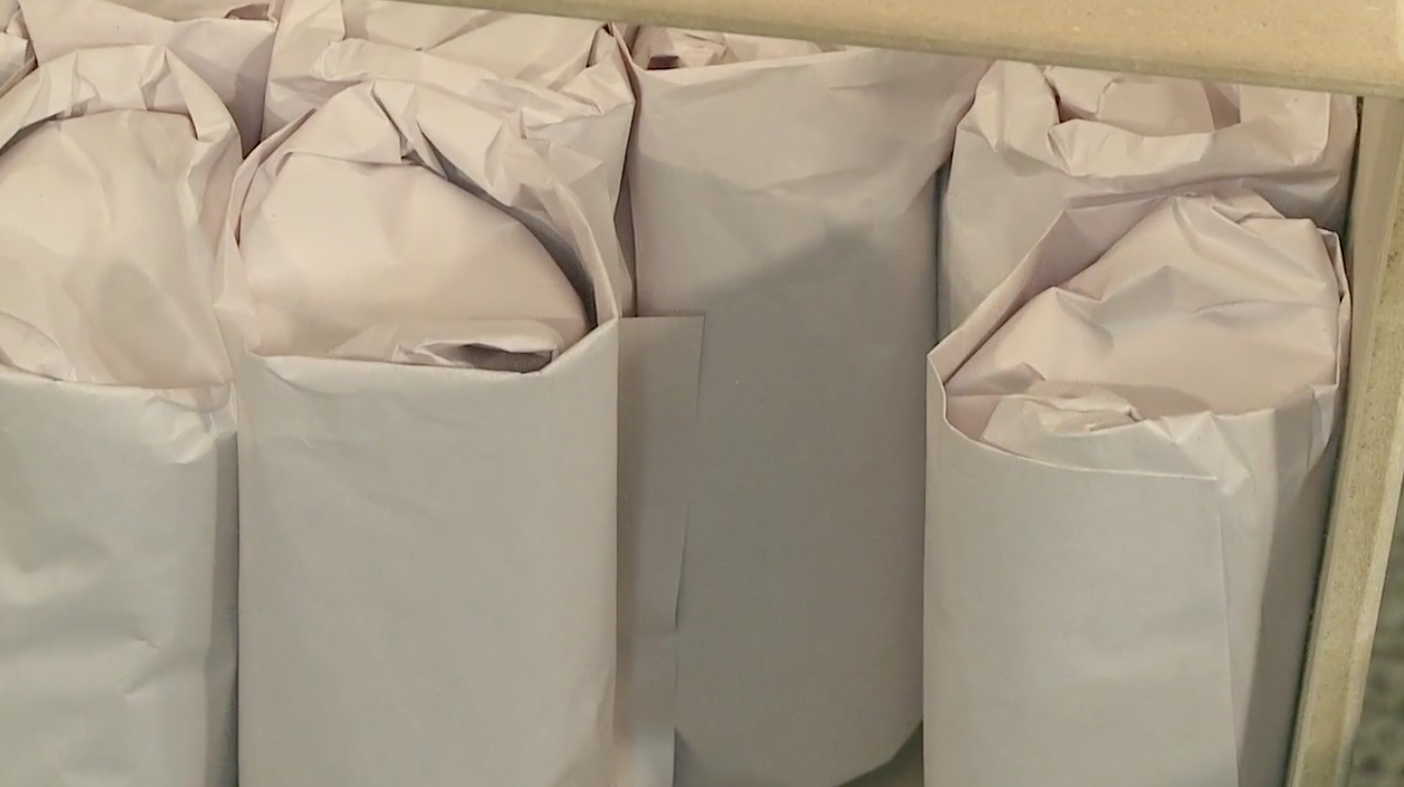
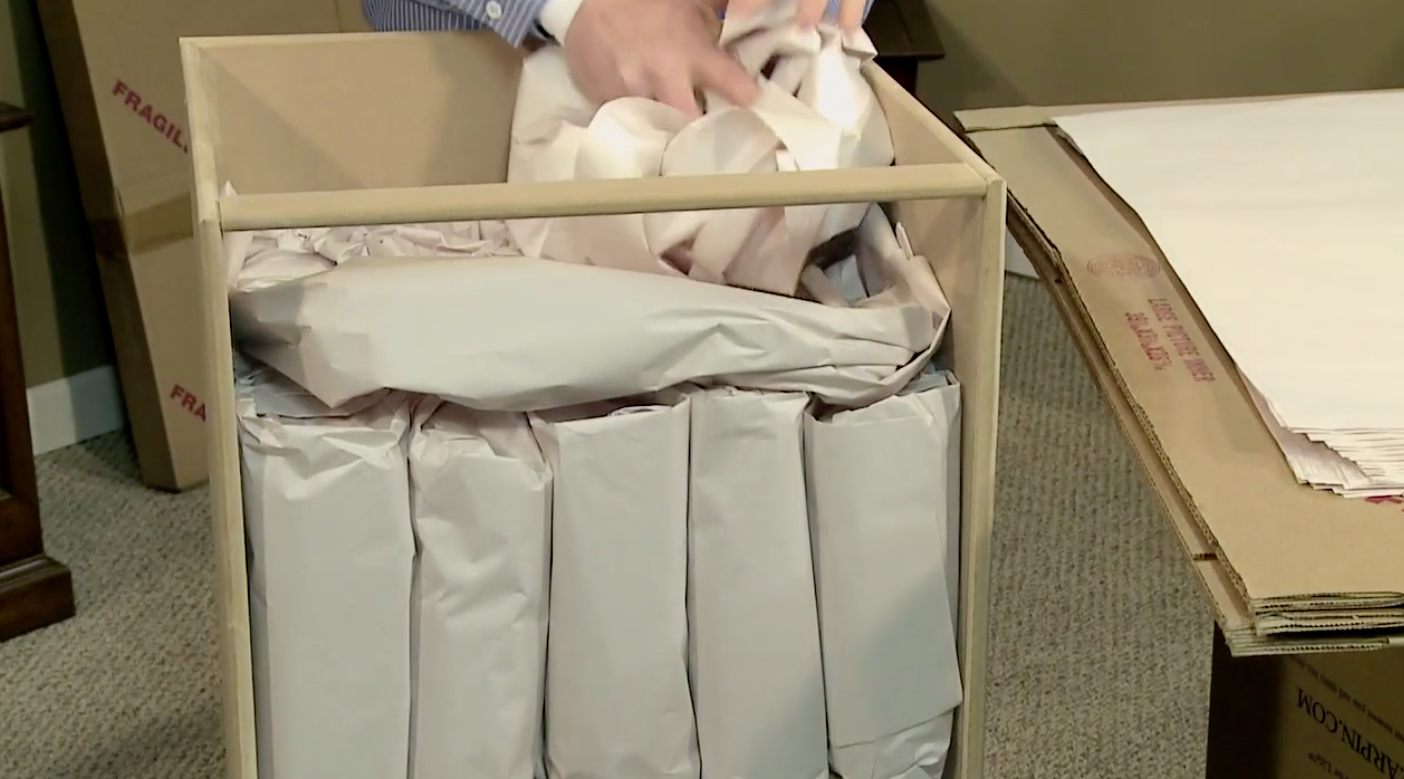
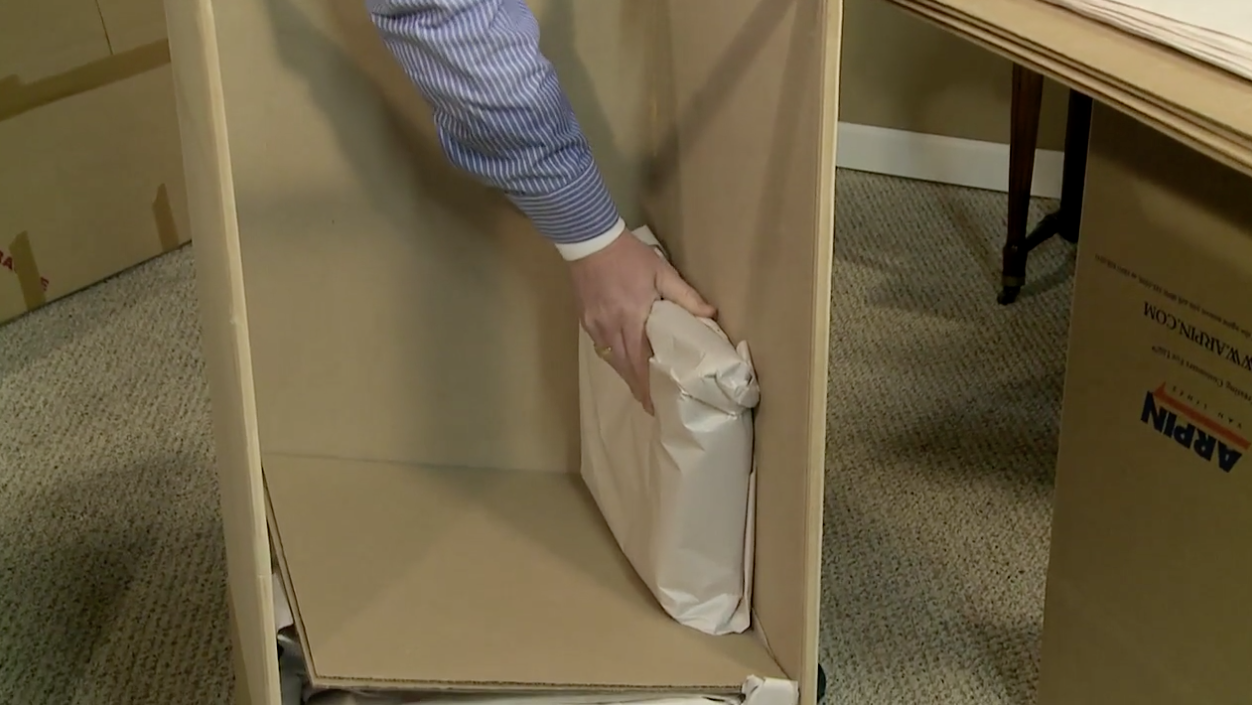 When you’re through with the wrapping process, you should have a bundle containing 4 dinner plates that are approximately 3 inches thick. Place the bundle on its edge in the bottom corner of the carton with the loose tail of the wrapping facing the side of the carton so the bundle doesn’t unwrap.
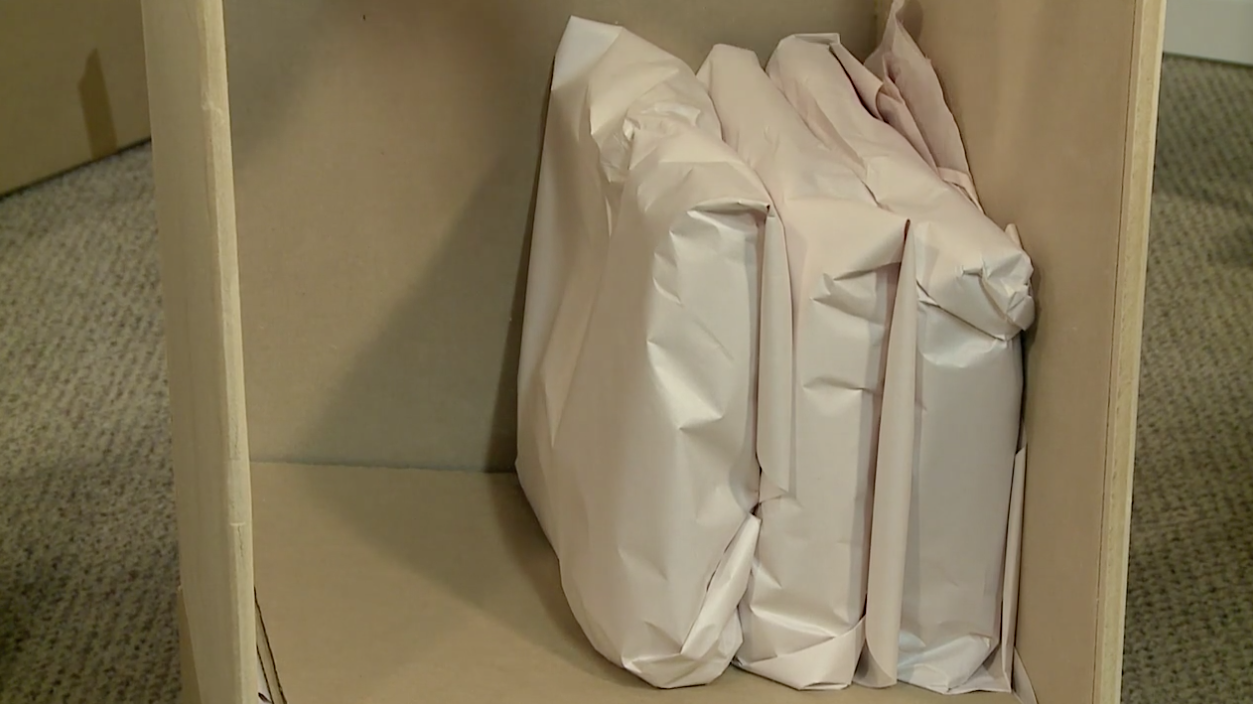 Repeat this process until all 12 of the dinner plates have been wrapped into bundles and placed with the tops of the plates all facing the same direction across the carton.
Wrapping the other china pieces in a service
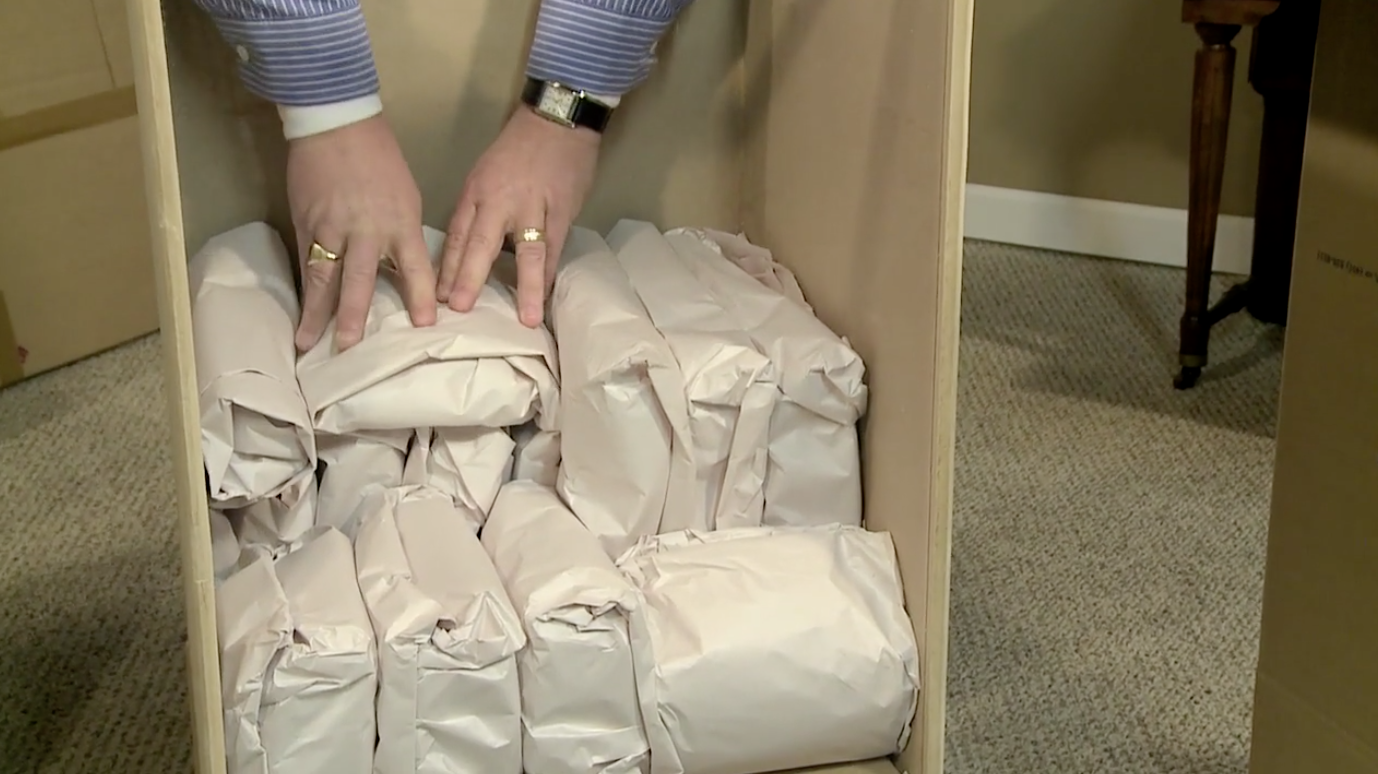
 We’ll use the same techniques to wrap every other flat plate in the set; the salad plates, the bread plates, and saucers. They should be placed in the carton so that they are snug, but not so tight that all of the protective air is forced out of the wrapping.
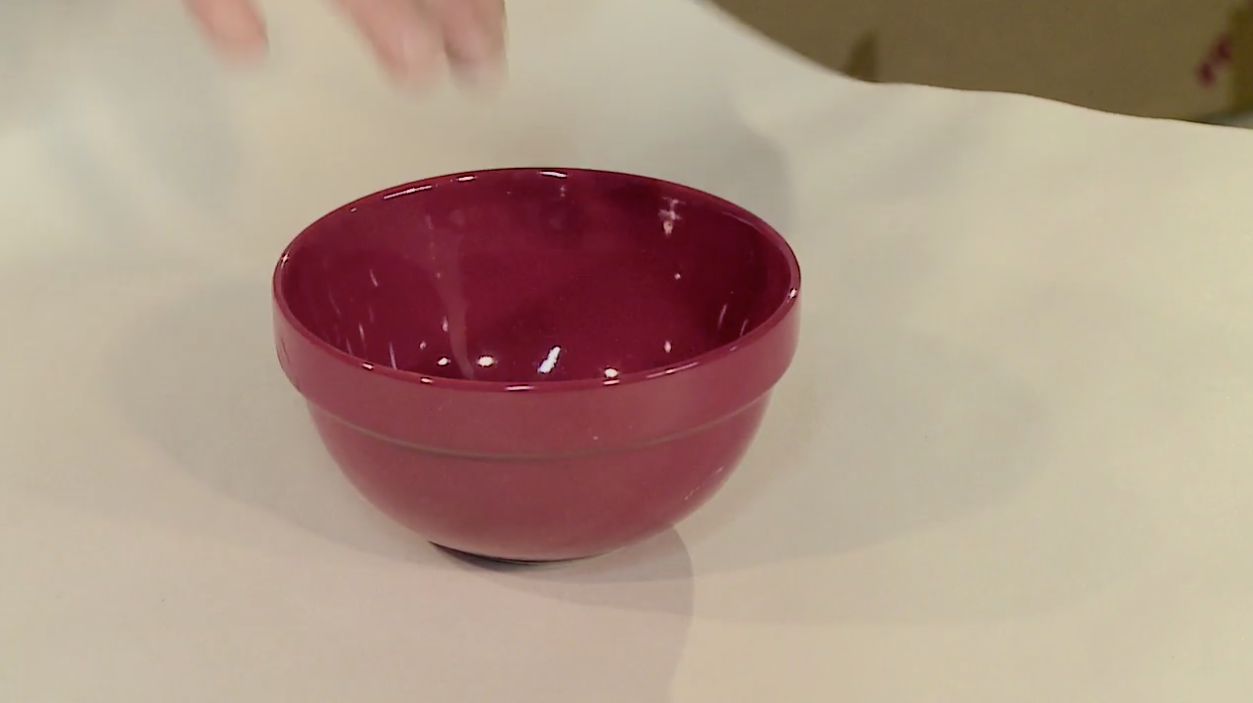 When it comes to deeper dishes like salad bowls, soup bowls, serving bowls, wrap these individually; not in groups. Every article in the lower level of a dish barrel should be wrapped a minimum of 3 times with white newspaper.
 Because of the height differences between the various plates, it will be necessary to place some smaller items on top of the lower areas to bring them up to the same level as the larger plates. We’ll need to choose some durable items which are appropriate to be packed horizontally. Linens, towels, and table cloths are perfect for an evening out layers as well as offering some shock absorption.
 After the lower layer is made even, place the second layer of 12 to 16 pieces of crumpled paper over the first. At this point in the packing process, the carton will already weigh around 40 pounds. Continuing to place more china in this carton will result in a carton that will be too heavy, most likely dropped, and the bottom layer of china damaged because of the mishandling.
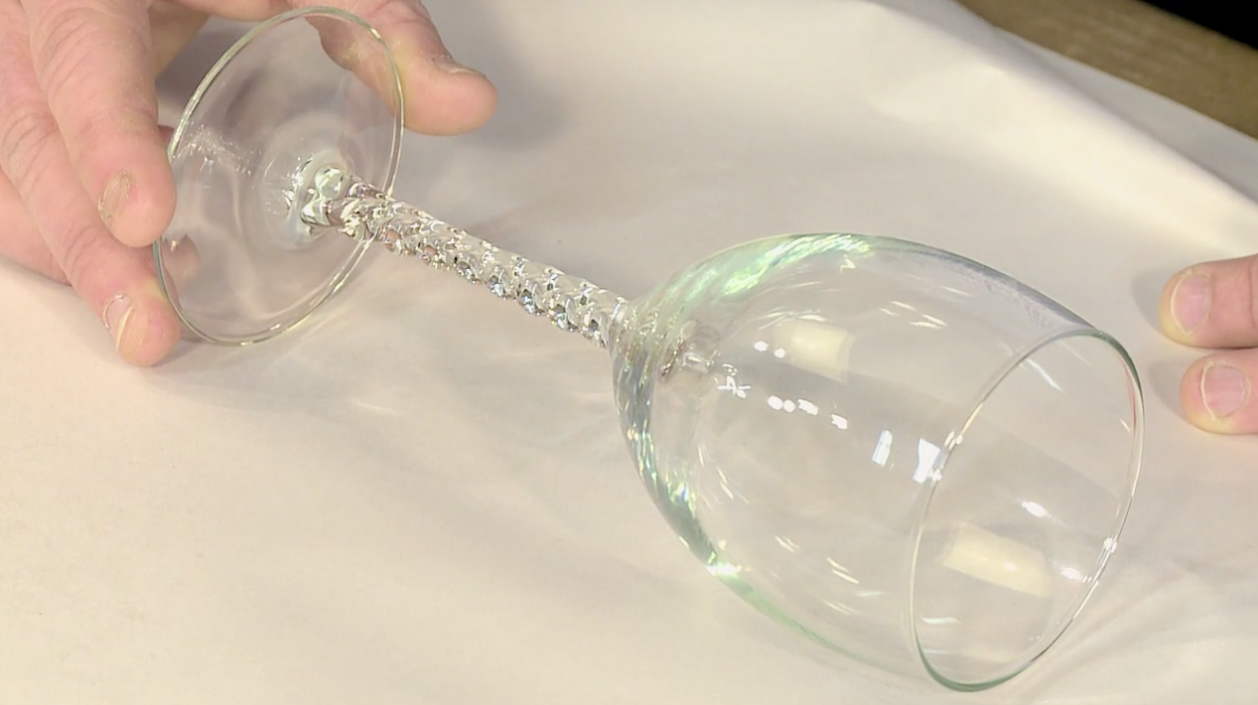
 Choose articles to go in the second layer that will keep the overall weight reasonable. In this case, drinking glasses would be a good choice. To start, place the glass in the center of the paper about 6 inches from the edge.
 Next, flip over the paper away from you so the glass is covered and roll it away from you once or twice, next fold over the left side about half an inch beyond the end of the glass and roll it once more. Finally fold in the right side, again leave a half-inch gap to the bottom of the glass, and roll until the paper is used.
 The fragility of the glass will determine how many times it needs to be wrapped. Everyday glasses need just one layer of wrapping. Sturdy crystal glasses like Waterford will need 2-3 layers of wrapping, and very fragile glasses like Steuben will require 3-4 layers.
Depending on the diameter of the wrapped glasses, you will typically fit 4-5 across the carton or a total of 16-25 glasses per layer. It is always better to offset rows of round glasses slightly so the number of contact points increases from 4 to 6; thereby reducing the chance for breakage by 50%.
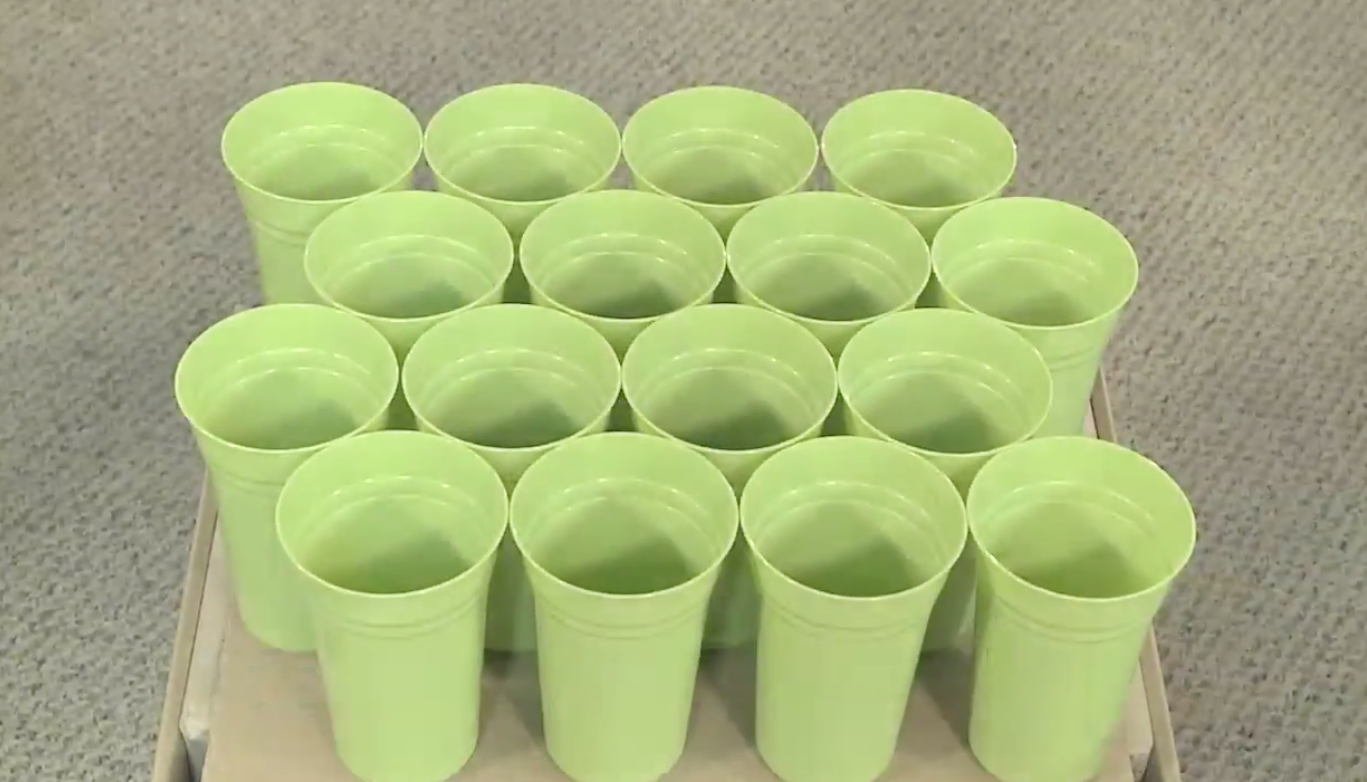
 Completely fill out the middle layer with lightweight glassware. Remember, you want the glasses to fit just firm enough to be stable, but not so tight that the air is forced out of the wrapping.
 Once the second level is completed, add 12 sheets of paper as a cushion. If needed, also add a single layer of cardboard as a separator.
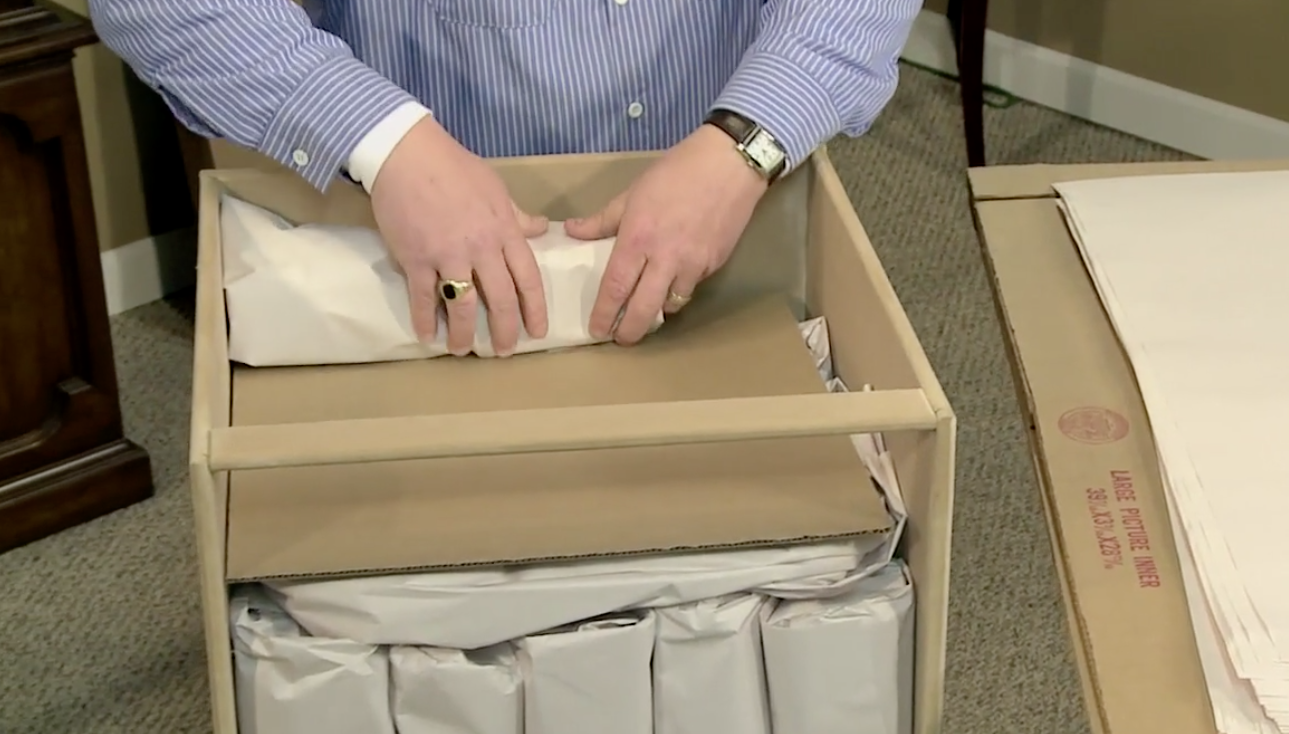 Depending on the size of the carton you’re using and the items you’re packing, two layers may be all that is necessary. If you need to add a third layer, it should be filled with very light, fragile items like teacups. For very delicate items like these, it is best to use just one layer of paper wrapped very loosely around the cup. Pay close attention to the position of the handle so it can be protected when the item is placed into the carton.
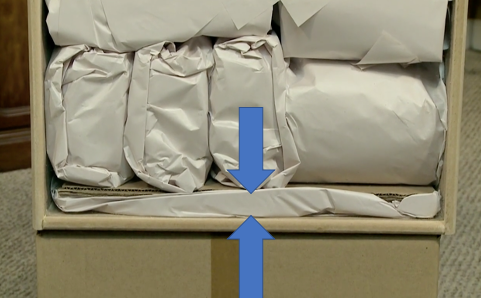
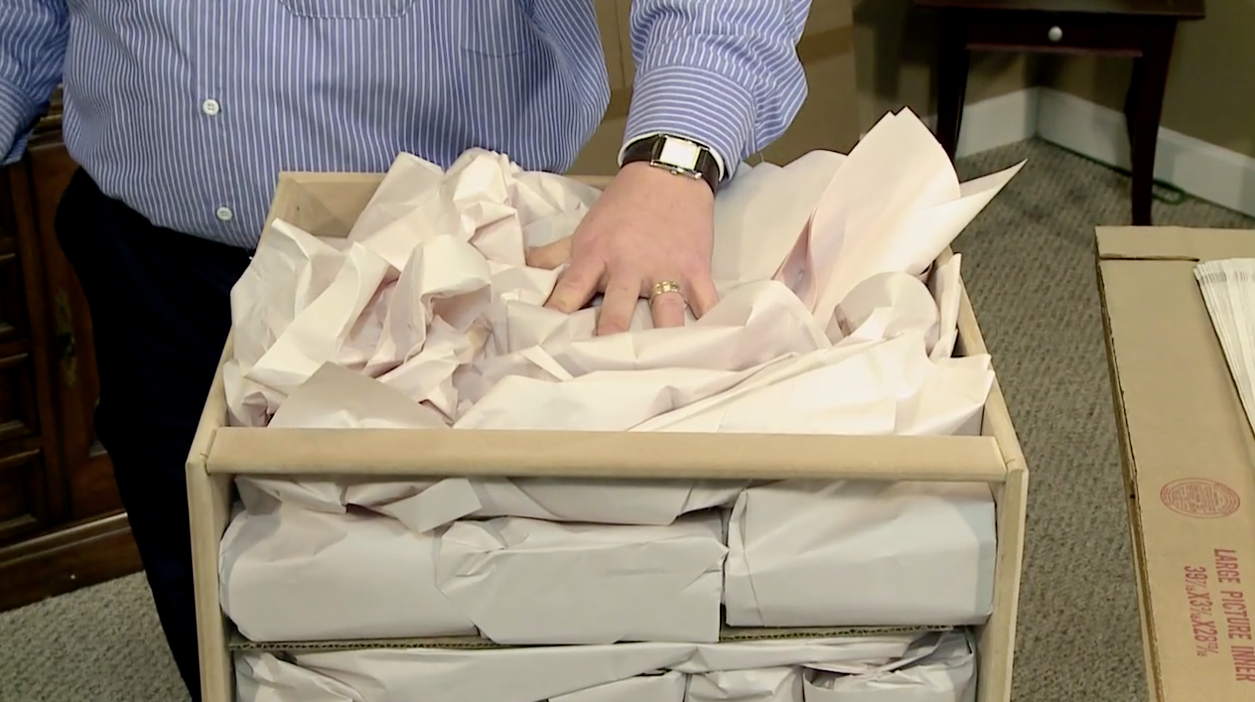 Never completely fill a dish barrel to the very top with articles. Always leave an inch or two for the top padding of crumpled paper that will support the carton flaps.
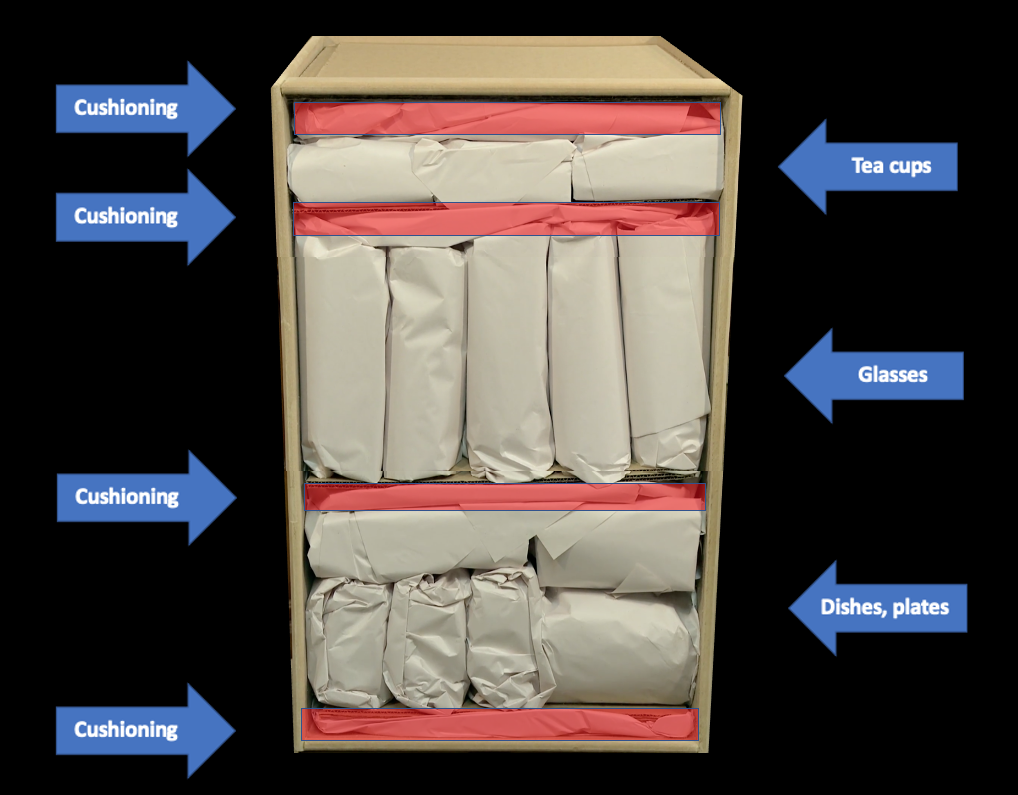 A finished china carton should have several distinct layers of items. Each horizontal layer should be separated by a layer of cushioning paper. The bottom and top of the carton must also have a layer of cushioning paper to guard against breakage from handling and transport. Seal with three layers of tape, label properly, and stack the carton along the perimeter of the room.
How to pack different foods/canned goods
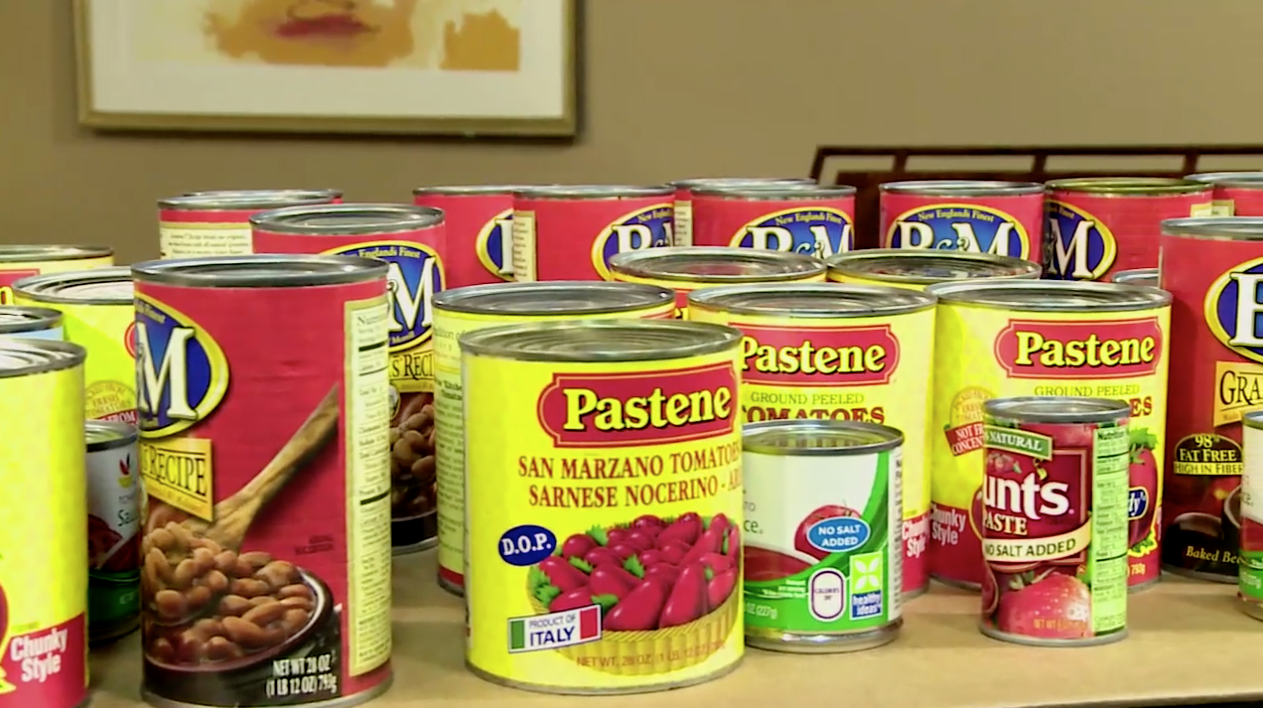
 When packing food in the kitchen or pantry, use the same system like the pros at Arpin RI utilize. They separate the foodstuffs into four different groups; can goods, dry goods, liquids, and bags, and pack them with four different approaches. We’ll cover them one at a time starting with canned goods.
 Heavy items like canned goods will always go in 1.5 cartons (or the smallest carton you have.) A full 1.5 with canned goods will weigh over 60 lbs. Evaluate the array of cans to be packed before you start. Since we’re using the horizontal layering technique, we’re not worried about the diameter of the cans; we’re more interested in matching can height.
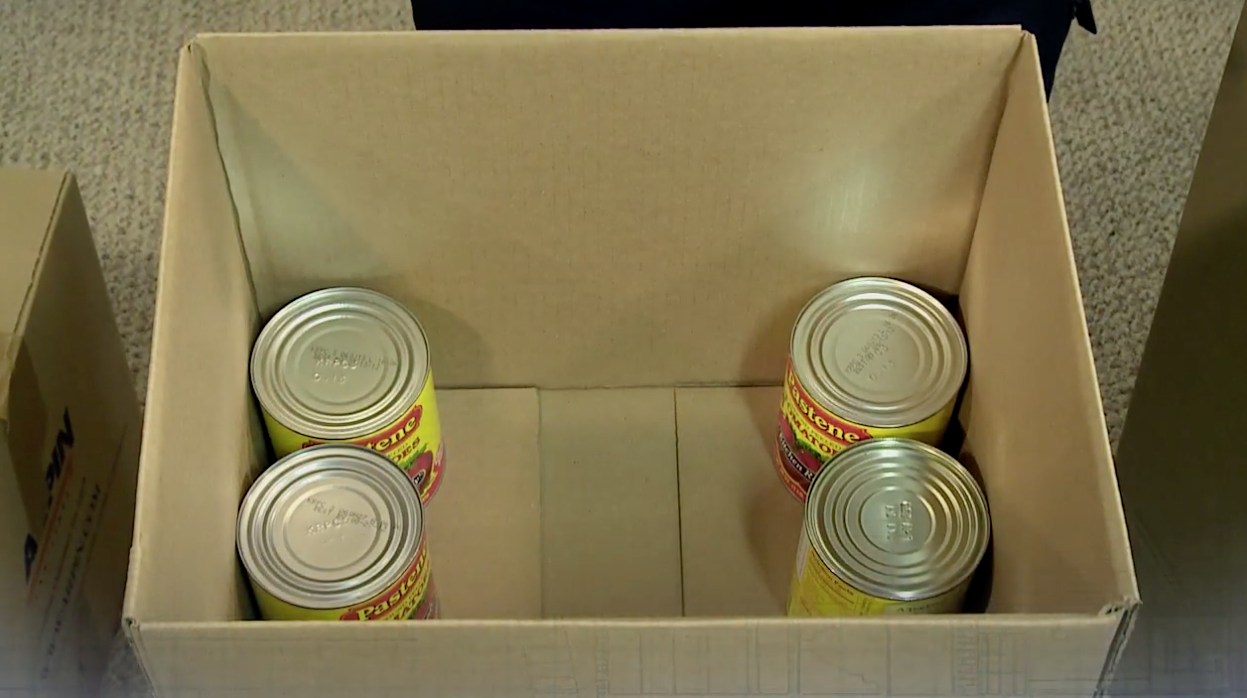 To begin, place the tallest, and/or widest cans in the corners of the carton.
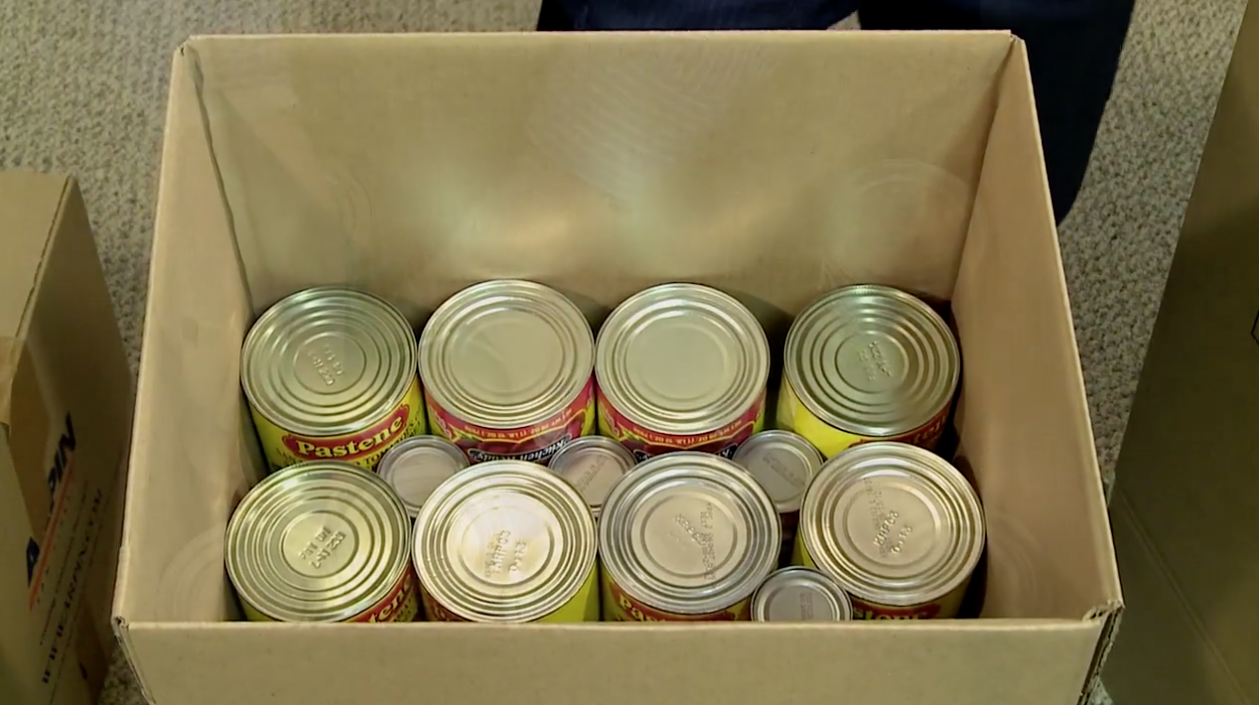 Next, fill in around these large cans with medium-sized cans. Always choose the largest available cans first, and the smaller cans last. Fill in the smallest spaces with thin cans like tomato paste.
 Using this largest to smallest approach allows you to maximize your space. Your goal is to completely fill the bottom level of the carton with cans, then start a second horizontal layer. Construct the second layer in the same way as the first, attempting to use cans of a similar height.
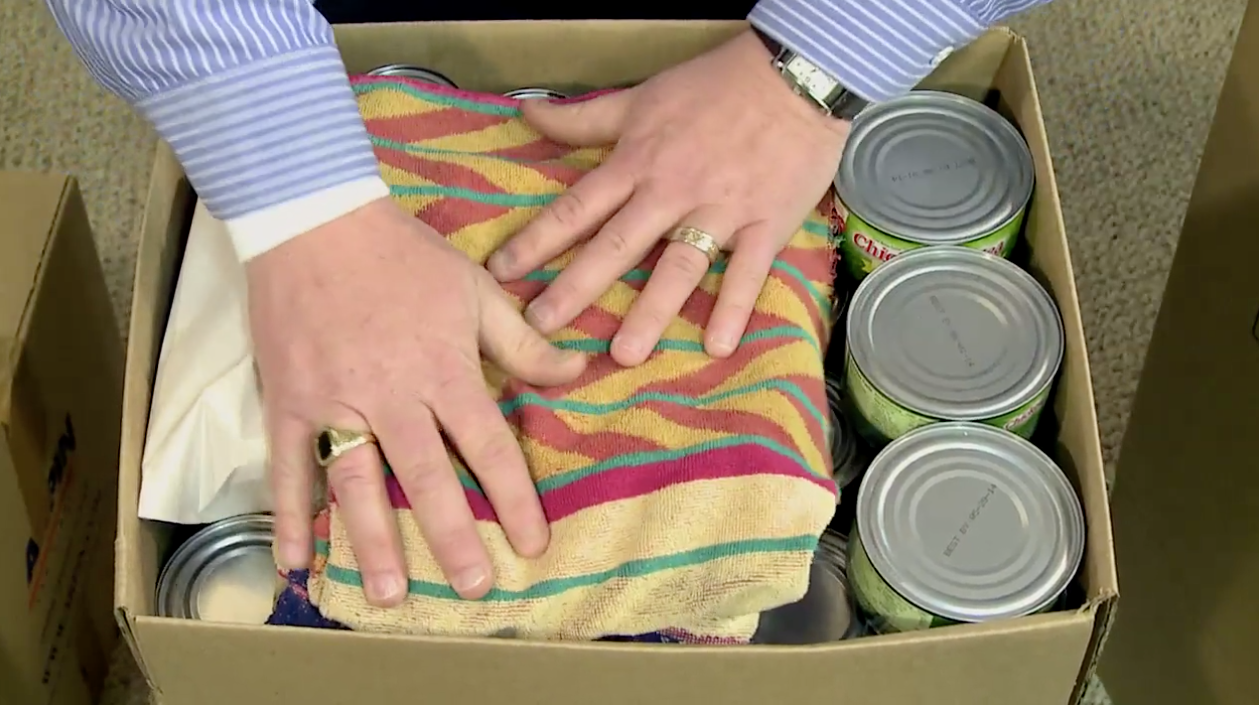 After the second layer is complete, there may still be a small amount of space remaining. Your first choice would be to fill it to the top with very short cans like tuna. Your second choice would be to use thinner, sturdier items such as cookbooks, table linens, or towels. As a last resort, put some crumpled paper on top to completely fill the carton.
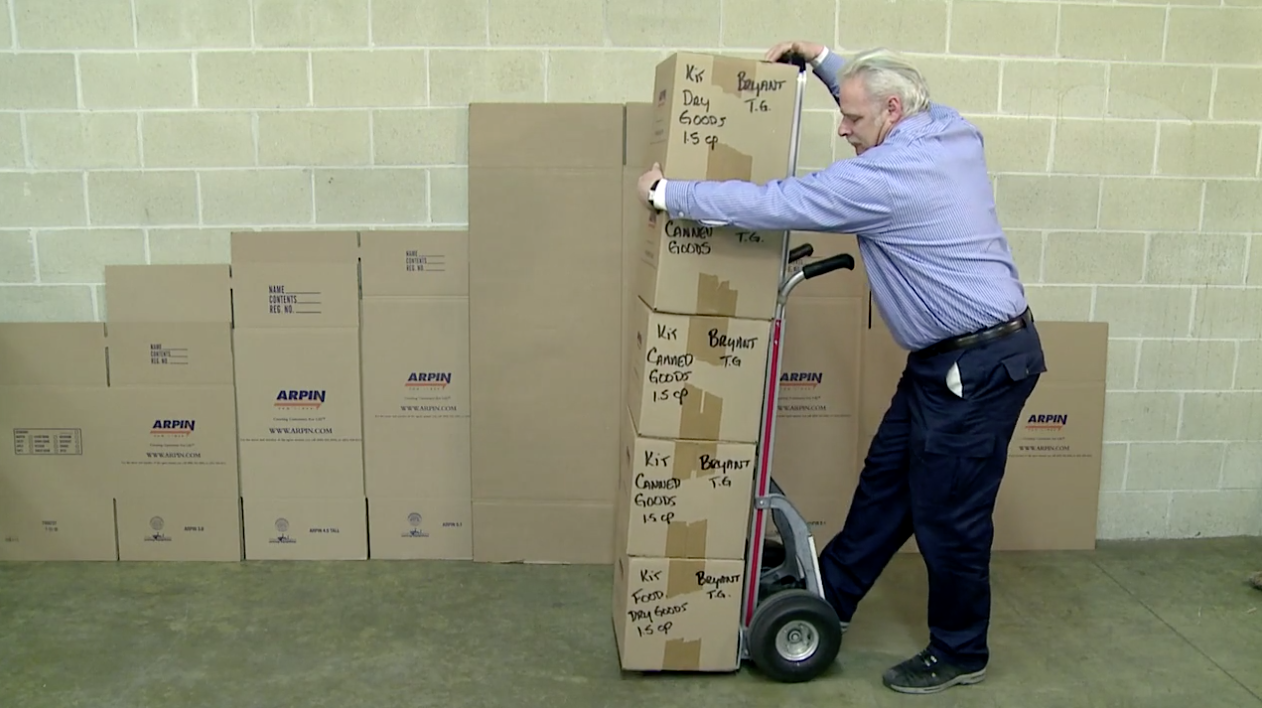 As an Arpin RI mover demonstrates, a properly packed carton should be able to easily support 5 or 6 times its own weight without crushing.
How to pack glass jars
 All foods that come in glass jars should be packed together. These items include pickles, mayonnaise, or peanut butter. These glass food vessels should be wrapped in paper just like any other glass item. Always pack these jars in the upright position with plenty of bottom cushioning. The best option to fill out this container is to use soft pliable items like table linens, paper napkins, or placemats.
How to pack dry goods
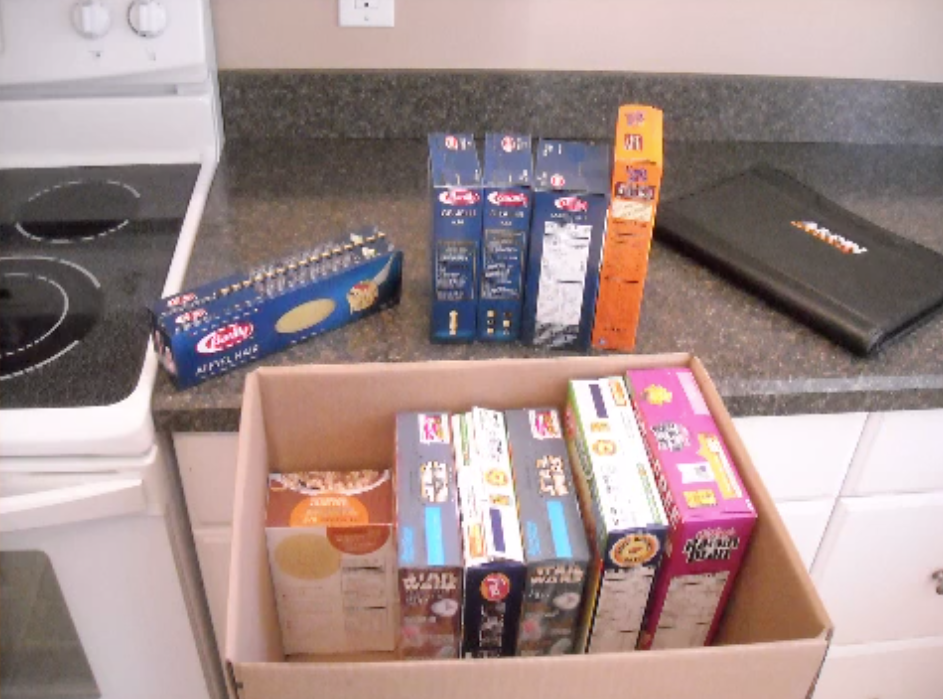 Dry goods packaged in boxes such as cereals, crackers, and pasta can be packed together in either a 1.5 or 3 cube. These items are somewhat fragile, so they should be packed carefully. No one wants spaghetti or lasagna noodles that are broken into a million pieces. As with other items, match height the height as much as possible starting with the largest containers. Fill in smaller voids with smaller containers and fill out the top with thinner cartons or bags containing un-damageable items like rice, beans, candy, Jell-O, or cake mix.
How to pack soft packaged food
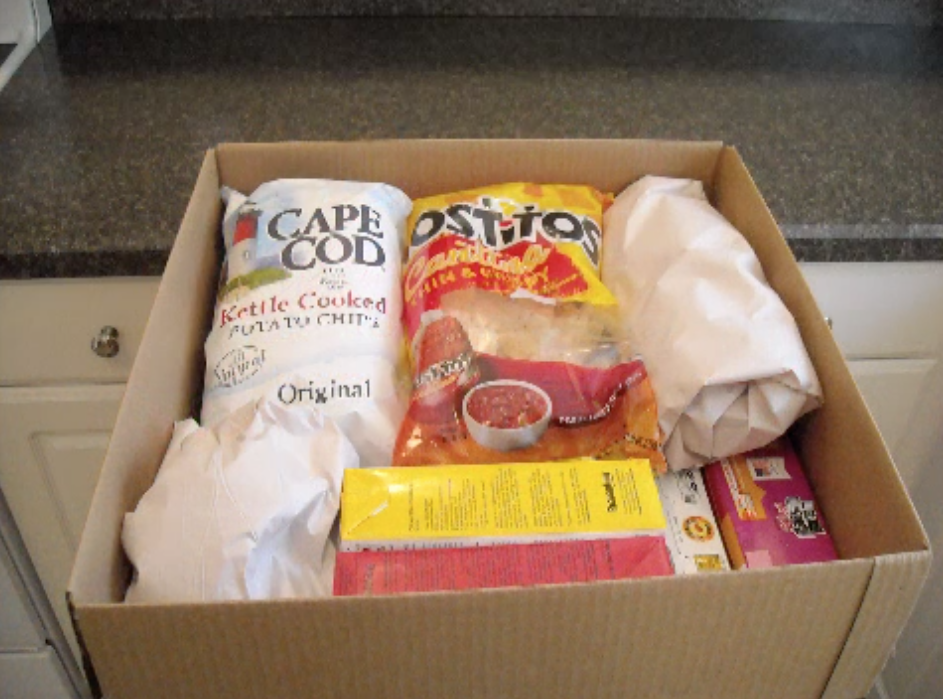 The final group of foods is bagged items such as potato chips, bagged pasta, or cookies. These items should be packed together in 1.5 or 3 cubes. They can be packed alone or used as filler on top of other more durable items, but ensure that you leave a little space on top.
How to pack kitchen drawers
 Kitchen drawers hold many varieties of items such as flatware, utensils, knives, and miscellaneous items. The best approach is to gather the loose items and wrap them together in small bundles of 6 or7 items. The wrapping in this case is more for neatness and organization rather than damage control.
 Everyone has at least one drawer that is a “junk” drawer; a catch-all for pens, clips, batteries, and a million other little things that you don’t have a specific spot to store. The best option by far is to purchase some larger zip lock bags and sort the items by type; office supplies, clips, openers, batteries, etc., and then pack all of the bags into a carton.
How to pack utensil drawers with knives
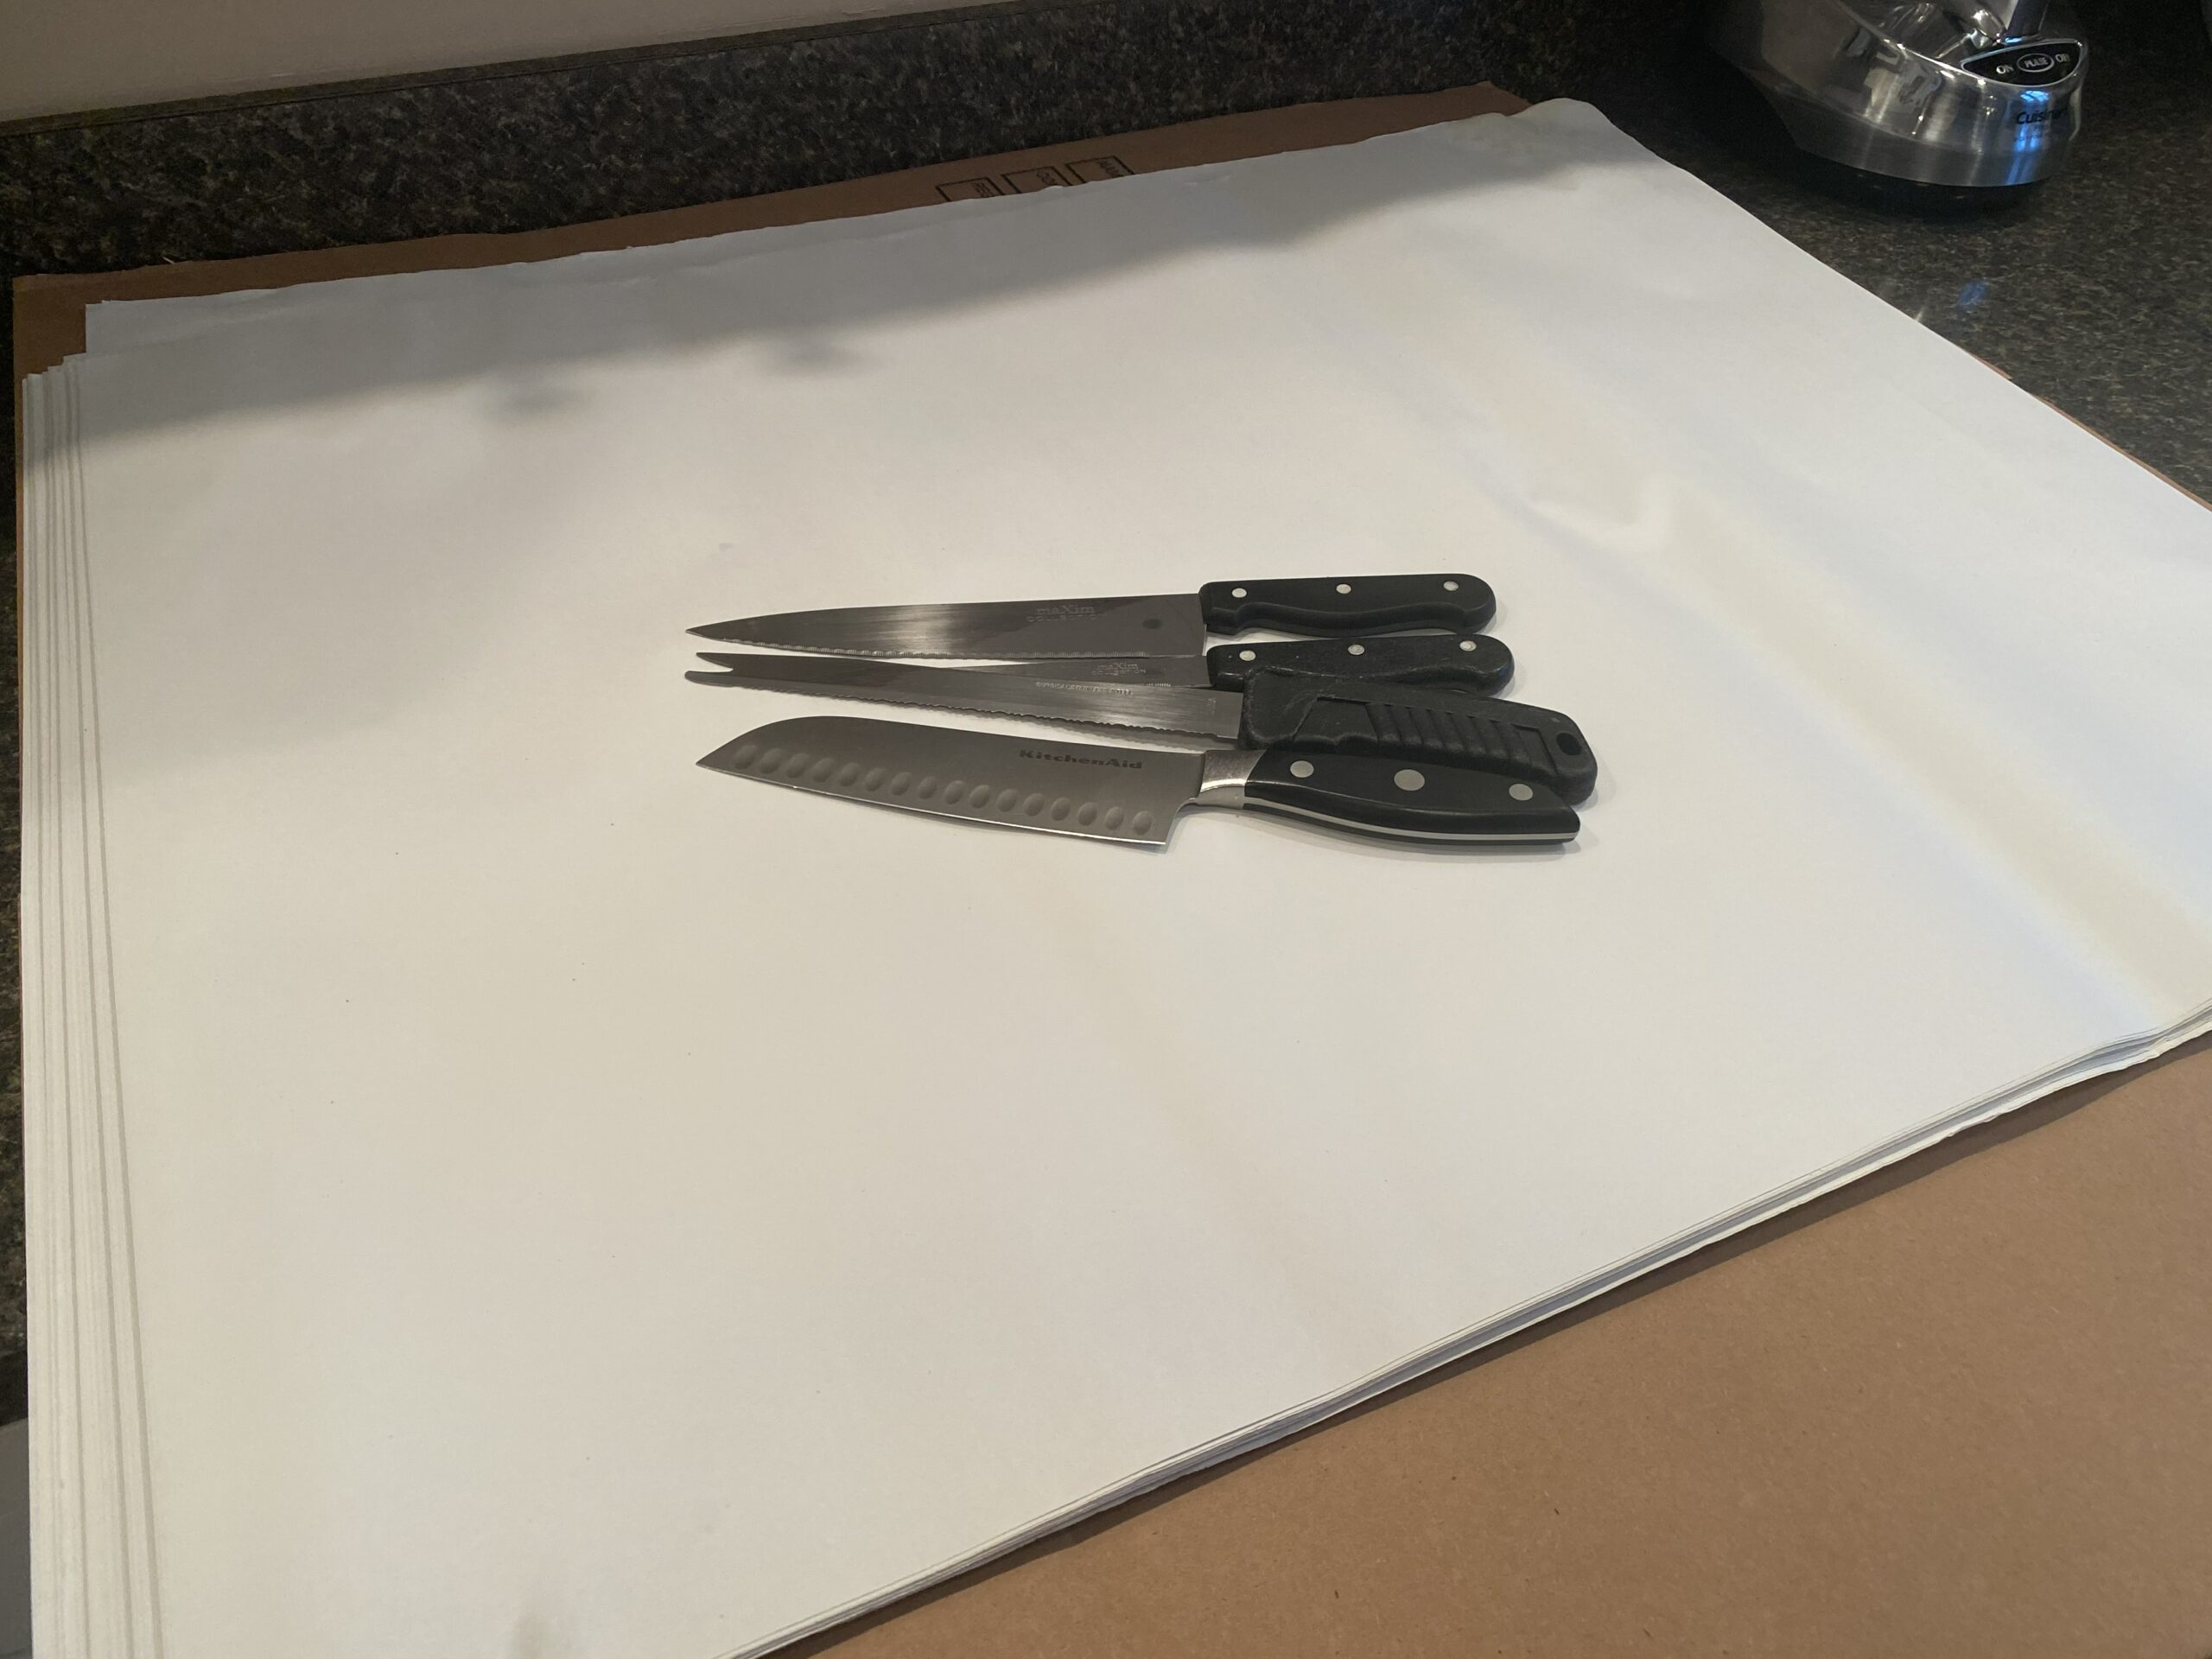 As previously discussed, drawers that contain cutlery, utensils, and the like can be packed alone in a smaller carton or used as fill in other larger cartons; either is OK.
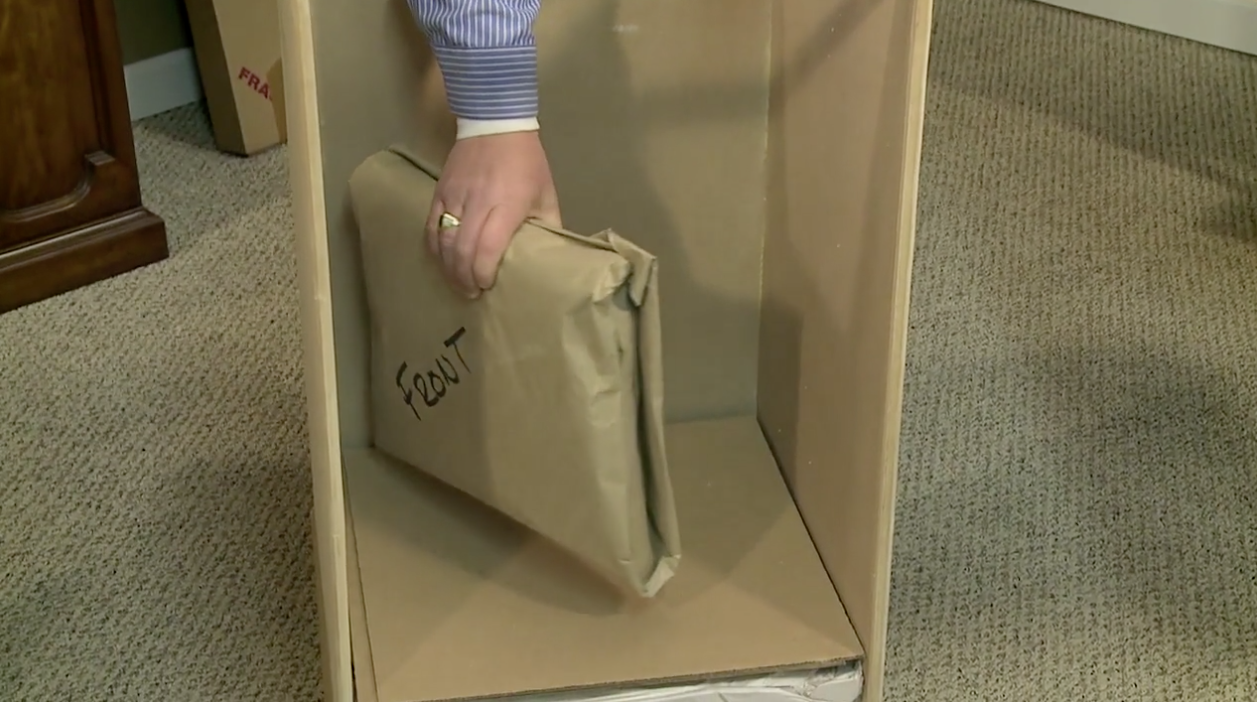
Longer knives can be especially dangerous once they are wrapped up, so certain precautions need to be taken.
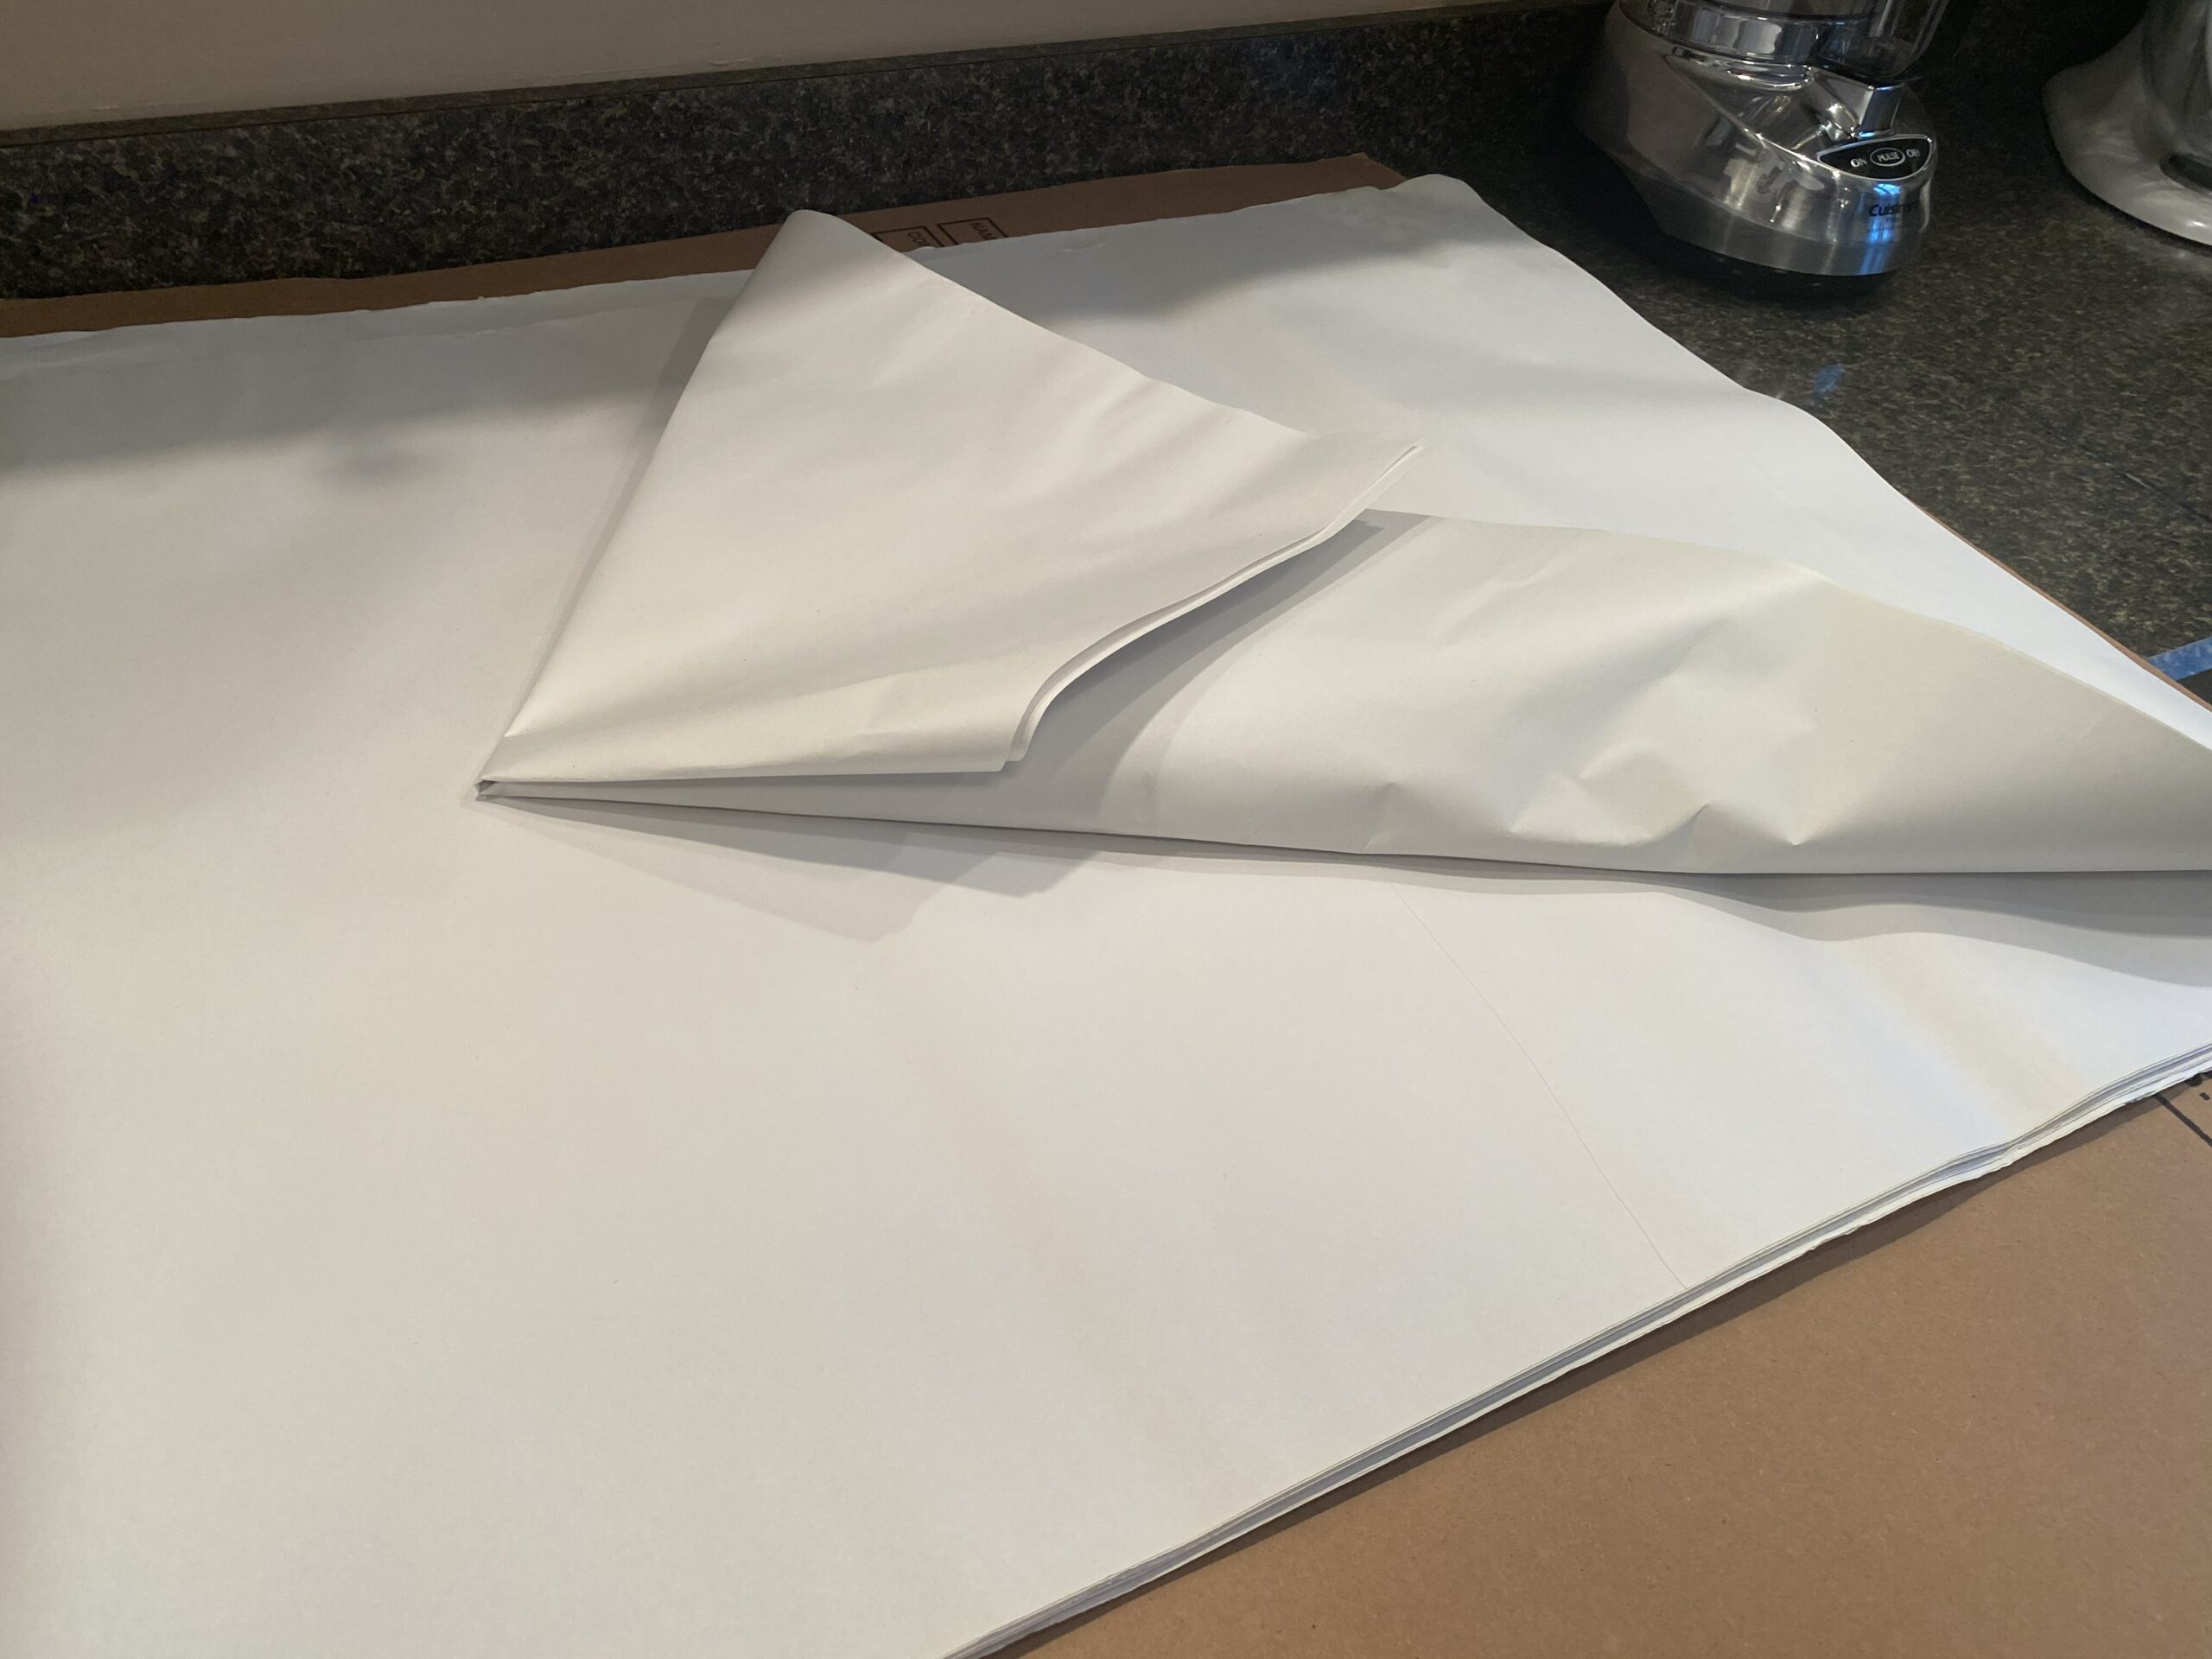 Unlike the normal wrapping technique of multiple layers of single sheets, these items should be wrapped with 5-6 sheets of paper simultaneously and rolled so the paper bundle becomes 10-20 sheets thick and acts as a thick protector. Fold over the business end of the paper leaving plenty of room for the tips.
 Fold in the other side and roll together.
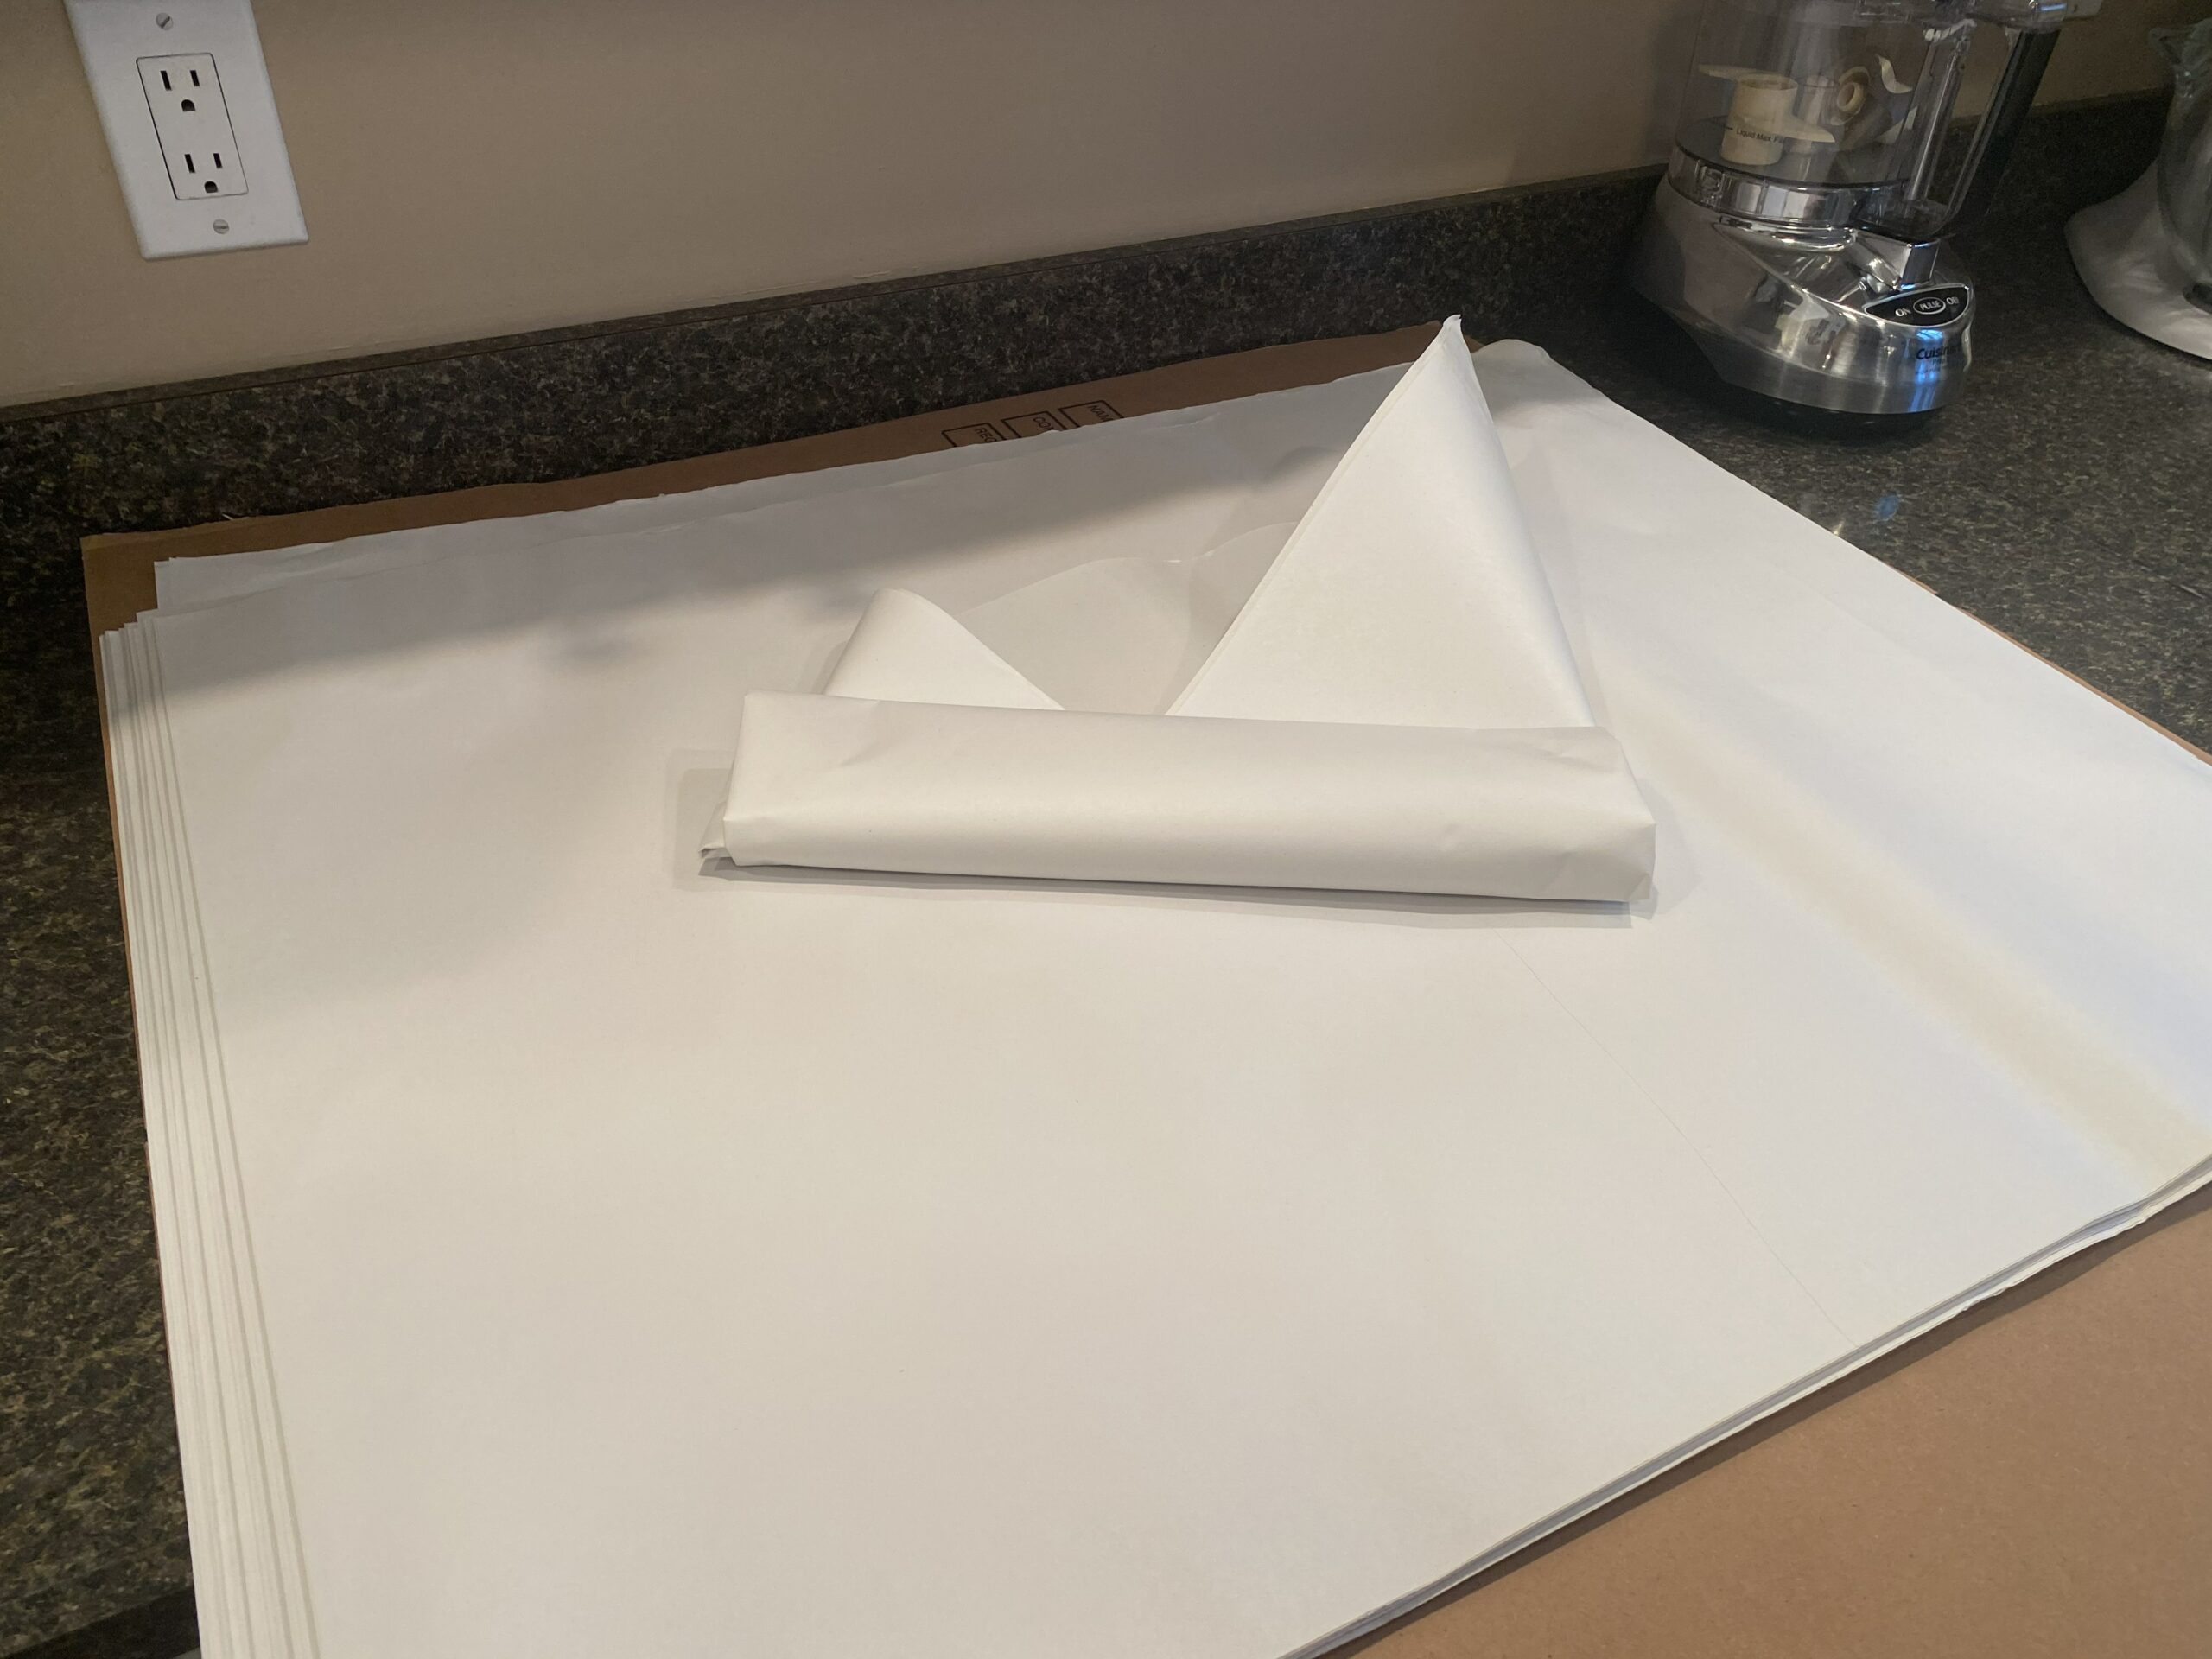
 Repeat several times so the pointy end of the knives cannot poke or cut the person who unpacks the carton containing the knives.
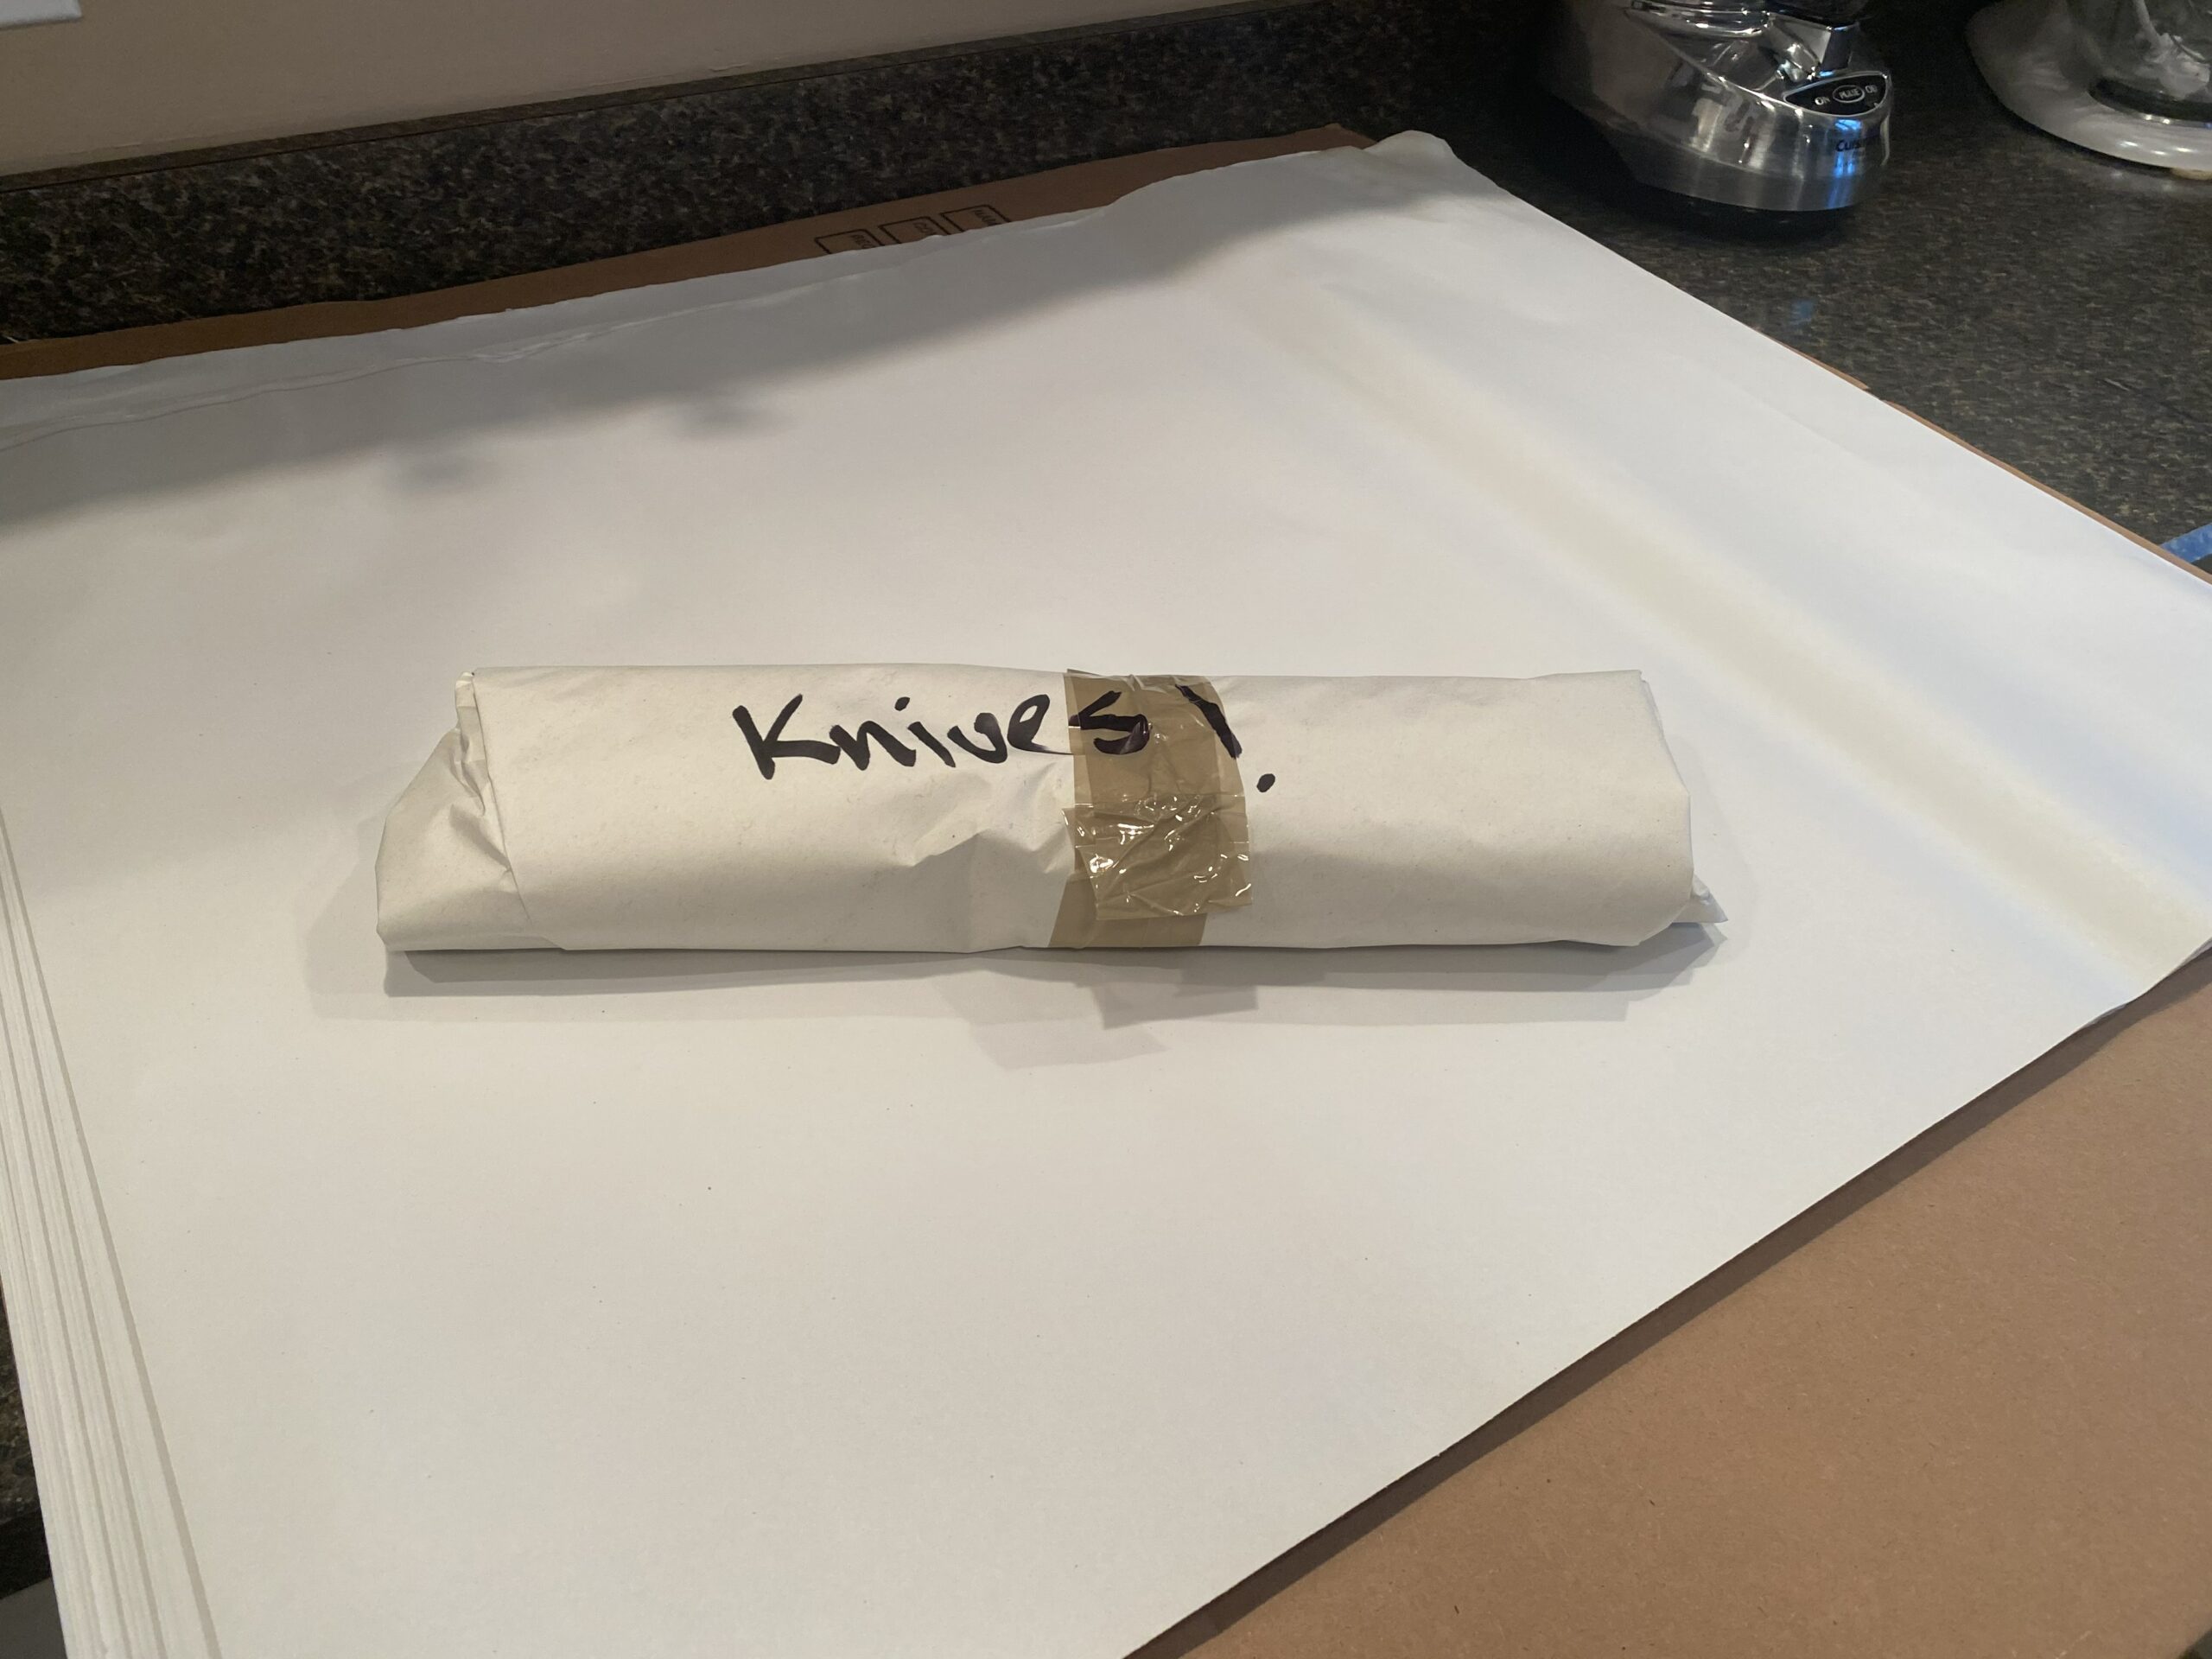 Tape the wrapping in place. Lastly, these should be labeled with a marker so the unpacker of the knives will be aware of what’s inside and can take the appropriate precautions.
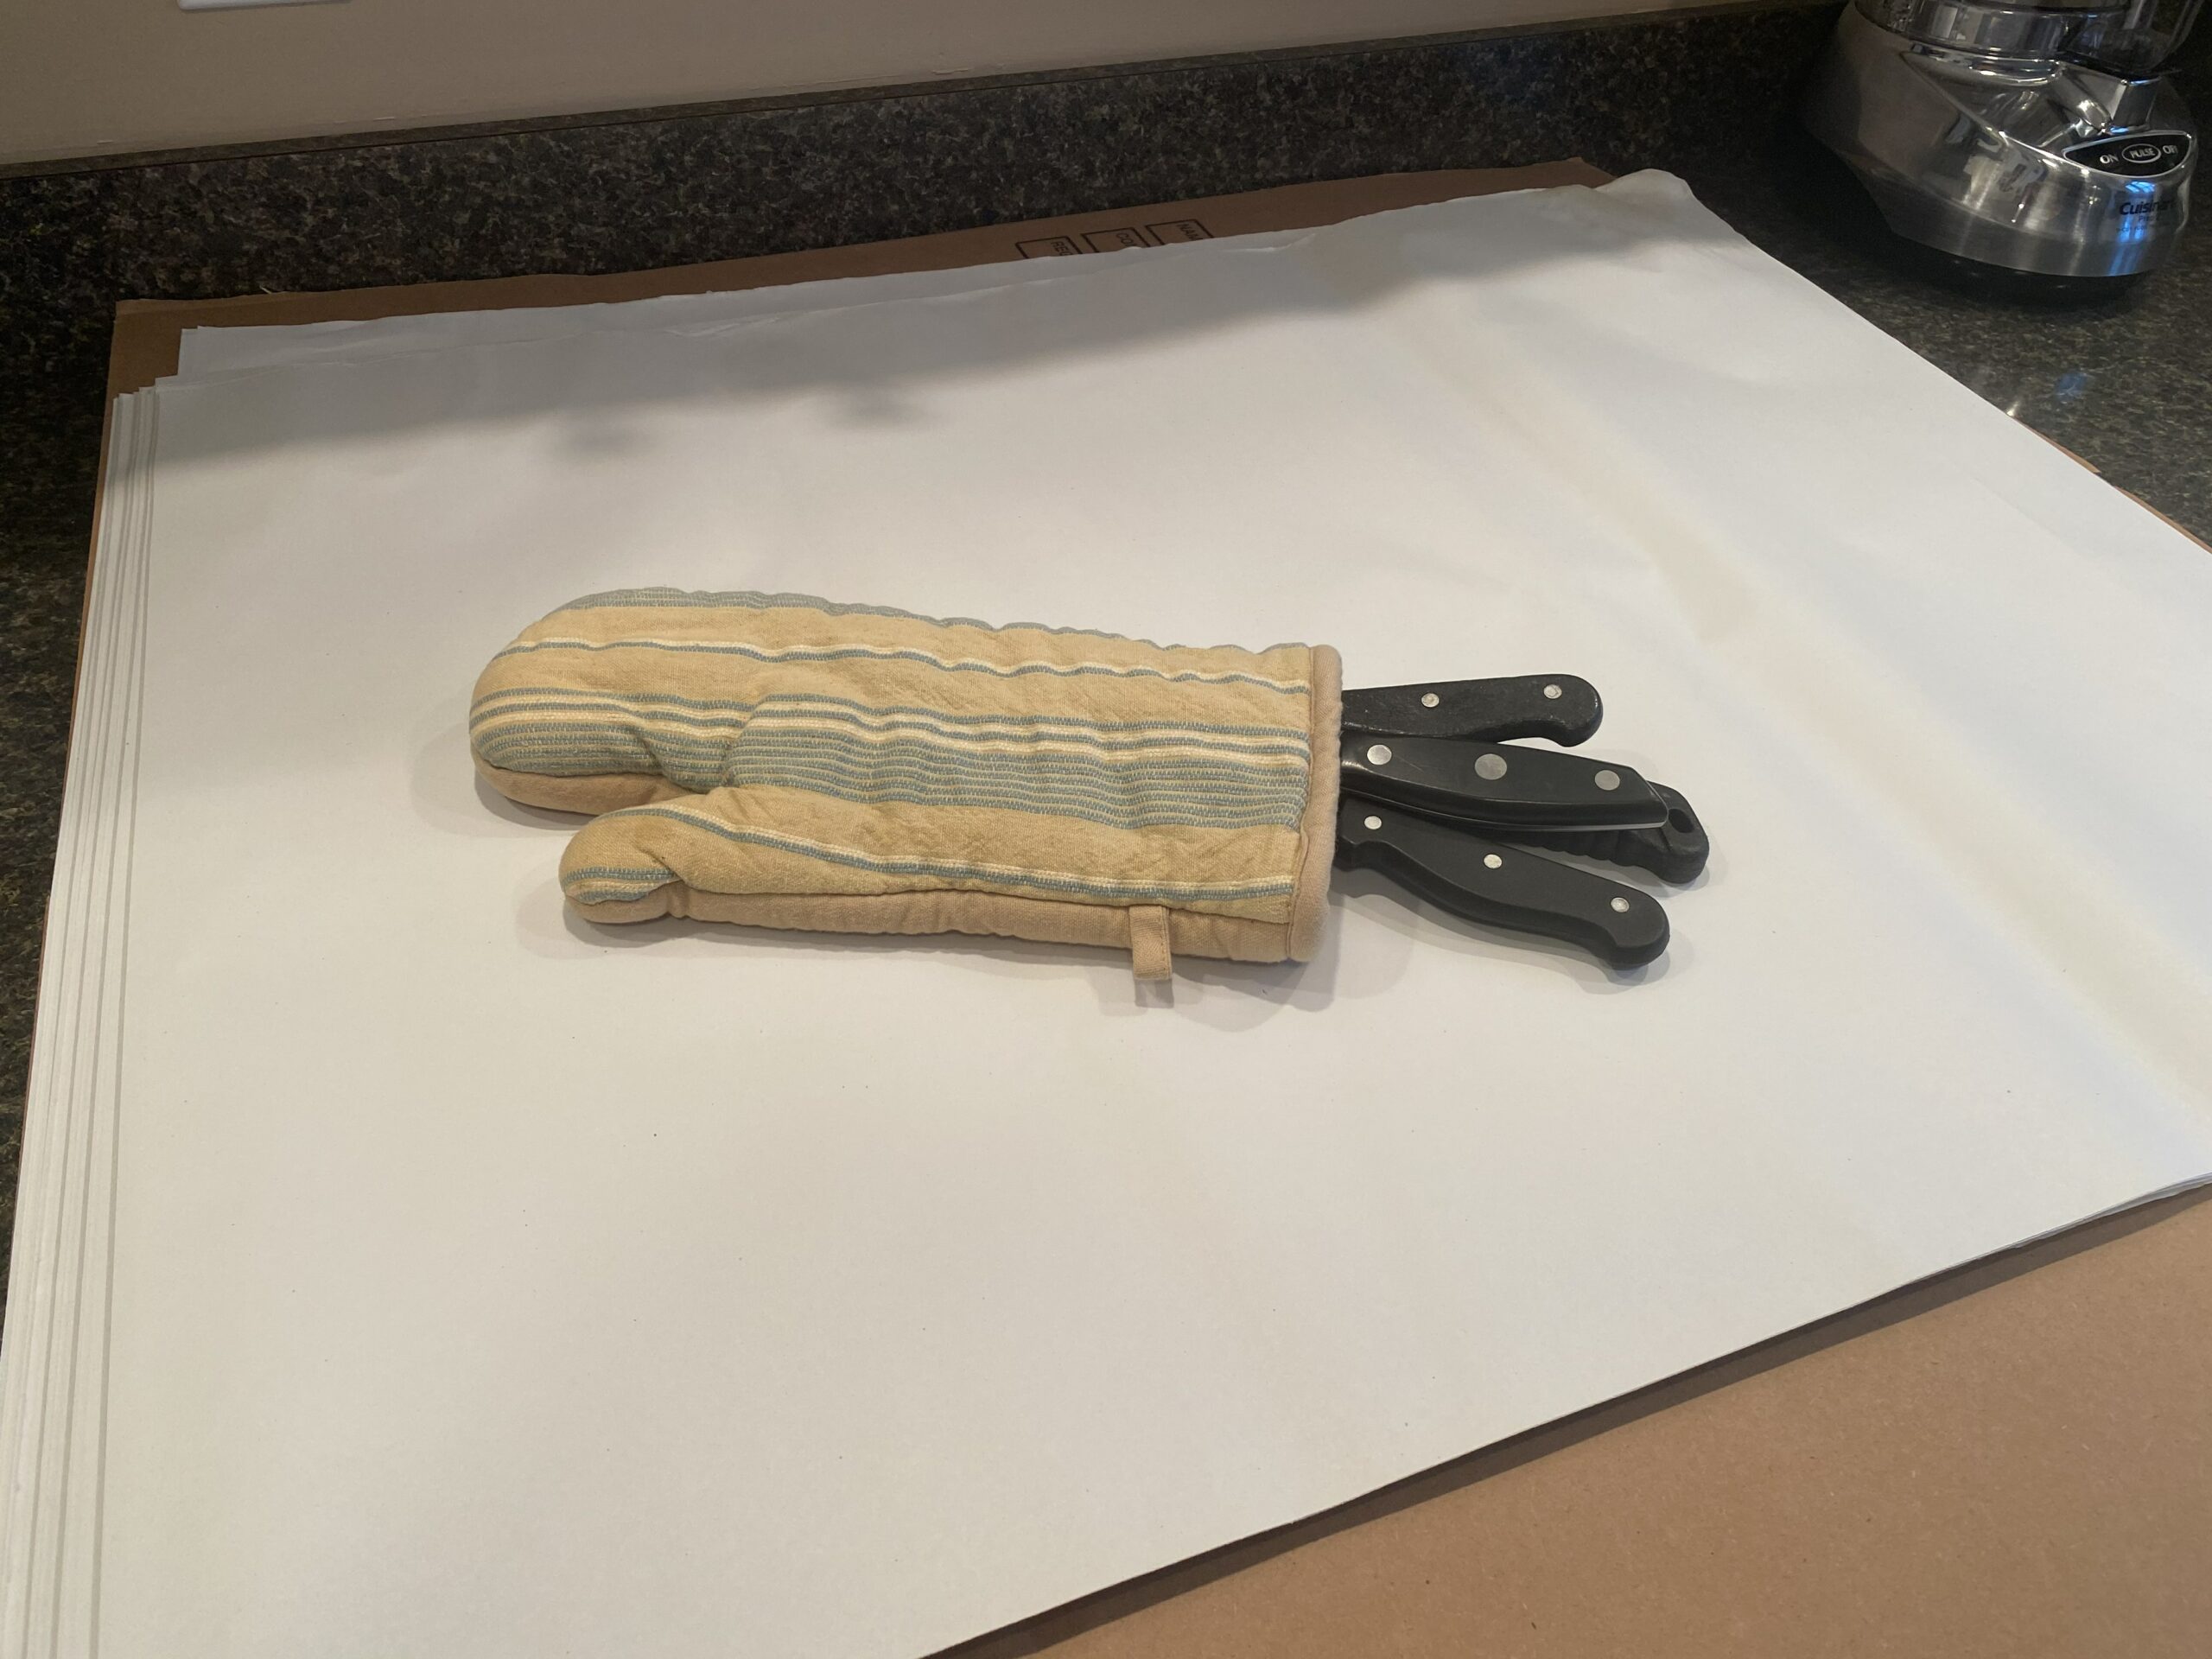 An alternative method would be to place the pointy end of knives inside an oven mitt before it is wrapped to keep the knives away from the hands of the packers and unpackers.
How to pack spices
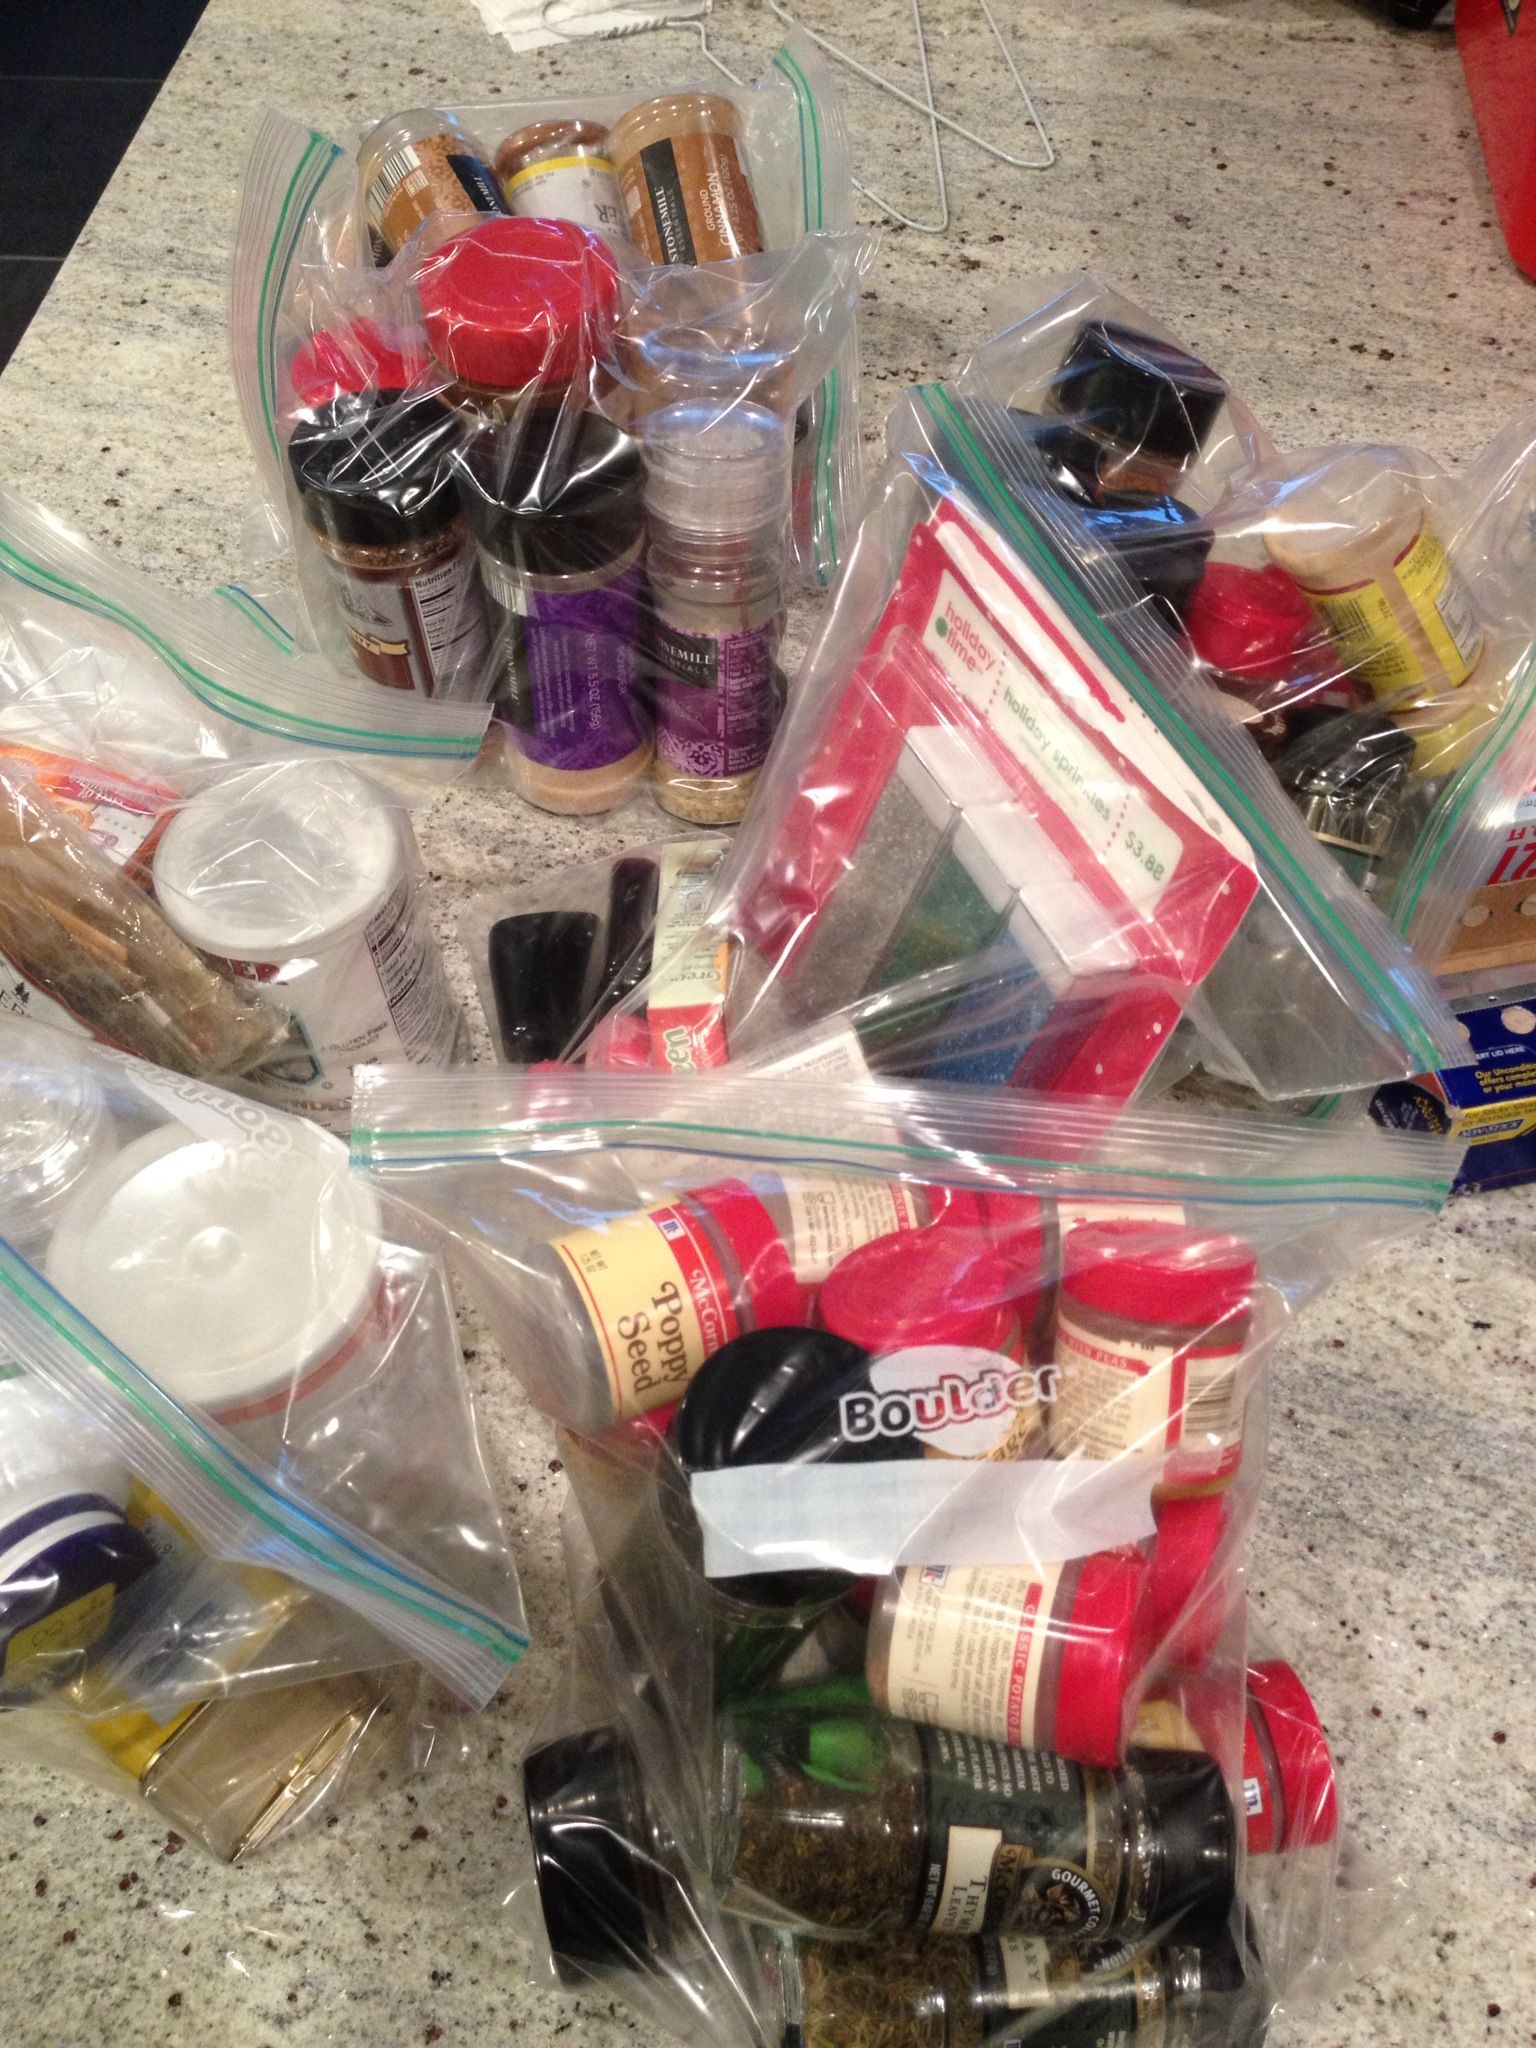
 Spices should be are layered in the same way as canned goods. Match the spice container size and try to fill the bottom layer of the carton.
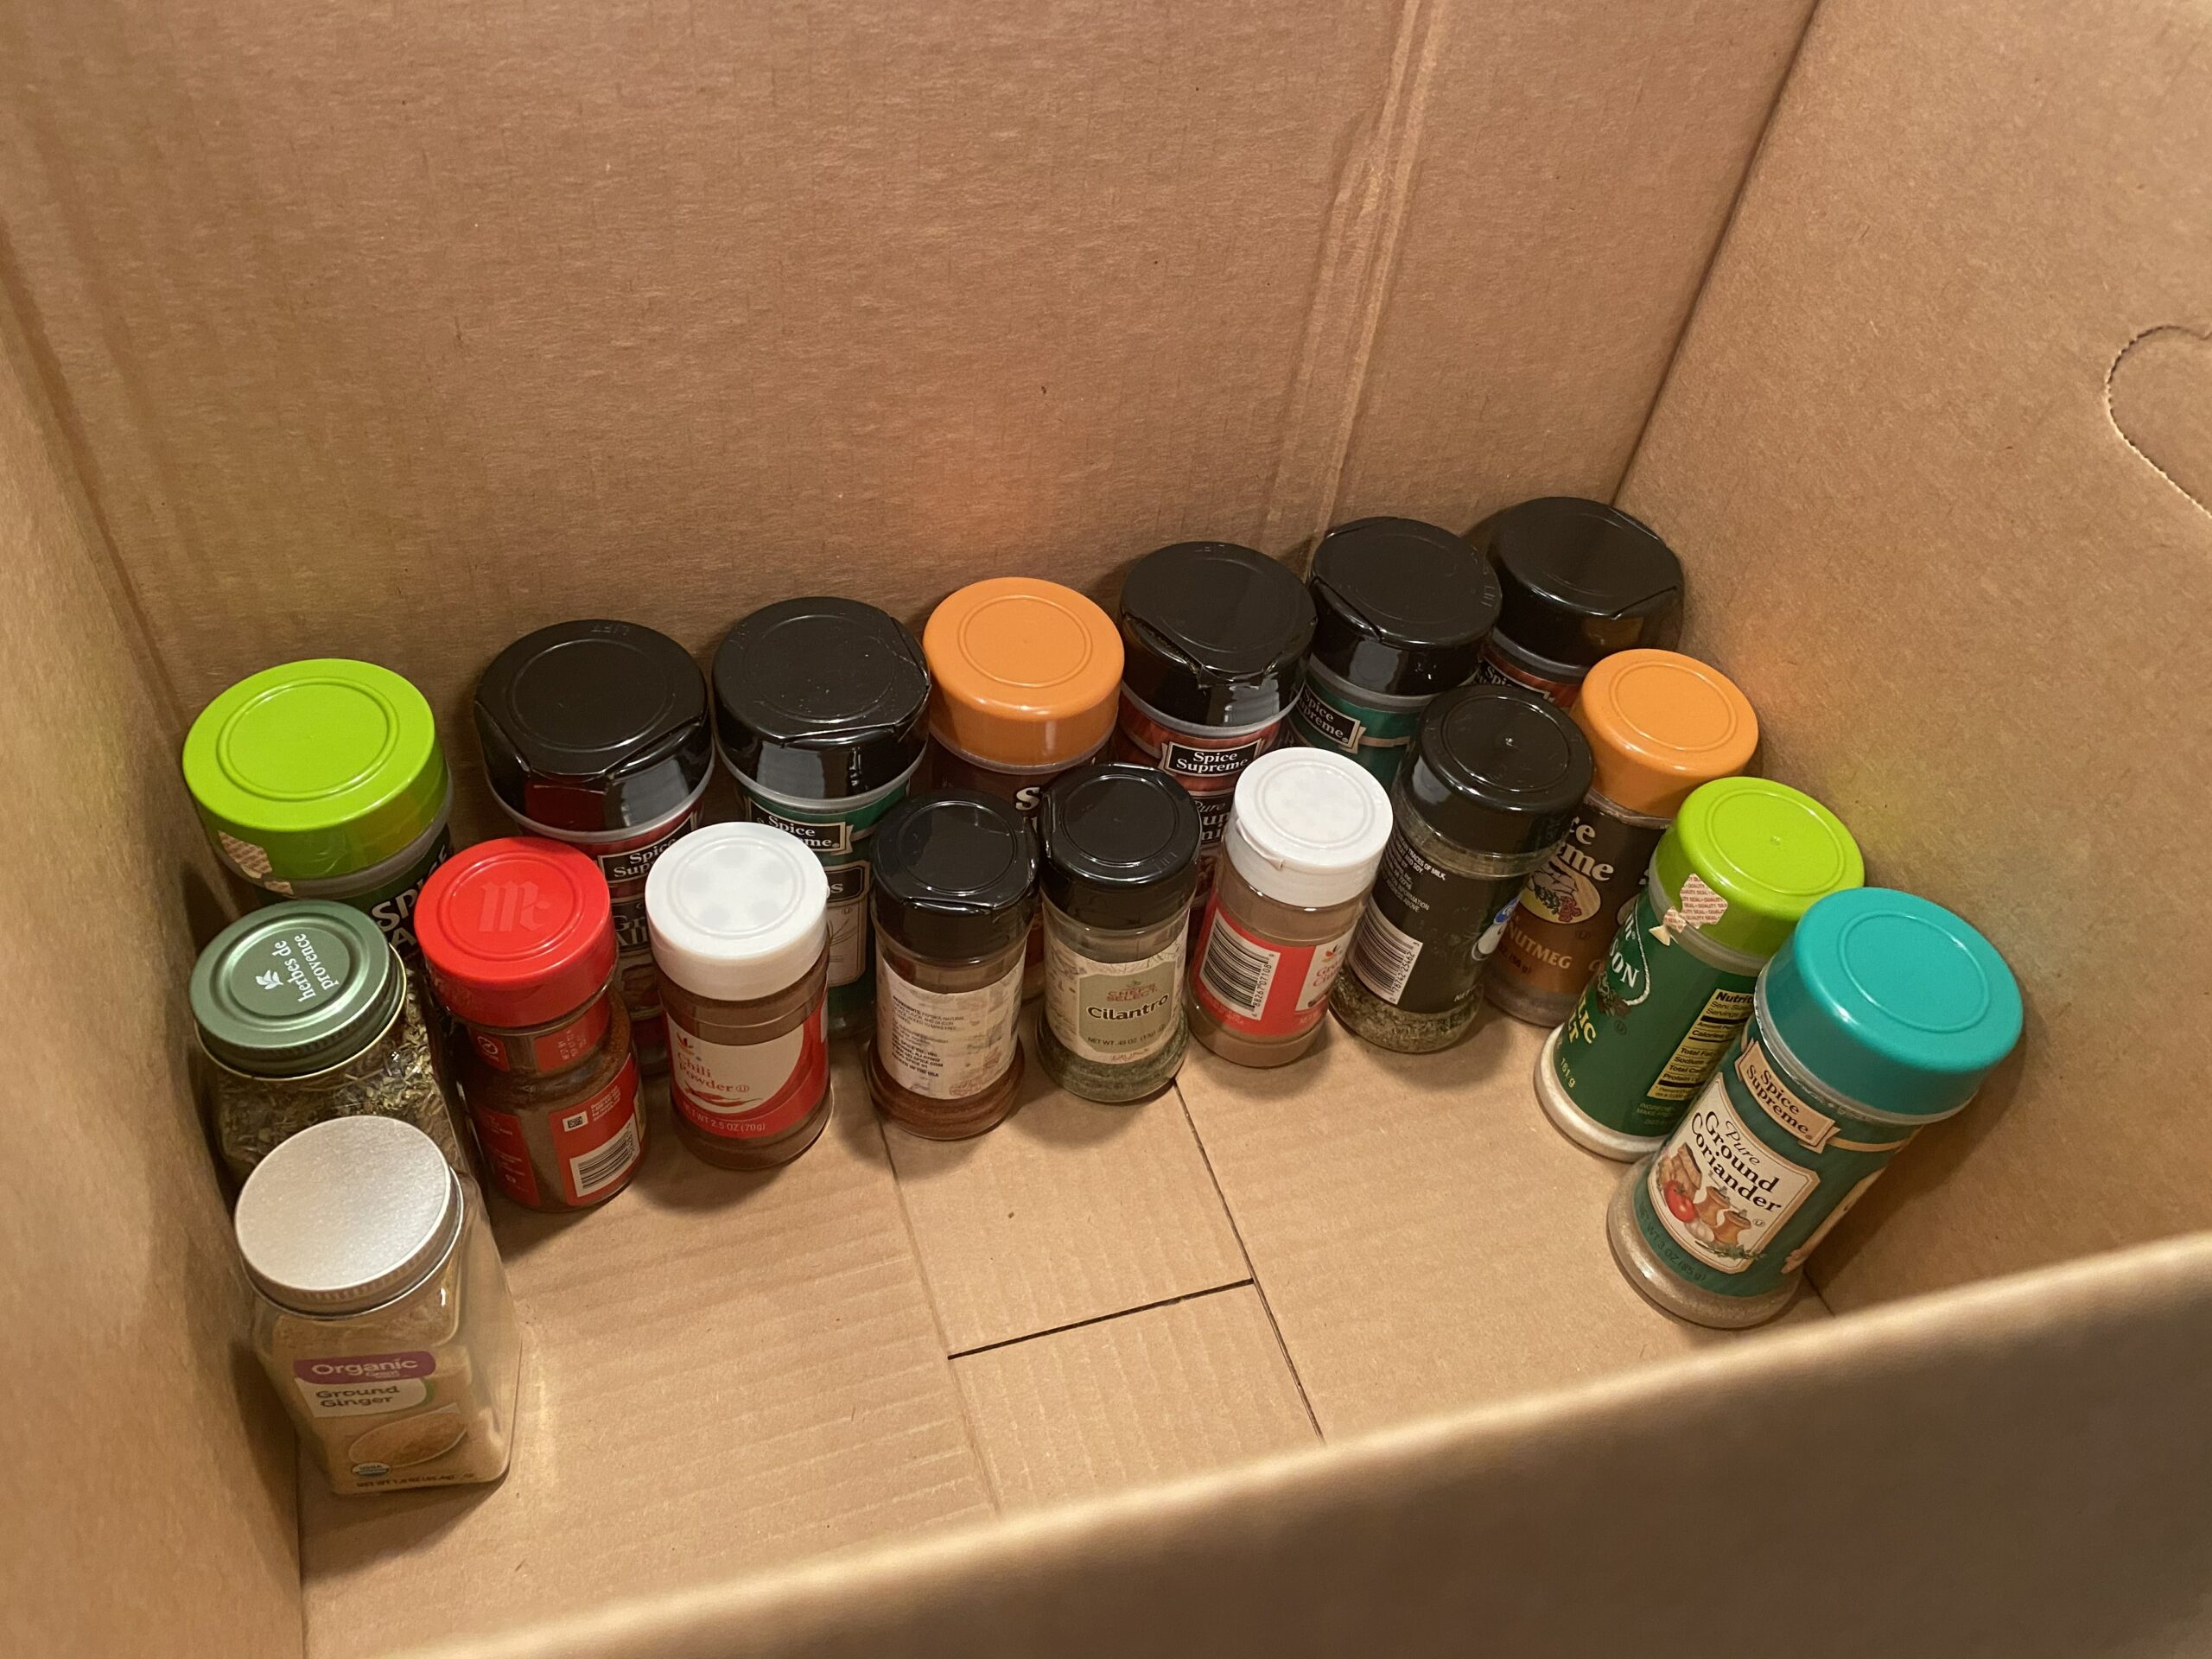 Whenever possible, try and keep the tallest containers against the wall of the carton. Fill in empty areas with smaller containers like Jell-O, pudding, or soft bags of food.
 An alternative method is to fill existing containers in the kitchen with spices. These containers include items like cookers, pots, deep pans, and plasticware. If the spices spill, the mess will be contained and easy to clean.
How to pack plasticware
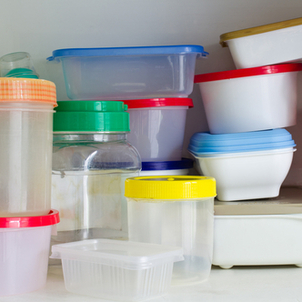 Plasticware is typically designed to nest together (without lids) to save space. Take a few moments to remove lids and stack the plasticware together. All cartons should always have a layer of bottom cushioning and plasticware is no exception.
 Place the stacks of plasticware in the carton. Try and match heights to create a level layer. Place very tall items in the corners. Plasticware can be moved wrapped or unwrapped; whichever is your preference. In the end, it’s just about appearance, the plastic won’t be damaged either way. Ensure the top of the carton is filled with some crushed paper to support the top flaps.
How to pack glass cookware
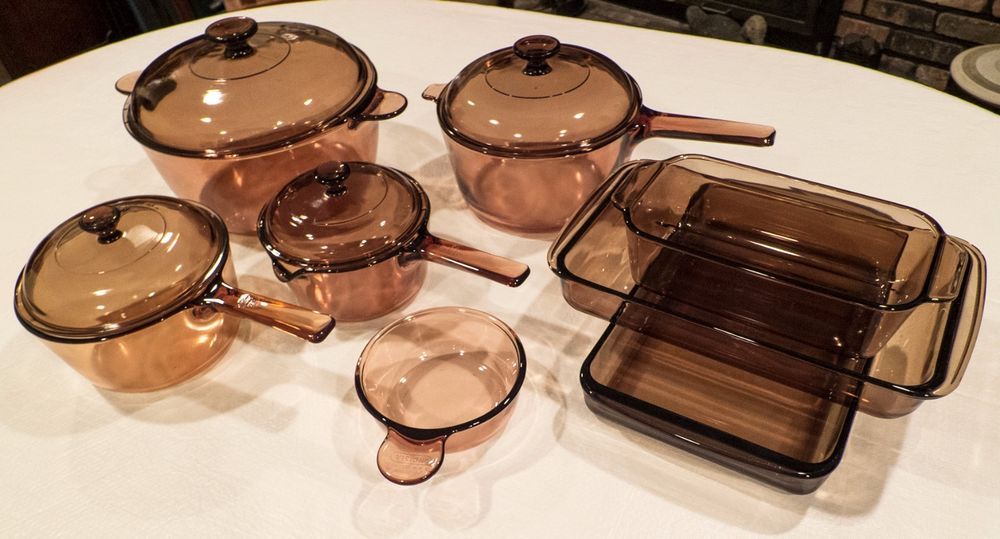 Pyrex and Corning ware cookware should be packed like china. Depending upon the design, it may be possible to invert the glass lids and put the nobs on the inside.
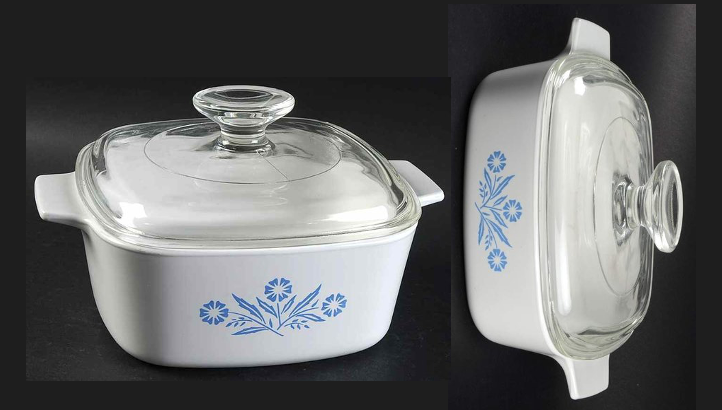 Always place layers of paper in between any glass and ceramic. These cookware items, while durable, should be wrapped with 2-3 layers. Deeper dishes should be placed flat while shallow dishes should be placed on their sides just like plates. Both of course should be on a very thick layer of cushioning.
 Because of the extreme weight, only put a single layer of cookware in a carton, Finish out the carton with some other lightweight kitchen articles like baskets.
How to pack pots and pans.
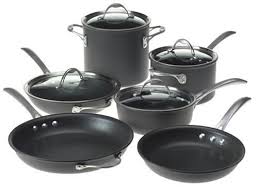 Pots and pans can be some of the most expensive items in the kitchen and should be packed like glassware. They should be nested together by size and packed flat like they are sitting on the stove.
 Typically, normal pots and pans can be packed in a 3 cube or a 4.5 depending on weight. If you are packing very heavy cookware that is cast iron or enameled, use a dish barrel, a double-thick specialty carton for dishes, due to the extreme weight.
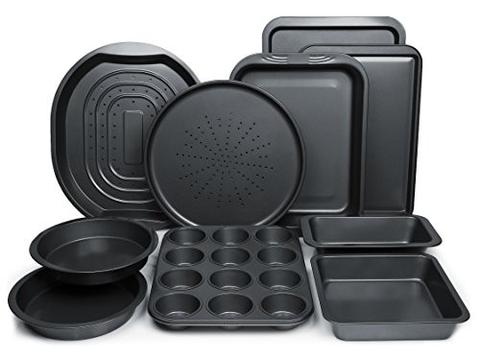 Thin items like muffin tins, metallic pot, and pan lids, and pizza pans are great fillers for the last few inches at the top of a P & P carton.
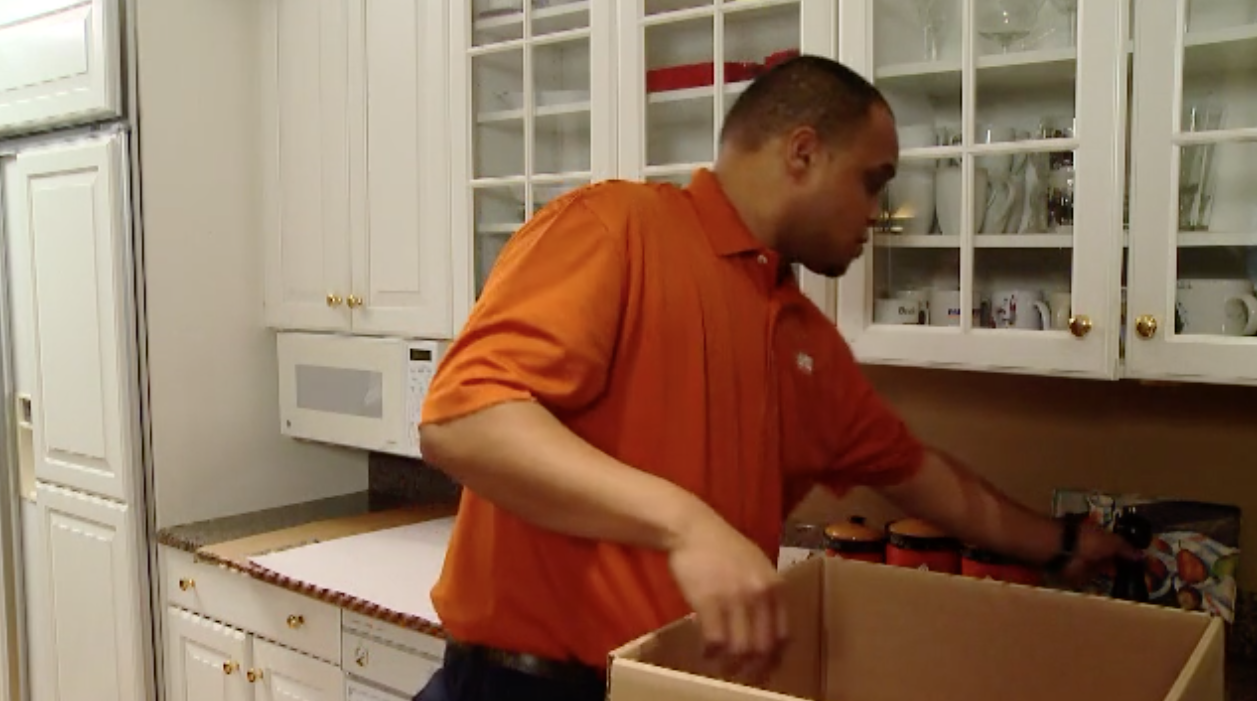
How to pack small appliances
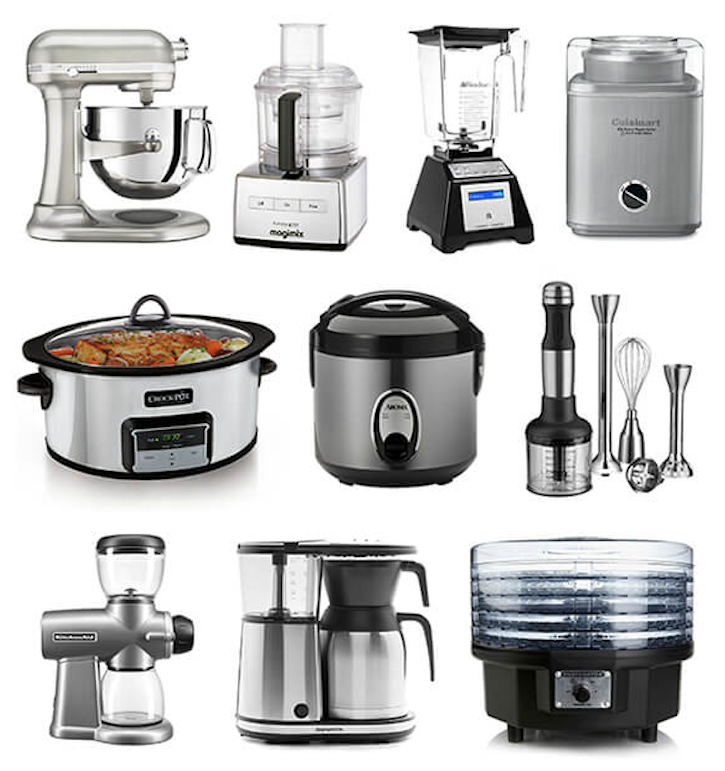 Small kitchen appliances are quite varied and each kitchen will have a unique assortment of them. Because of their expense, they should be treated like china and packed with plenty of padding and cushioning.
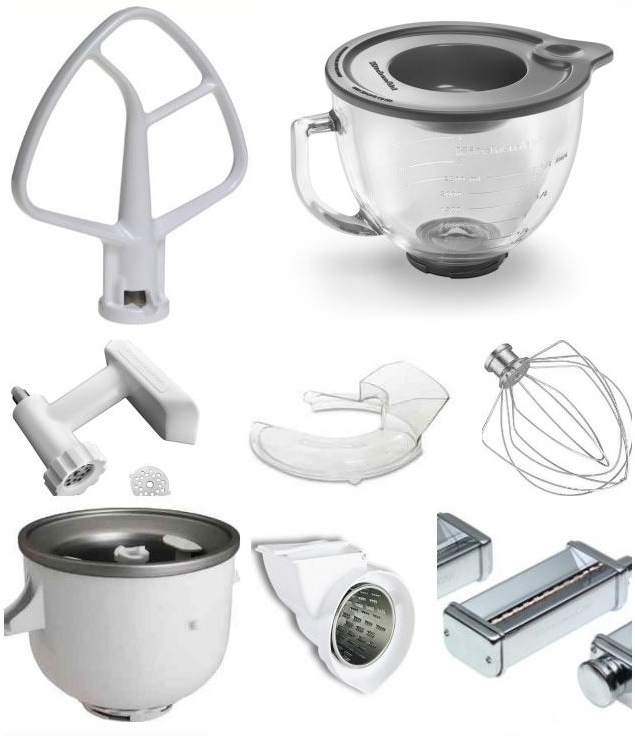 Remove any attachments from the appliance. Items with heavy electric motors such as Blenders, mixers, and food processors, should be placed in the carton at the lowest level first. Wrap the attachments and pack them in the same carton using the same basic principles; heavy, more durable items lower down and lighter, more fragile items higher.