How to Tape Your Moving Boxes the Proper Way
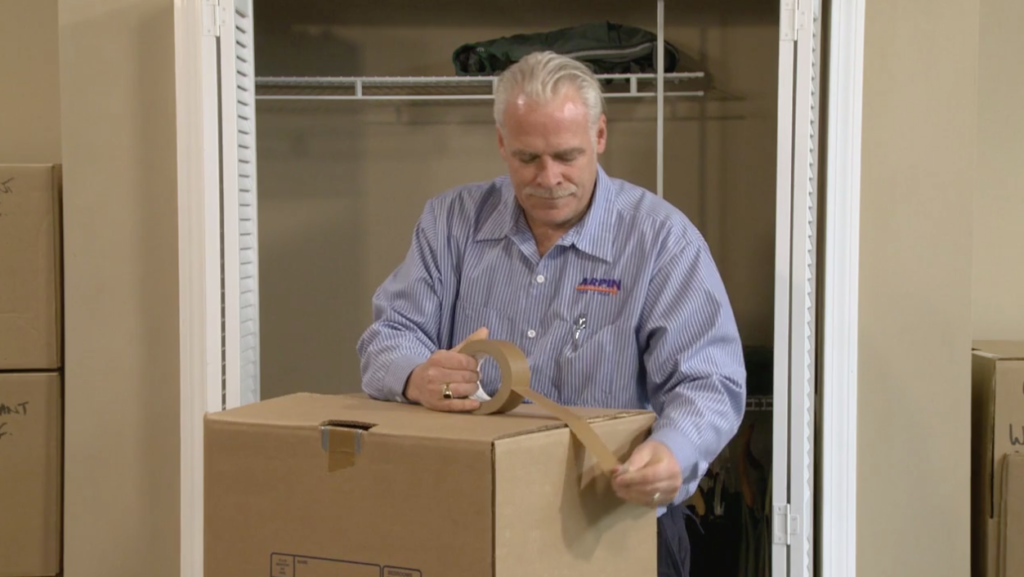
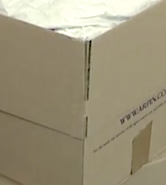 Now that we are up to speed with the assortment of professional moving boxes available, let’s cover the proper way to tape and seal them. Professional moving cartons have two small tabs of cardboard which make the four flaps of the top into just two. By creating just two flaps, they are able to stay folded down out of the way while you’re packing the carton. When you’re through packing the carton, just break the tabs, fold in the four flaps in pairs, and seal with tape.
Step-by-step instructions on how to tape a professional moving carton.
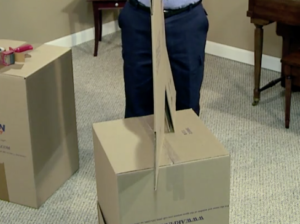 Always elevate your work surface to a comfortable height. Never work off the floor.
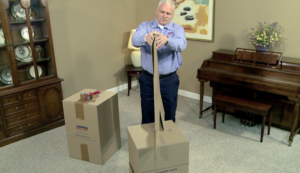
Start with a flat carton right side up, vertical, and perpendicular to the centerline of your body.
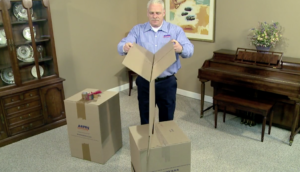 Split the two top-connected flaps and fold them downward 180° over the sides of the carton.
With your thumbs on the left and right inside corners and your fingers on the outside holding the carton flaps down, open the carton into a square shape and flip the carton upside down.
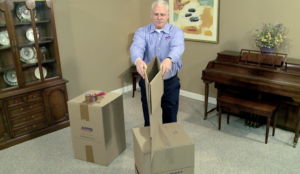
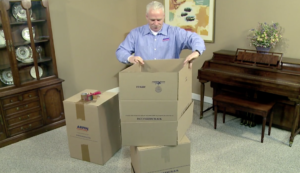
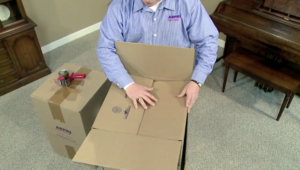 To make up the bottom of the carton, fold in two opposing flaps and square them up.
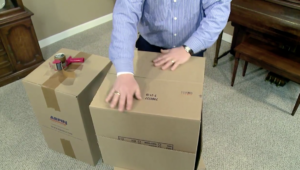 Next, fold over the two remaining flaps and adjust them so they are parallel and square.
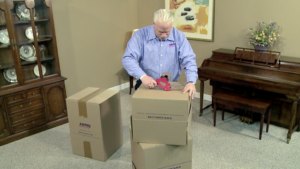 Starting 6” down on the side of the carton, apply the tape along the centerline of the carton. Continue up the side, across the bottom of the carton, and 6” down the other side. You may need scissors to cut the tape or acquire a tape gun. If you’re cutting the tape with a knife or scissors, always scrunch the end of the tape on the roll a tiny bit so you can find the end easily.
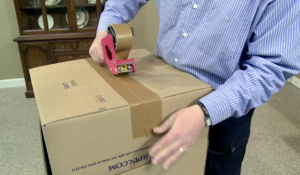 The second layer of tape should overlap the first layer to the left by one inch. Apply the tape 6” down…. go up and over the bottom….and 6” down the other side.
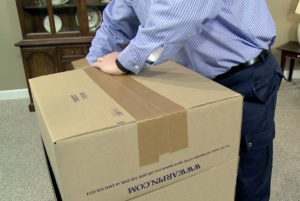
Repeat this with a third layer offset to the right of the first strip by one inch. When you’re through, you should have a final tape width of about 4 inches wide covering the bottom seam and extending up each of the sides 6″.
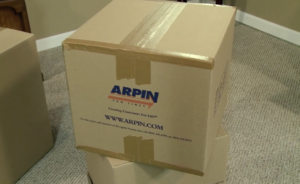 As an extra layer of security, you can also seal all of the seams of the carton using the “H” taping technique
How to seal a fully packed carton:
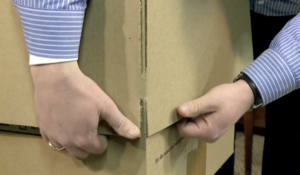
Gently pull on the two flaps to break the tabs; creating four individual flaps again.
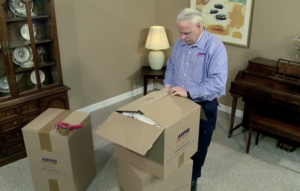 Fold in a pair of opposing flaps and square them like the bottom. Ideally, you would want the bottom and top tape seams to match so try and finish with the same two flaps on the top as the bottom.
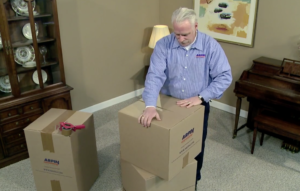 Fold over the remaining two flaps adjust them so they are parallel and square.
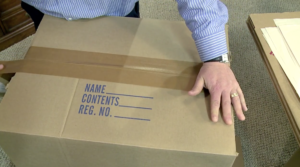 Apply tape using the 3-layer technique the same as you did for the bottom.
You’re now ready to label or mark the carton.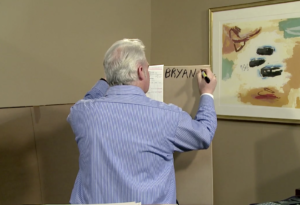
Understanding the importance of proper carton labeling
 Most moving boxes are identical and non-descript. It is almost impossible to tell one from the other without proper labeling. Without labeling, a misplaced carton could be lost forever although it is always in plain sight.
While you can add unlimited labeling to a carton, it is important to realize that the movers who will be handling these cartons really need to know just three things about a carton:
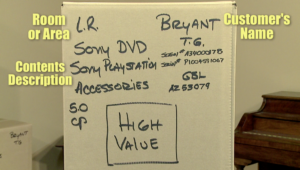
- Which customer the carton belongs to.
- What is packed in the carton (general idea) so they can care for it appropriately
- Where to place the carton in the new residence.
 As the customer, you’ll need to know specifically what is in each carton so you can locate needed items quickly and efficiently at your new home. One of the biggest determinates of a successful move is how well the boxes were labeled. Everyone has experienced the frustration of searching their home for a lost item like car keys, wallets, or remotes. You start looking in the last known location you saw the item or where it is usually kept. If it is not in either of those places, it means it could be anywhere and you may have to open every carton to find it. Multiply that times hundreds of lost items during a move due to poor labeling and the frustration level if you’ll experience will be debilitating. To avoid this nightmare, you must employ an accurate and consistent system of labeling when you pack
The labeling rules used by the professional packers from Arpin of RI:
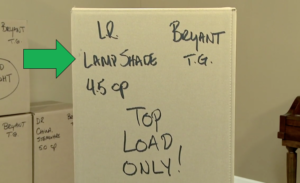
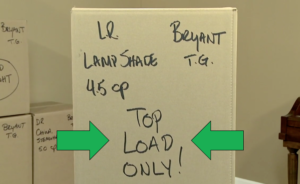
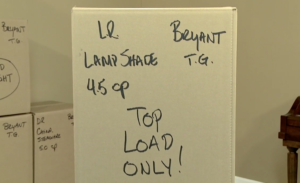 1. Whenever possible, use the unprinted side of the carton (or the side with the least amount of printing) as the primary location for shipment information to be labeled. NEVER LABEL THE CARTON ON THE TOP. You cannot read the labeling after another carton is placed on top.
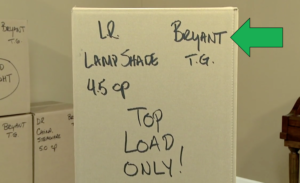
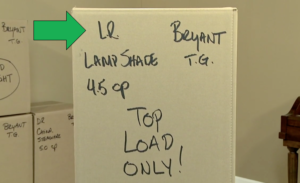
2. All cartons should be labeled using the same consistent location for the same information. The minimum required information is:
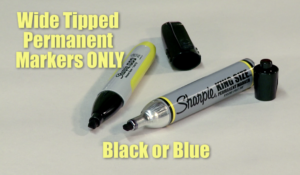 3. Only a wide-tipped, permanent marker should be used. Black or dark blue are the only Arpin RI-approved colors. All other colored markers, pens, highlighters, pencils, or canyons are taboo.
 4. All identifying information MUST BE PRINTED. Cursive writing is a no-no. The printing on the carton should be 2 inches tall and should be parallel to the top of the carton. All labeling must be clear and legible. You should be able to read the labeling from across the room.
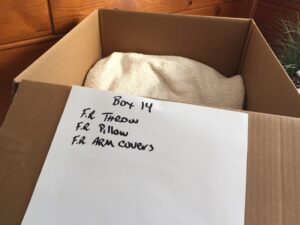 A major labeling issue with customers is that they forget what is already packed in a carton if they have been interrupted while packing. An excellent technique to remember what’s packed in a box is to tape a sheet of paper on the inside of one of the top flaps and write down what you pack as you go. A summary of that information can be transferred to the outside of the carton when you’re done and you can leave the sheet there for future reference
