How To Pack Everything In A Bedroom
Packing dressers and furniture
 When packing bedroom furniture, the first order of business is to examine the contents to determine their suitability for transport.
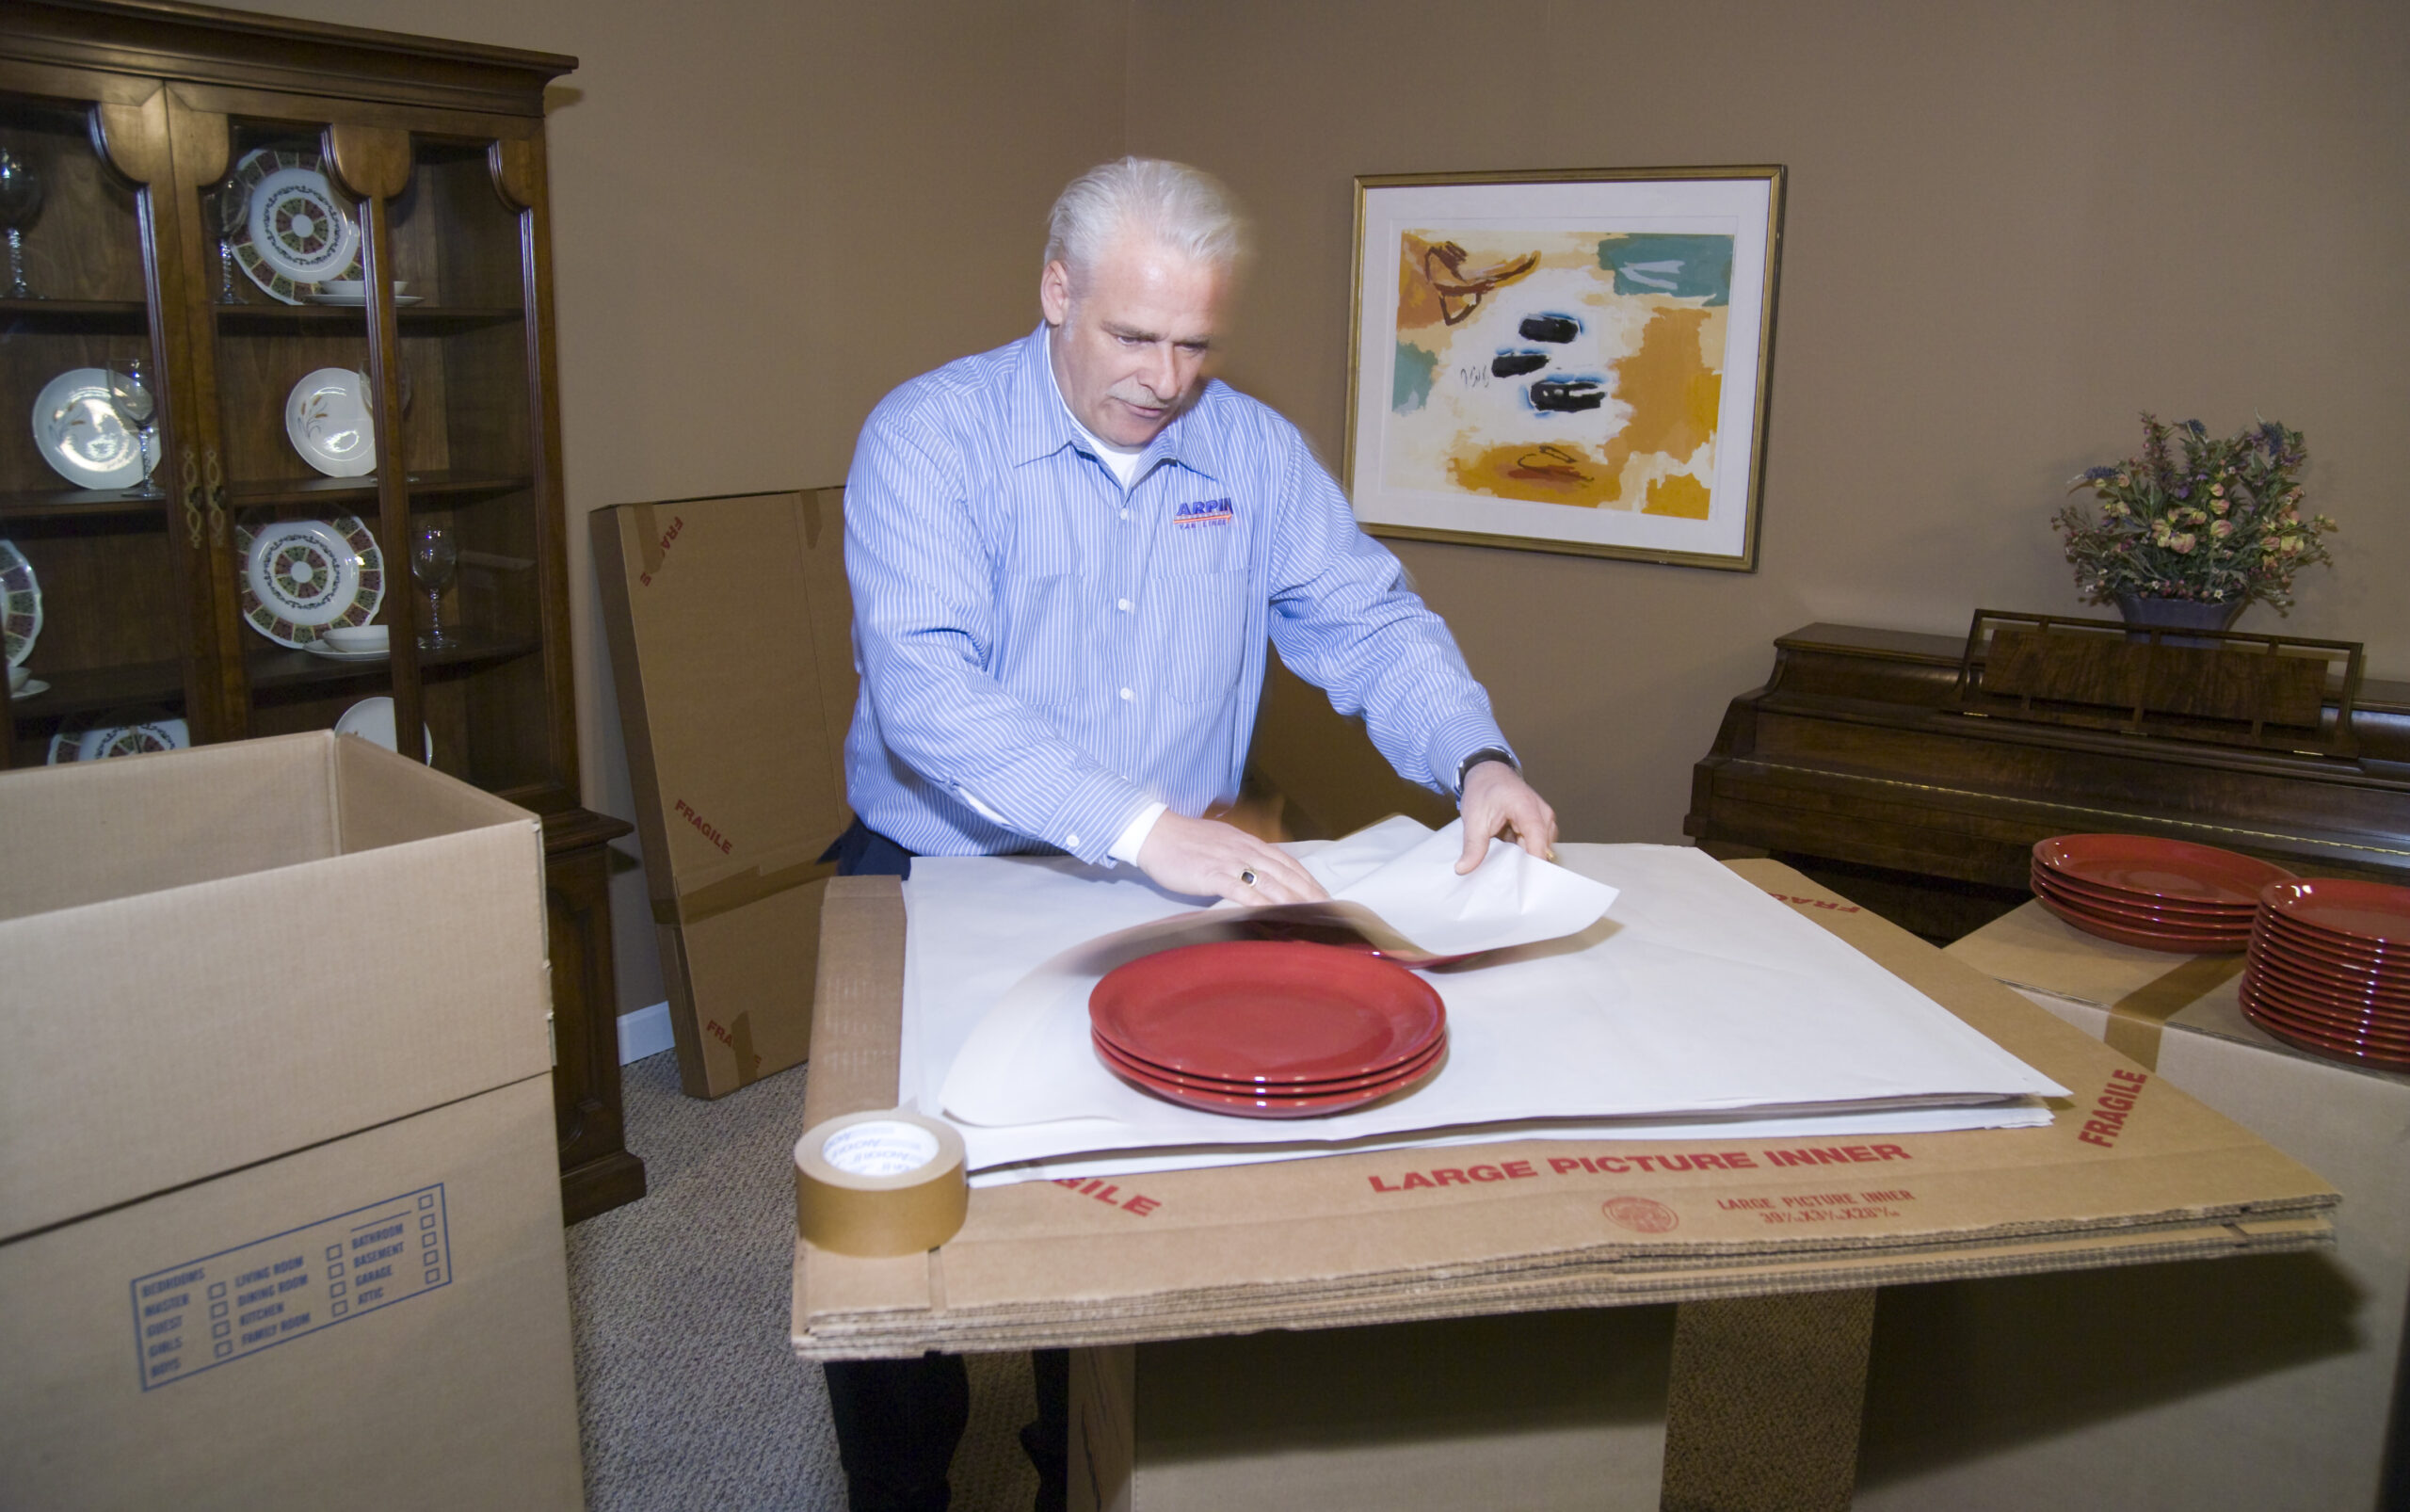
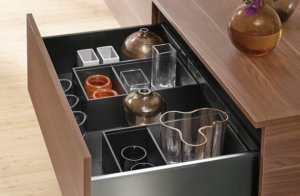 If fragile items are present in the drawers, they can be wrapped in paper and left in the drawer or packed into a carton.
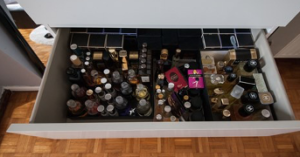 Remove any items which may be prohibited as liquids, perfume, nail polish, ammunition, or weapons.
 Remove any items which should not be handled by the movers such as jewelry, currency, or prescriptions.
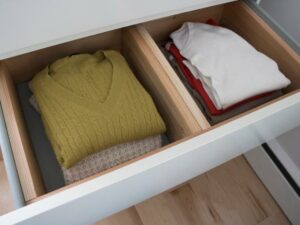 In addition, the weight of the drawer contents has to be monitored. Clothing is heavier than most people think so overloading the drawers with too many clothes can lead to the collapse of the drawer bottom. It may be a safer option to pack the heavy clothing into boxes and use the drawers to pack lightweight delicate items that are already in the bedroom like framed photos.
Packing nightstands or bedside tables
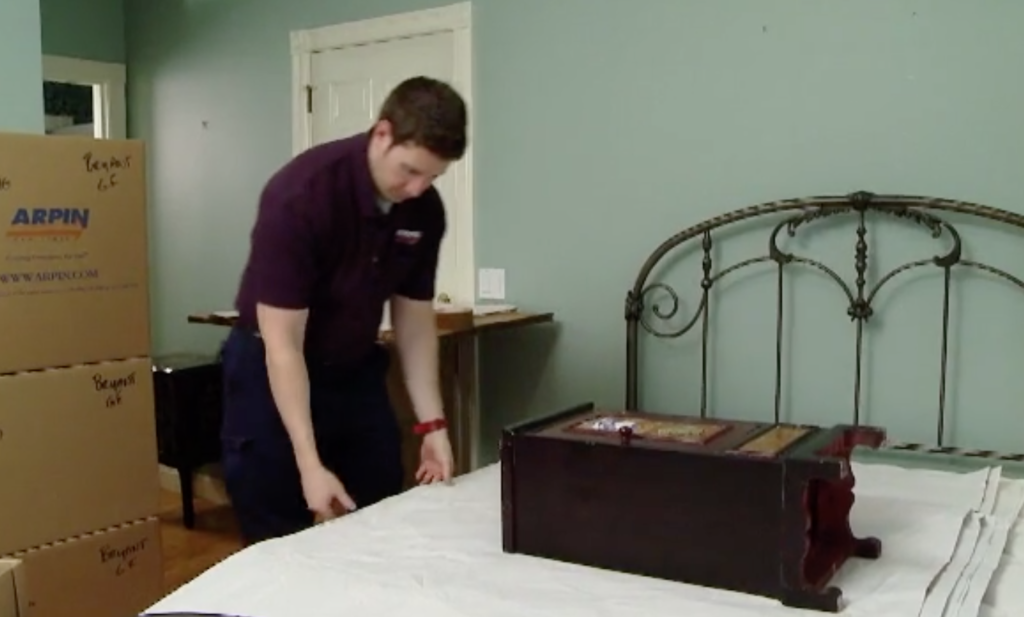
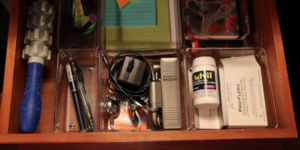 The drawers in nightstands and end tables usually contain many, many smaller items. This will be an issue if the driver loads the item on its side or upside down. to best protect it from transit damage. There are three options the professionals at Arpin of RI use to manage drawer contents:
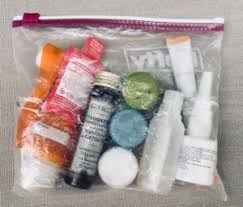 1.) Place all of the items in zip lock bags and pack the bags in a carton.
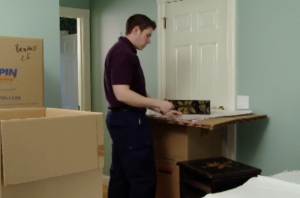 2.) Take out the entire drawer and pack it in a box with its contents intact. At your new home, all you have to do is slide the drawer back in and you’re done.
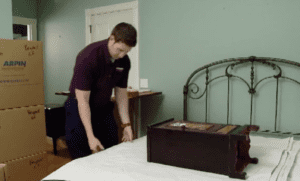 3.) No messing around. Pack the whole nightstand, as is, in a box.
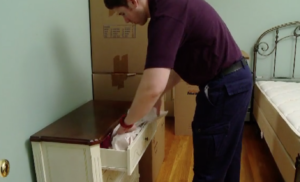 To secure larger non-breakable items in a drawer, sometimes the best solution is to stuff some paper in the drawers to keep the items from shifting around.
How to pack shoes
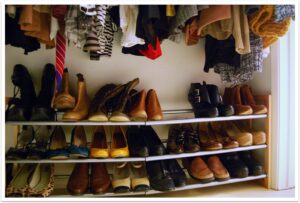 It is best to start from the ground up in a closet so you have free floor space to stack the packed cartons. In most closets, that means starting with shoes.
 Most people have a blend of footwear; their best shoes are usually boxed, their better shoes and maybe boxed or loose, and their everyday shoes are usually loose. Every closet has a different mix of shoes so your approach will have to be customized. These are the ground rules.
 Use the horizontal layering technique. Since shoes are fairly light you can use a bigger carton like a 4.5. Start with the boxed shoes if they are available. Fill the 1st (lowest) layer starting with the largest boxes. Don’t be afraid to place boxes on their sides to get a tight fit.
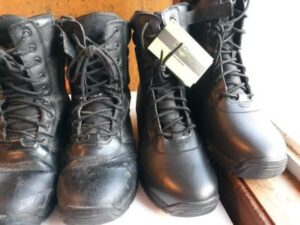 If there are no boxes, place the most durable footwear like boots or sneakers lowest in the carton.
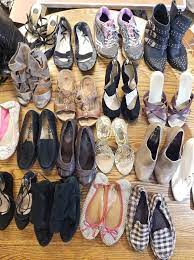 Generally, fill the carton about 2/3 full with boxed shoes and then finish the remainder with loose shoes. When packing loose shoes, always put the most durable shoes like sneakers and slippers lower and better dress shoes on top.
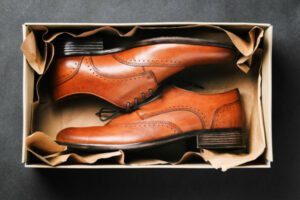 Place loose shoes in the carton in the same way they are packed new in shoeboxes; on their side with the tops facing each other. Fill each layer of shoes fully. Separate each layer of shoes with a few sheets of crumpled paper.
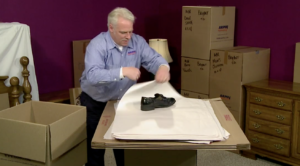 Depending on the quality of the shoes, it may be proper to individually wrap each shoe like a piece of glassware. Using rolled socks to fill the tips of shoes fulfills two needs simultaneously.
 If there is room left over at the top of the carton, finish it off with some folded clothing, or use crushed paper. Always separate all shoes from clothing with a few layers of paper. Tape and label the carton.
How to pack folded clothing
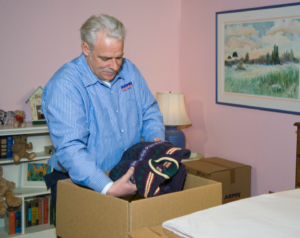 Packing folded clothing presents two issues to the packer; managing wrinkles and managing the overall weight of the fully packed carton. Clothing must be placed into the carton carefully to avoid severe wrinkling.
 Pack your clothing with the same care as you would when you’re leaving on vacation, don’t pack them the way you do when you’re coming home.
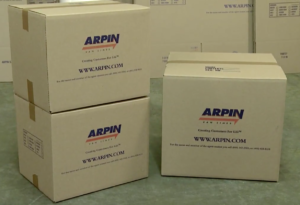 Clothing is heavier than most people realize; especially cotton clothing like jeans. It is important to keep the overall weight of the carton manageable to avoid injury. Arpin of RI recommends using small or medium cartons only; a 1.5 carton or a 3 cube for clothes.
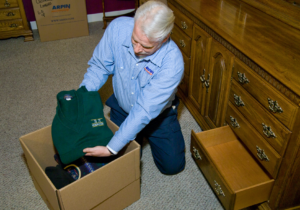 All folded clothing should be removed from where it is stored and packed directly into the carton. We recommend placing only a few articles of clothing into the carton at a time so the clothing stays folded. If needed, fill in the sides with more durable clothing on its side
 Whenever possible, try and match the size of the carton to exactly fit the contents of just one drawer. This makes unpacking much easier.
 Very small clothing items like socks, underwear, and belts are best packed into very small cartons since they typically are very numerous.
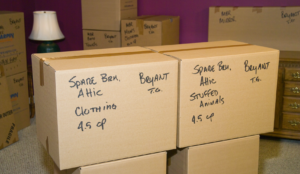 Ensure that the carton is slightly overfilled with clothes so it can support the weight without crushing. Tape and label the carton.
How to pack a standard wardrobe
Remember these 3 simple rules to properly pack a wardrobe:
1. Don’t try and cram in too much. The clothes will be wrinkled, the bar will collapse (and the clothes will be wrinkled), or both.
2. Don’t throw loose items like shoes or ties in the bottom; only place a single larger item if needed.
3. Try not to mix clothes from different rooms in the same carton.
How to pack hanging clothing in a standard wardrobe
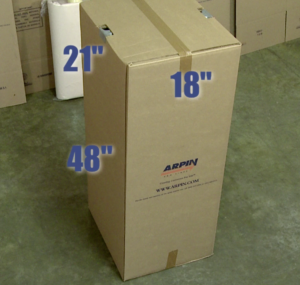 The first type of wardrobe that we’ll look at is the one most commonly used; the standard 10 cubic foot wardrobe. A 10 cubic foot wardrobe is approximately 48 inches high by 18 inches wide by 21 inches deep.
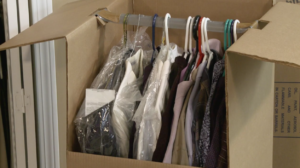 The wardrobe uses a steel bar to support the hanging clothing. Clothes are hung in the wardrobe the same way that they are hung in the closet.
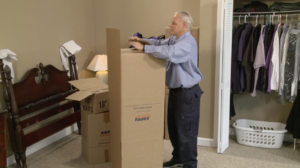 A wardrobe is an unusual carton to construct. You must tape the bottom first. To begin, flip the wardrobe upside down and square it up. The two short flaps are folded in first.
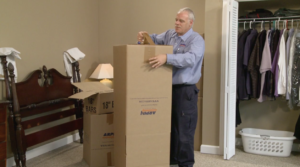 Next, the opposing longer flaps are folded over, squared up, and taped in place with 3 strips of overlapping tape.
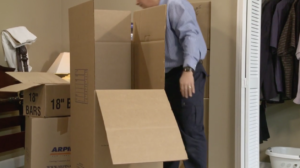 Flip the carton upright. Unlike standard cartons, the front of the wardrobe has a 12-inch extended flap cut into the front. This flap is designed to be folded down out of the way to make it easier to place the clothing in the wardrobe.
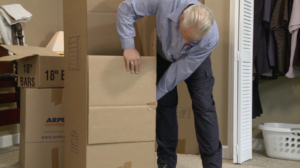 Fold the front flap down completely so it’s out of the way and secure it with a small piece of tape along the side.
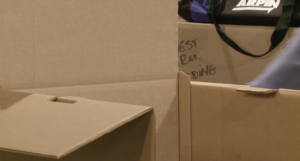 Next, bend over the two upper side flaps outward until they are horizontal. There are two small holes perforated in these flaps. Push these tabs inward with your thumbs and fold them down out of the way.
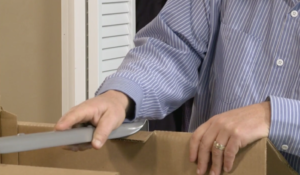 Next, pick up an 18” wardrobe bar place it across the top of the wardrobe in the slots on the top edge.
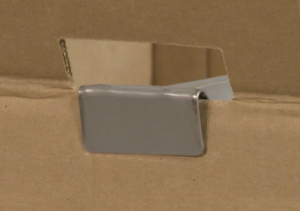 Ensure it is fully seated on the edge of the carton. You’re now ready to begin packing the hanging clothing.
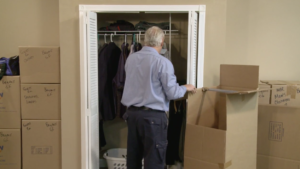 Clothing should be removed from the closet and packed directly into the wardrobe. Place the wardrobe close to the closet at an angle with the front of the wardrobe facing you.
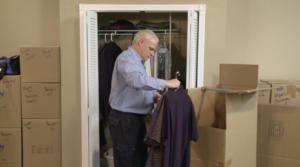 Start with the longest, most delicate clothing first. Grasp 2 or 3 inches of clothing by the neck of the hanger and remove them from the closet.
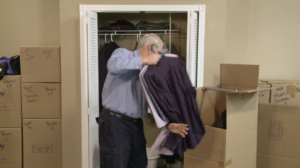 Standing in front of the open wardrobe, place your free forearm perpendicular against the clothing about halfway down. Lift up with this forearm to guide the clothing over the front flap and into the carton.
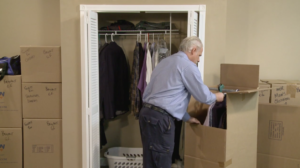 Hold the bundle of clothing below the bar and gently shake them side to side to make sure that all the wrinkles have fallen out. Then raise the clothing up, hook them onto the wardrobe bar, and slide them to the side.
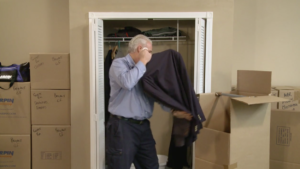 Repeat this same process several more times. Grasp the clothing, guide it up and into the wardrobe box using your forearm, lightly shake the clothing to remove obvious wrinkles, and then hang them on the bar.
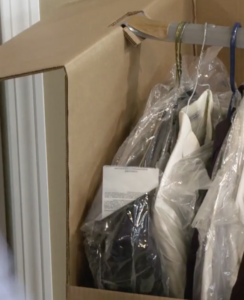 The clothing you select to fill out the last few inches of the carton is critical. Shorter items will be easier to insert in the small opening. It’s best to choose clothing such as shirts or sweaters. Clothing in dry cleaning bags is also desirable for this purpose because of the slippery nature of the bag.
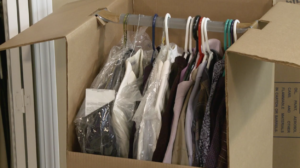 The clothing should be spaced on the wardrobe bar slightly more densely than it was in the closet. Never stuff or jam clothing in a wardrobe that is already full.
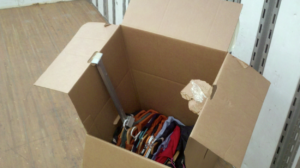 A wardrobe bar will only support a modest amount of weight before it collapses. Certain items such as suits or overcoats can be exceptionally heavy. Try and maintain uniform weight and balance within each carton by offsetting heavy suits with lightweight items like dress shirts.
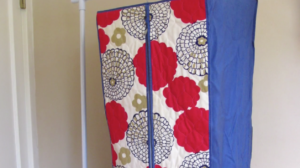 All clothing inside large storage bags must be emptied and packed individually. These storage bags will not tolerate the movement of the truck and will disintegrate during the move. The empty garment bag can be compressed and placed in the bottom of the wardrobe or in another carton.
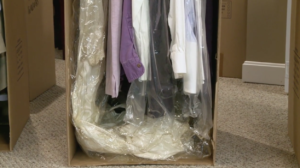 It is OK to pack smaller garment bags that contain wedding gowns, evening gowns, or uniforms. In cases like these, leave the items inside the bag and pack them directly into the wardrobe. Very long items like these should be placed in the carton first with the extra material pooling neatly in the bottom of the carton.
 Depending upon the length of the hanging clothes, there may be a significant amount of space left below the clothing inside the wardrobe that can be utilized. Do not put loose items like shoes in the bottom; they’re difficult to get out. It is better to place a single larger item like a laundry basket, milk crate, or a smaller carton in the bottom before you start to pack.
 Once all the clothing is in the wardrobe, space out the hangers to minimize wrinkling. You’re now ready to tape up the top of the carton.
 Position your body next to the right side of the wardrobe so that the front flap is to your left. Remove the small piece of tape.
 Fold the front flap up and bend the top of the flap over to 90 degrees at the crease and push the flap into the carton until it’s almost even with the front. Leave it out a few inches temporarily.
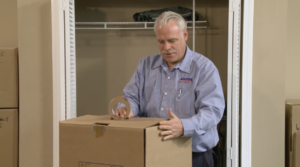 Bend over the rear flap and fold over the two longer top flaps and square them together. Now very carefully tap the front flap inward with the palm of your hand until it is even with the front edge.
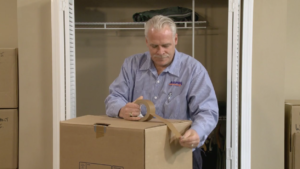 You should apply three overlapping layers of tape to seal the center seam of the wardrobe top. The tape should extend down the front of the wardrobe at least 6 inches.
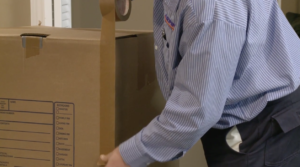 It is also desirable to completely seal all of the seams of the top of a wardrobe. Start with the tape on the left side of the front flap of the wardrobe, a few inches below the start of the seam and about 1 inch back from the edge of the carton.
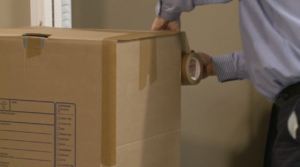 Center the tape across the seam. Carefully apply the tape up the left side, over the top, and down the right side.
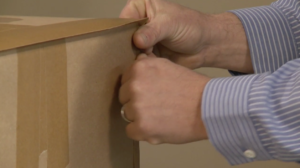 Next, carefully fold over the tape onto the front of the carton. Apply pressure to the tape to completely seal it to the carton.
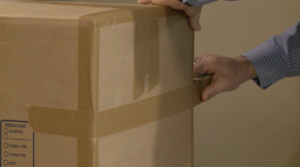 The last step is to apply a horizontal strip of tape across the front of the wardrobe about halfway down the flap. The tape should extend around the sides of the carton 3 or 4 inches. This strip of tape will prevent the flap from being knocked inward.
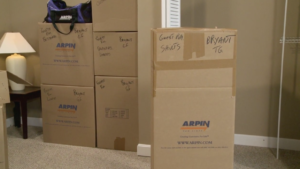 All labeling information should be placed on the front flap of a wardrobe.
How to pack very short hanging clothing in a wardrobe
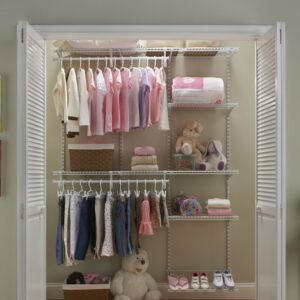 There are certain types of hanging clothing items like women’s tops and children’s clothing that are very short on the hanger. Typically, these items are also very light and usually only fill half of a standard wardrobe so using a full-sized wardrobe is wasteful.
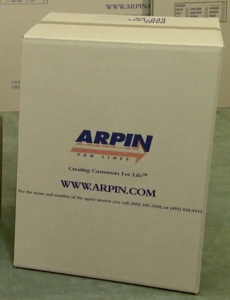 To maximize space and cost, the best alternative is to make your own mini-wardrobe using a 4.5 carton rather than wardrobes. Since 4.5’s are 18 inches wide, a standard wardrobe bar will fit across the top.
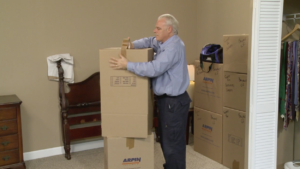 To make a baby wardrobe, tape up the bottom of the carton and flip it right side up.
 Next, fold over two opposing top flaps. With a utility knife, make a 2-inch wide cut in the center of both the left and right top flaps where they meet the carton. These slots are for the wardrobe bar.
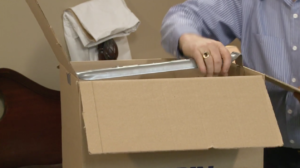 Place the 18” wardrobe bar across the carton with the ends of the bar inserted into the slots coy have cut previously.
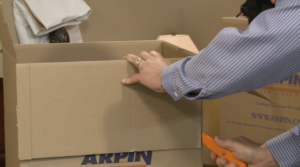
Next, you’ll need to create a flap in the front of the carton. Fold over the front. flap. Using your razor knife, cut a slot down each of the front edges until you reach the bottom of the flap.
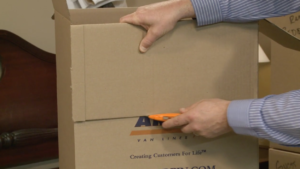 Score a line across the front of the carton, connecting these two slots.
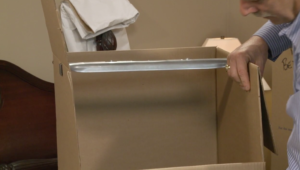 Fold-down the flap out of the way and tape. You’ve just created a mini four-and-a-half cubic foot wardrobe that can now be filled with clothing.
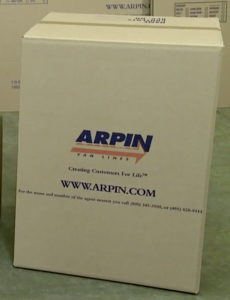 To seal a full carton, fold up the front and rear flaps. Fold over the left and right flaps and square them up. Apply several layers of tape and label.
